vCard
vCard
 Homemade by CVG
 My Homemade Apps
 Thingiverse
 Strava
Deatomizer
A few weeks after having made a Padel Racket for Mark, my son Arjen had to dress up as a Man in Black ↗. Building the racket was a first attempt at working with EVA foam, now I was ready for something more challenging 🙄
Inspiration / Credits

My interest in EVA foam and prop making was triggered by the incredible cosplay builds by Svetlana from KamuiCosplay ↗. Especially her build of the Mandalorian Sniper Rifle, which has been on my bucketlist ever since.
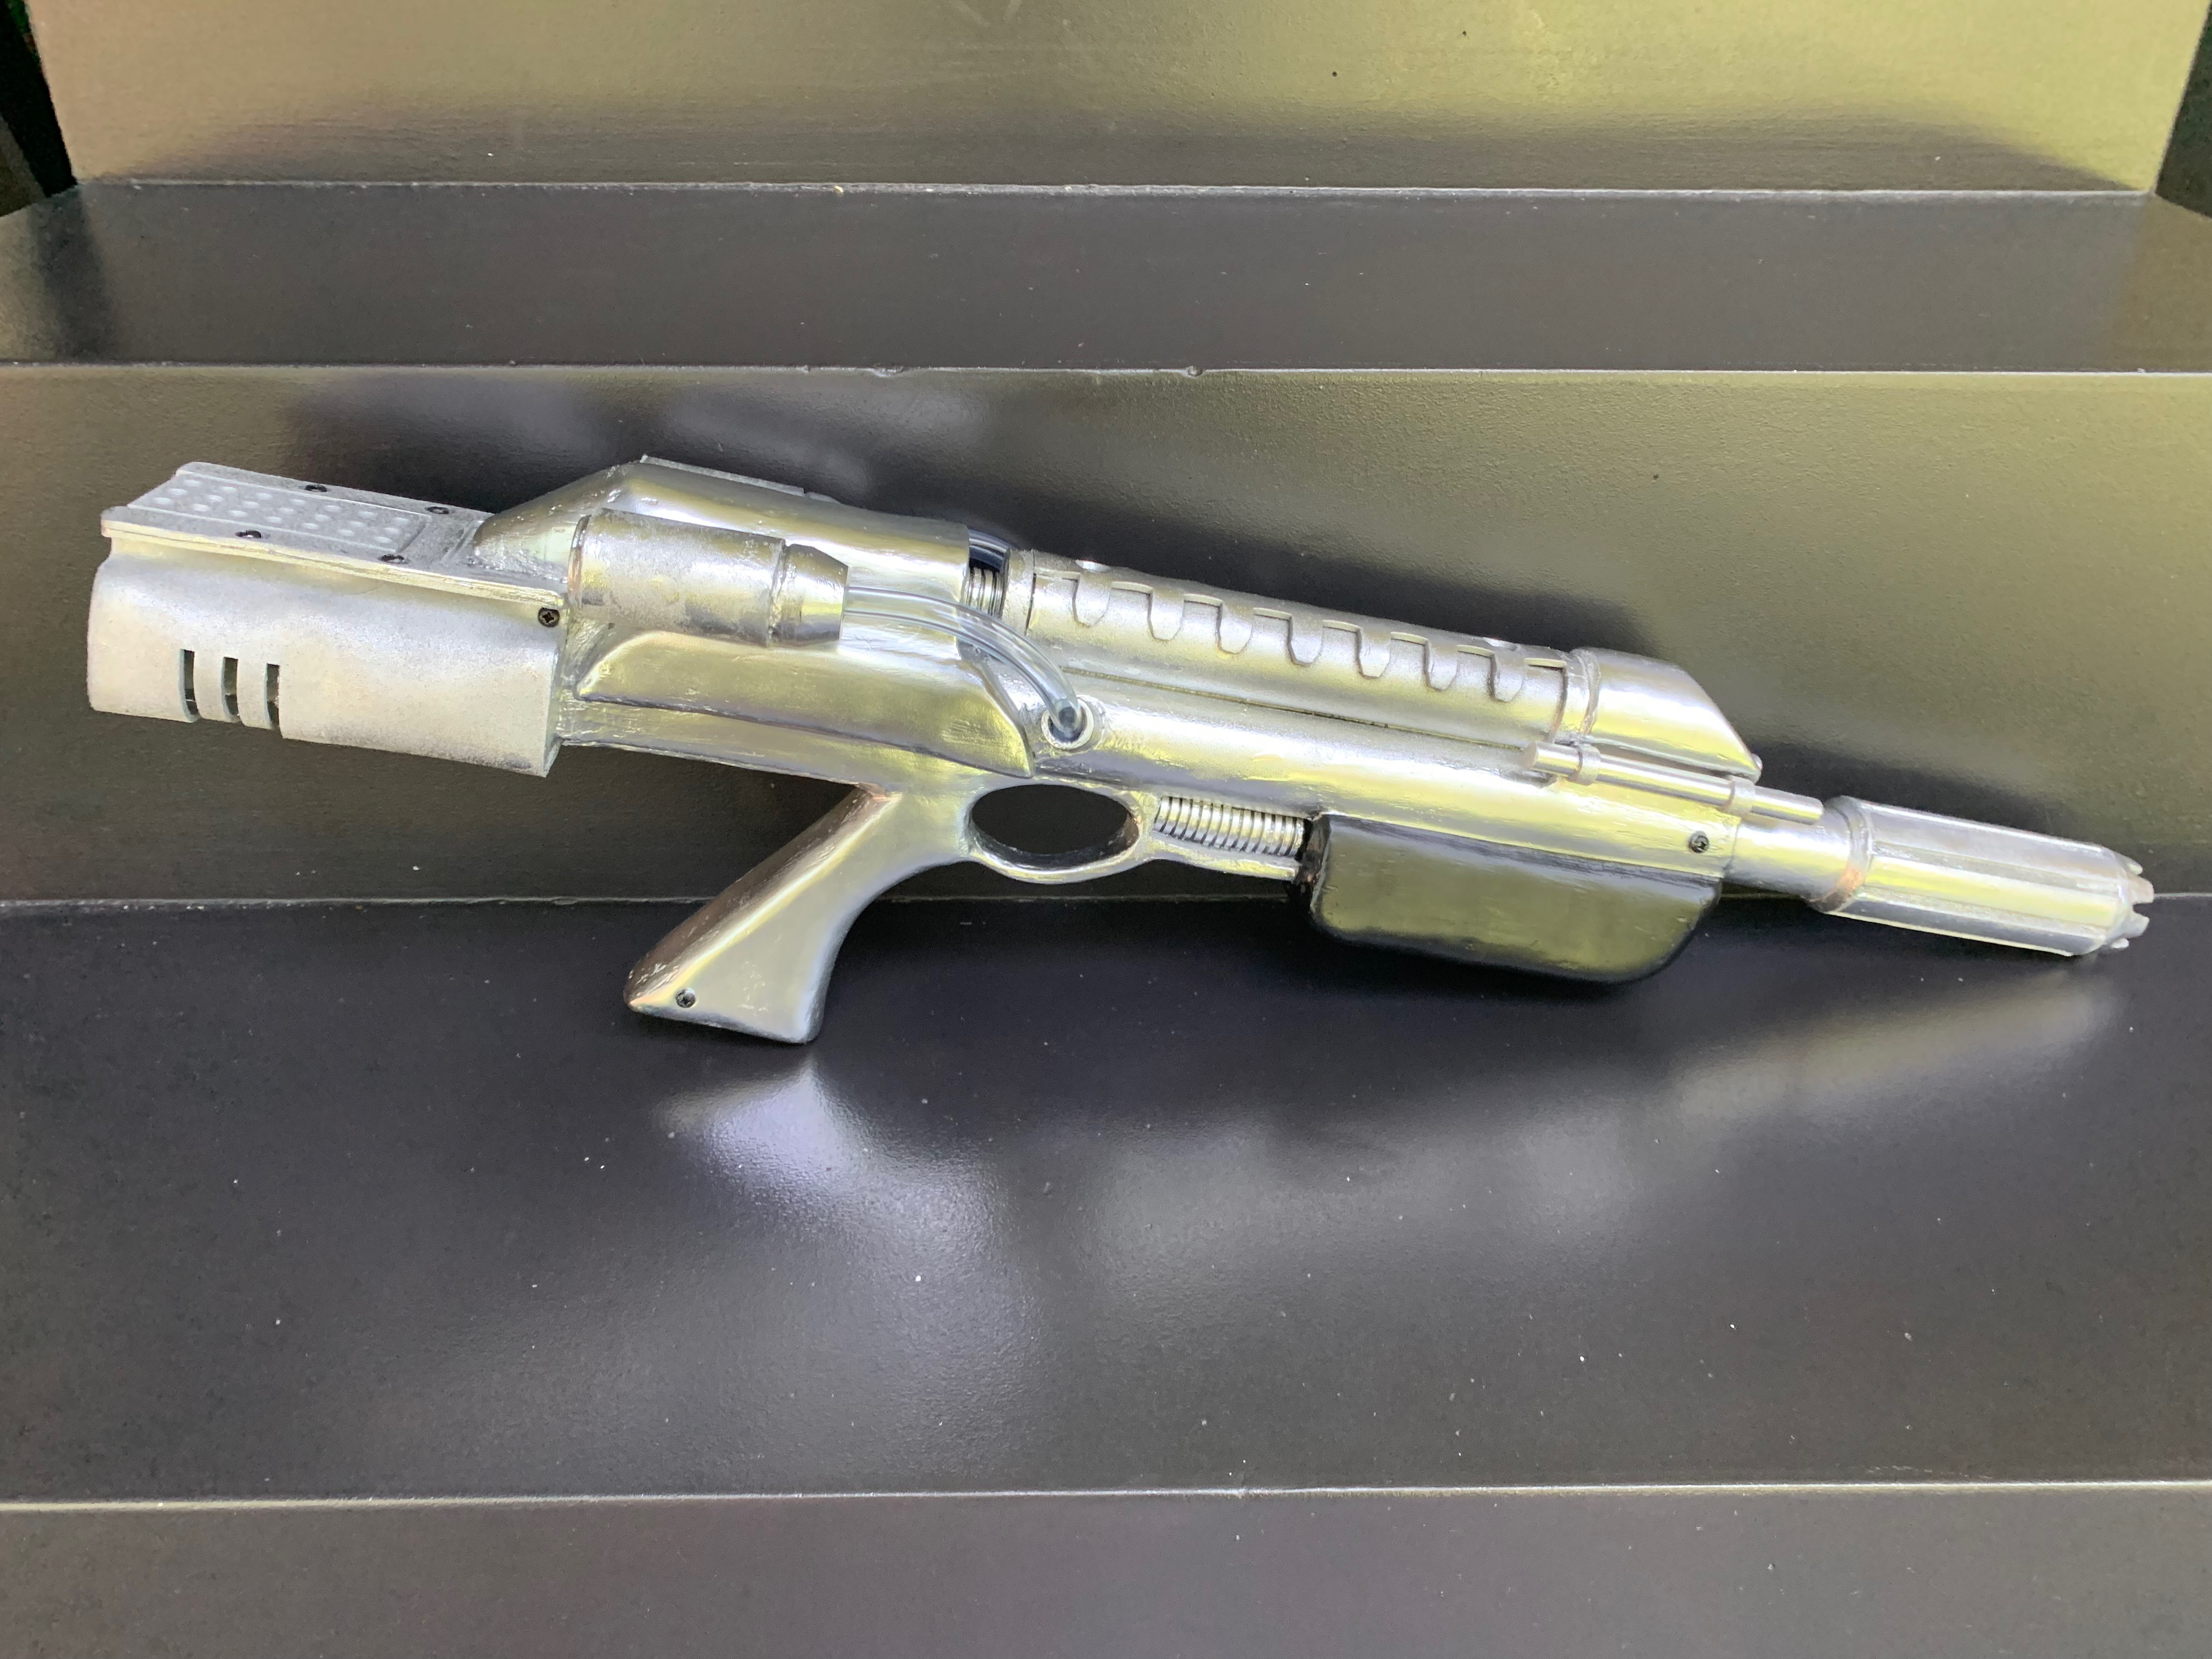
Constructing the Series 4 De-Atomizer ↗
So of course I couldn’t come up with a simple prop… of course it had to be one that is hard to find good pictures of, is a complex construction of many different parts and has to look shiny all over.
Yep, it had to be the Series 4 De-Atomizer 😇
The process was “basically” the same as with the Padel Racket, just a little more elaborate and complex.
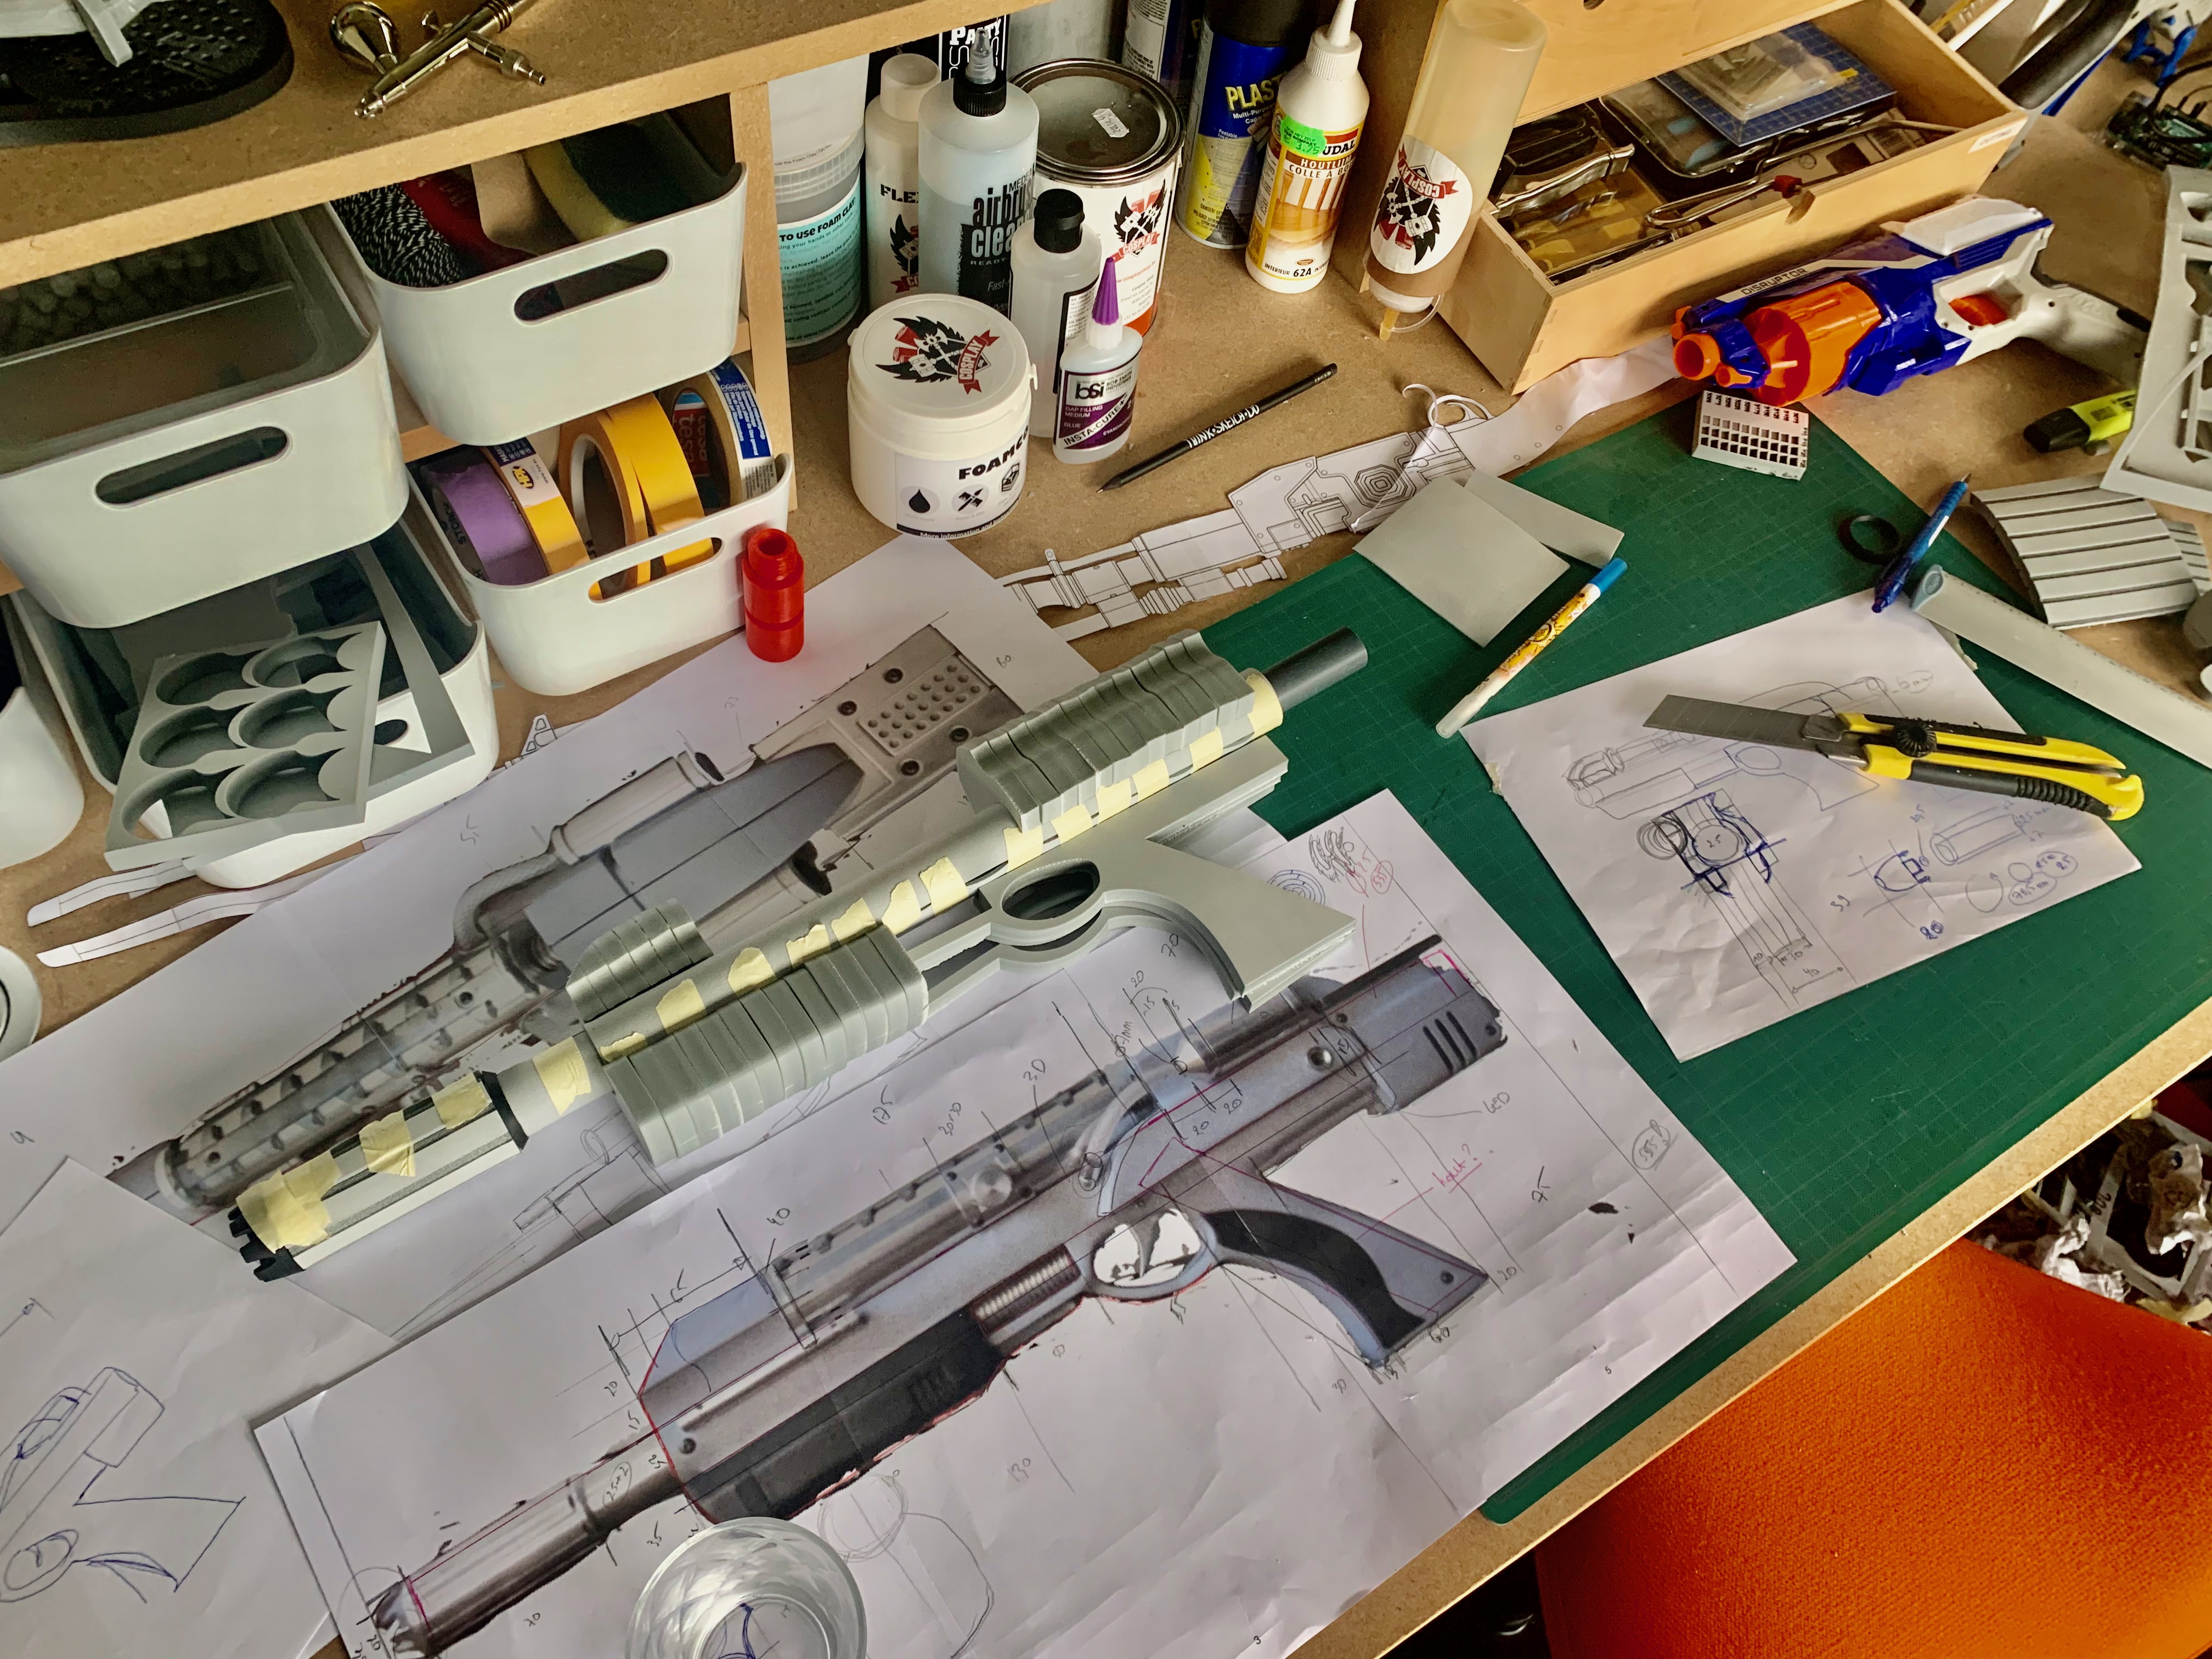
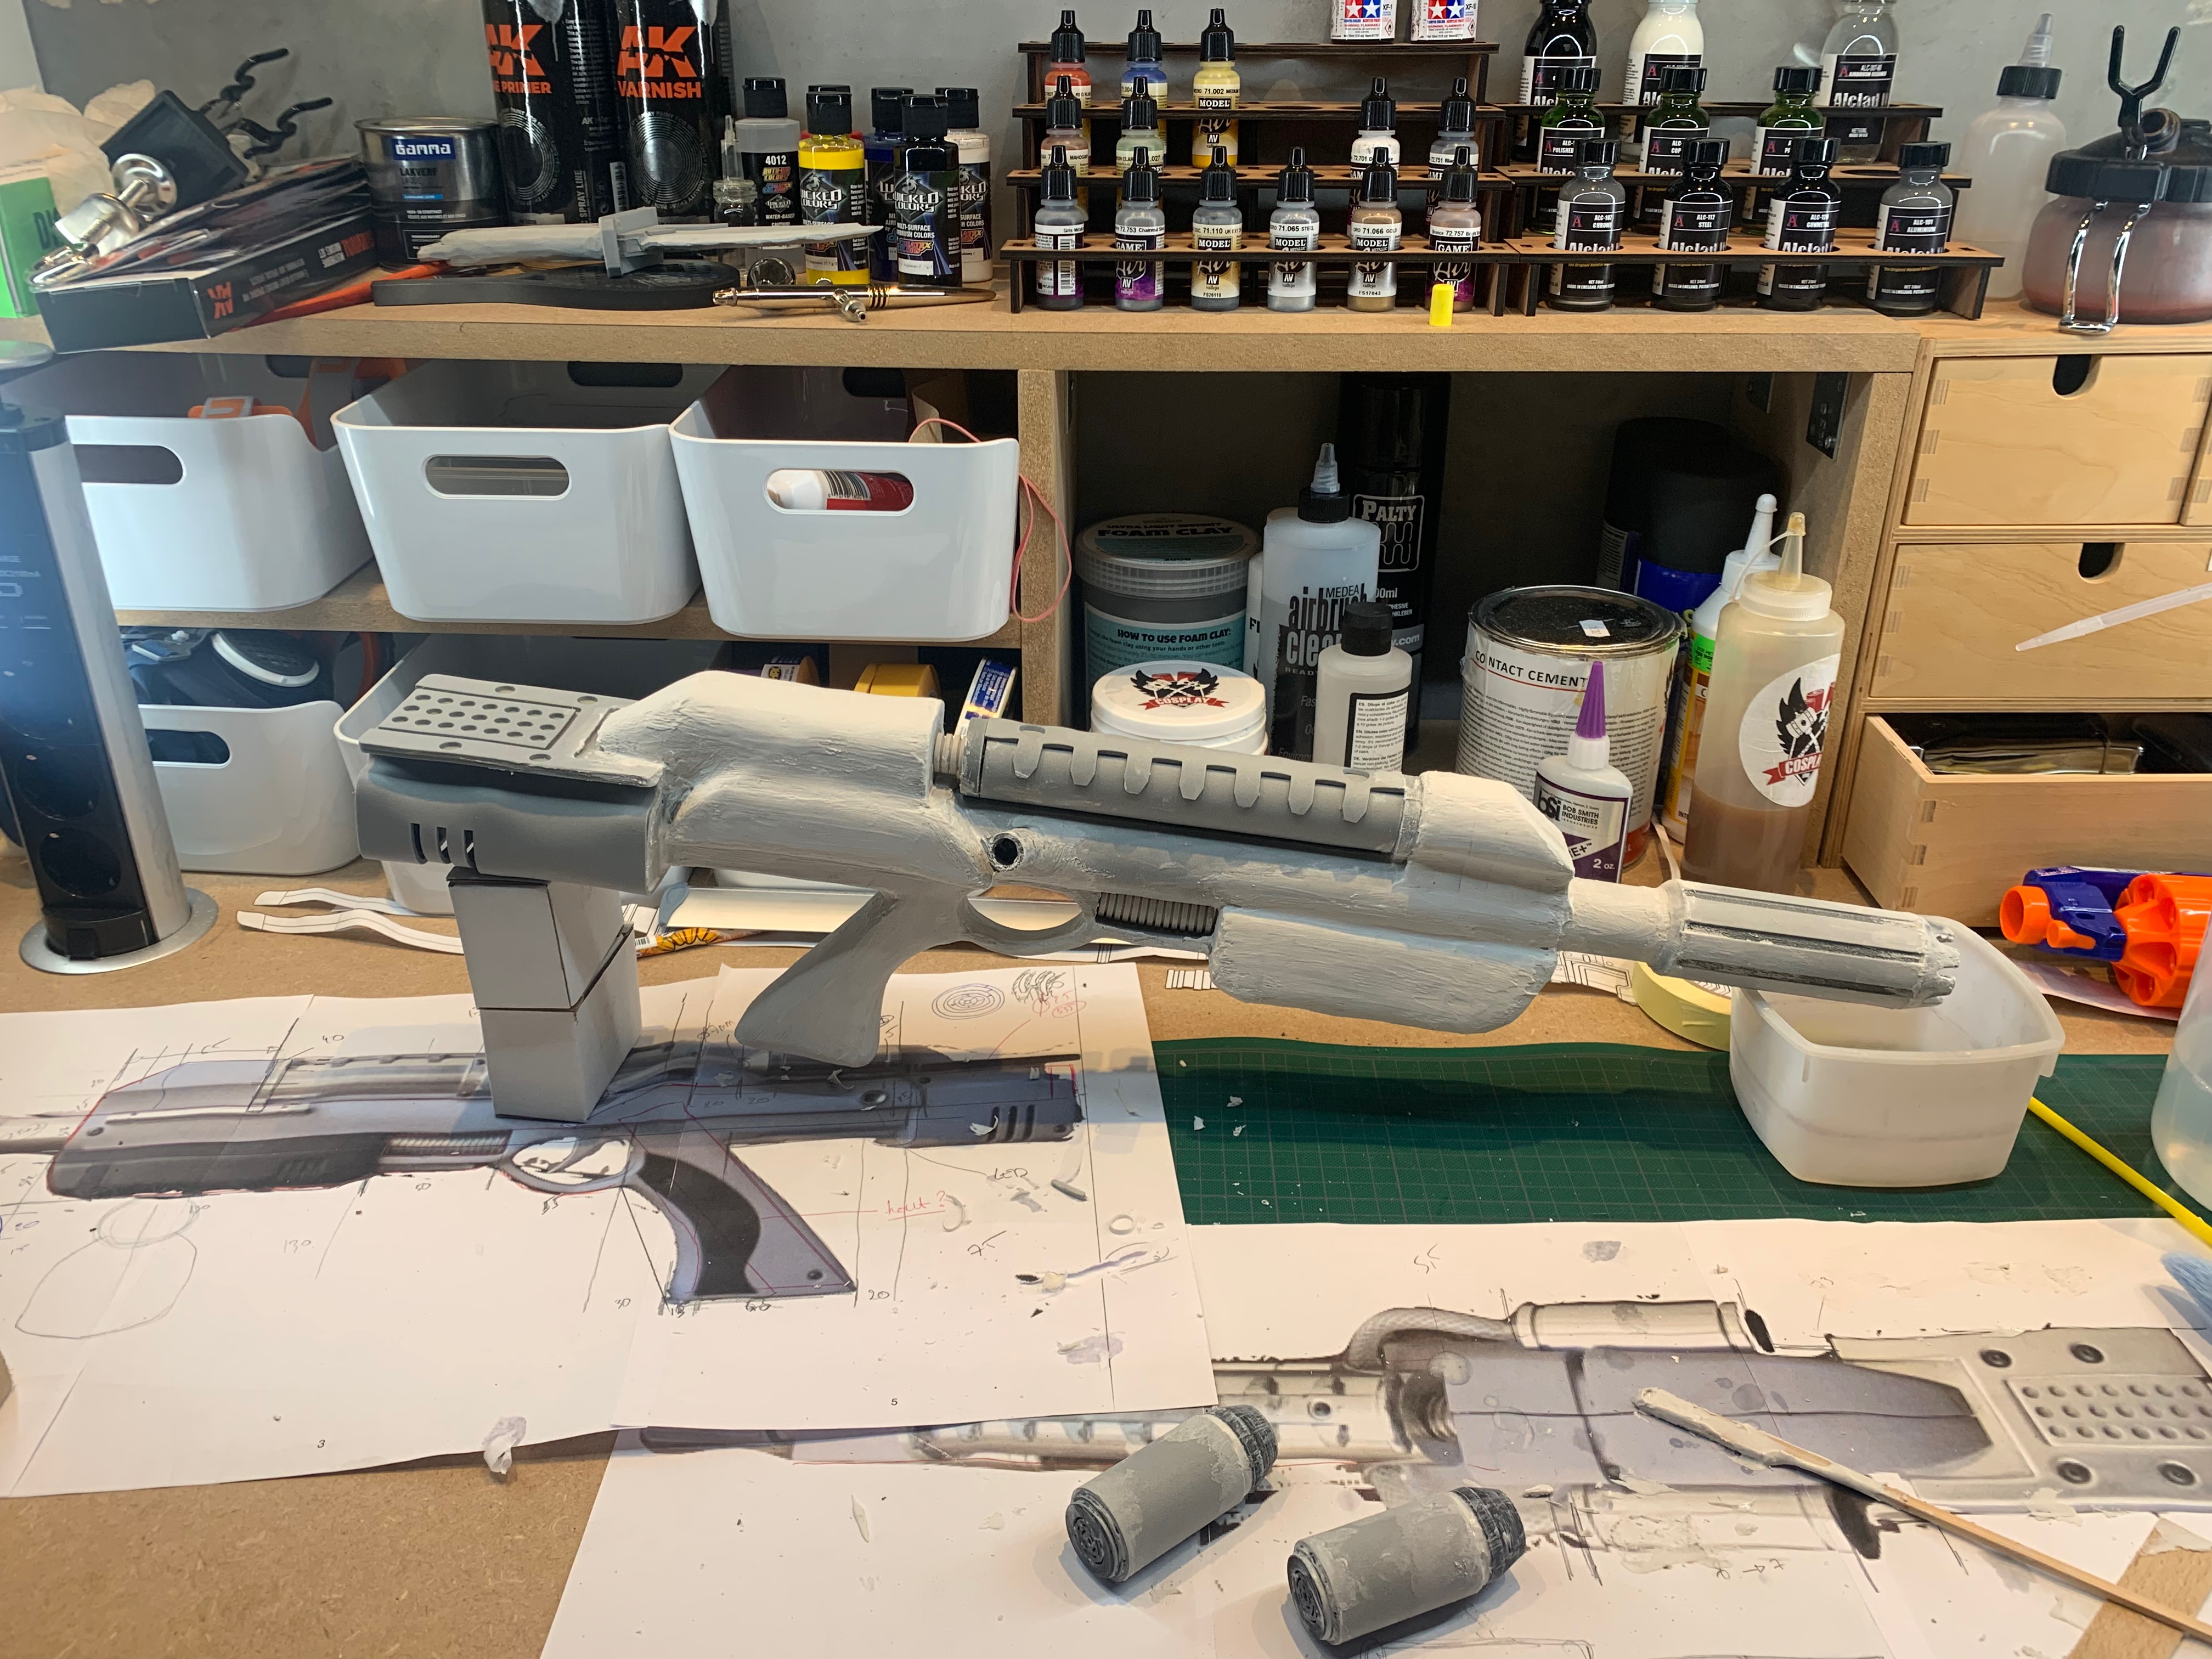
Making Plans
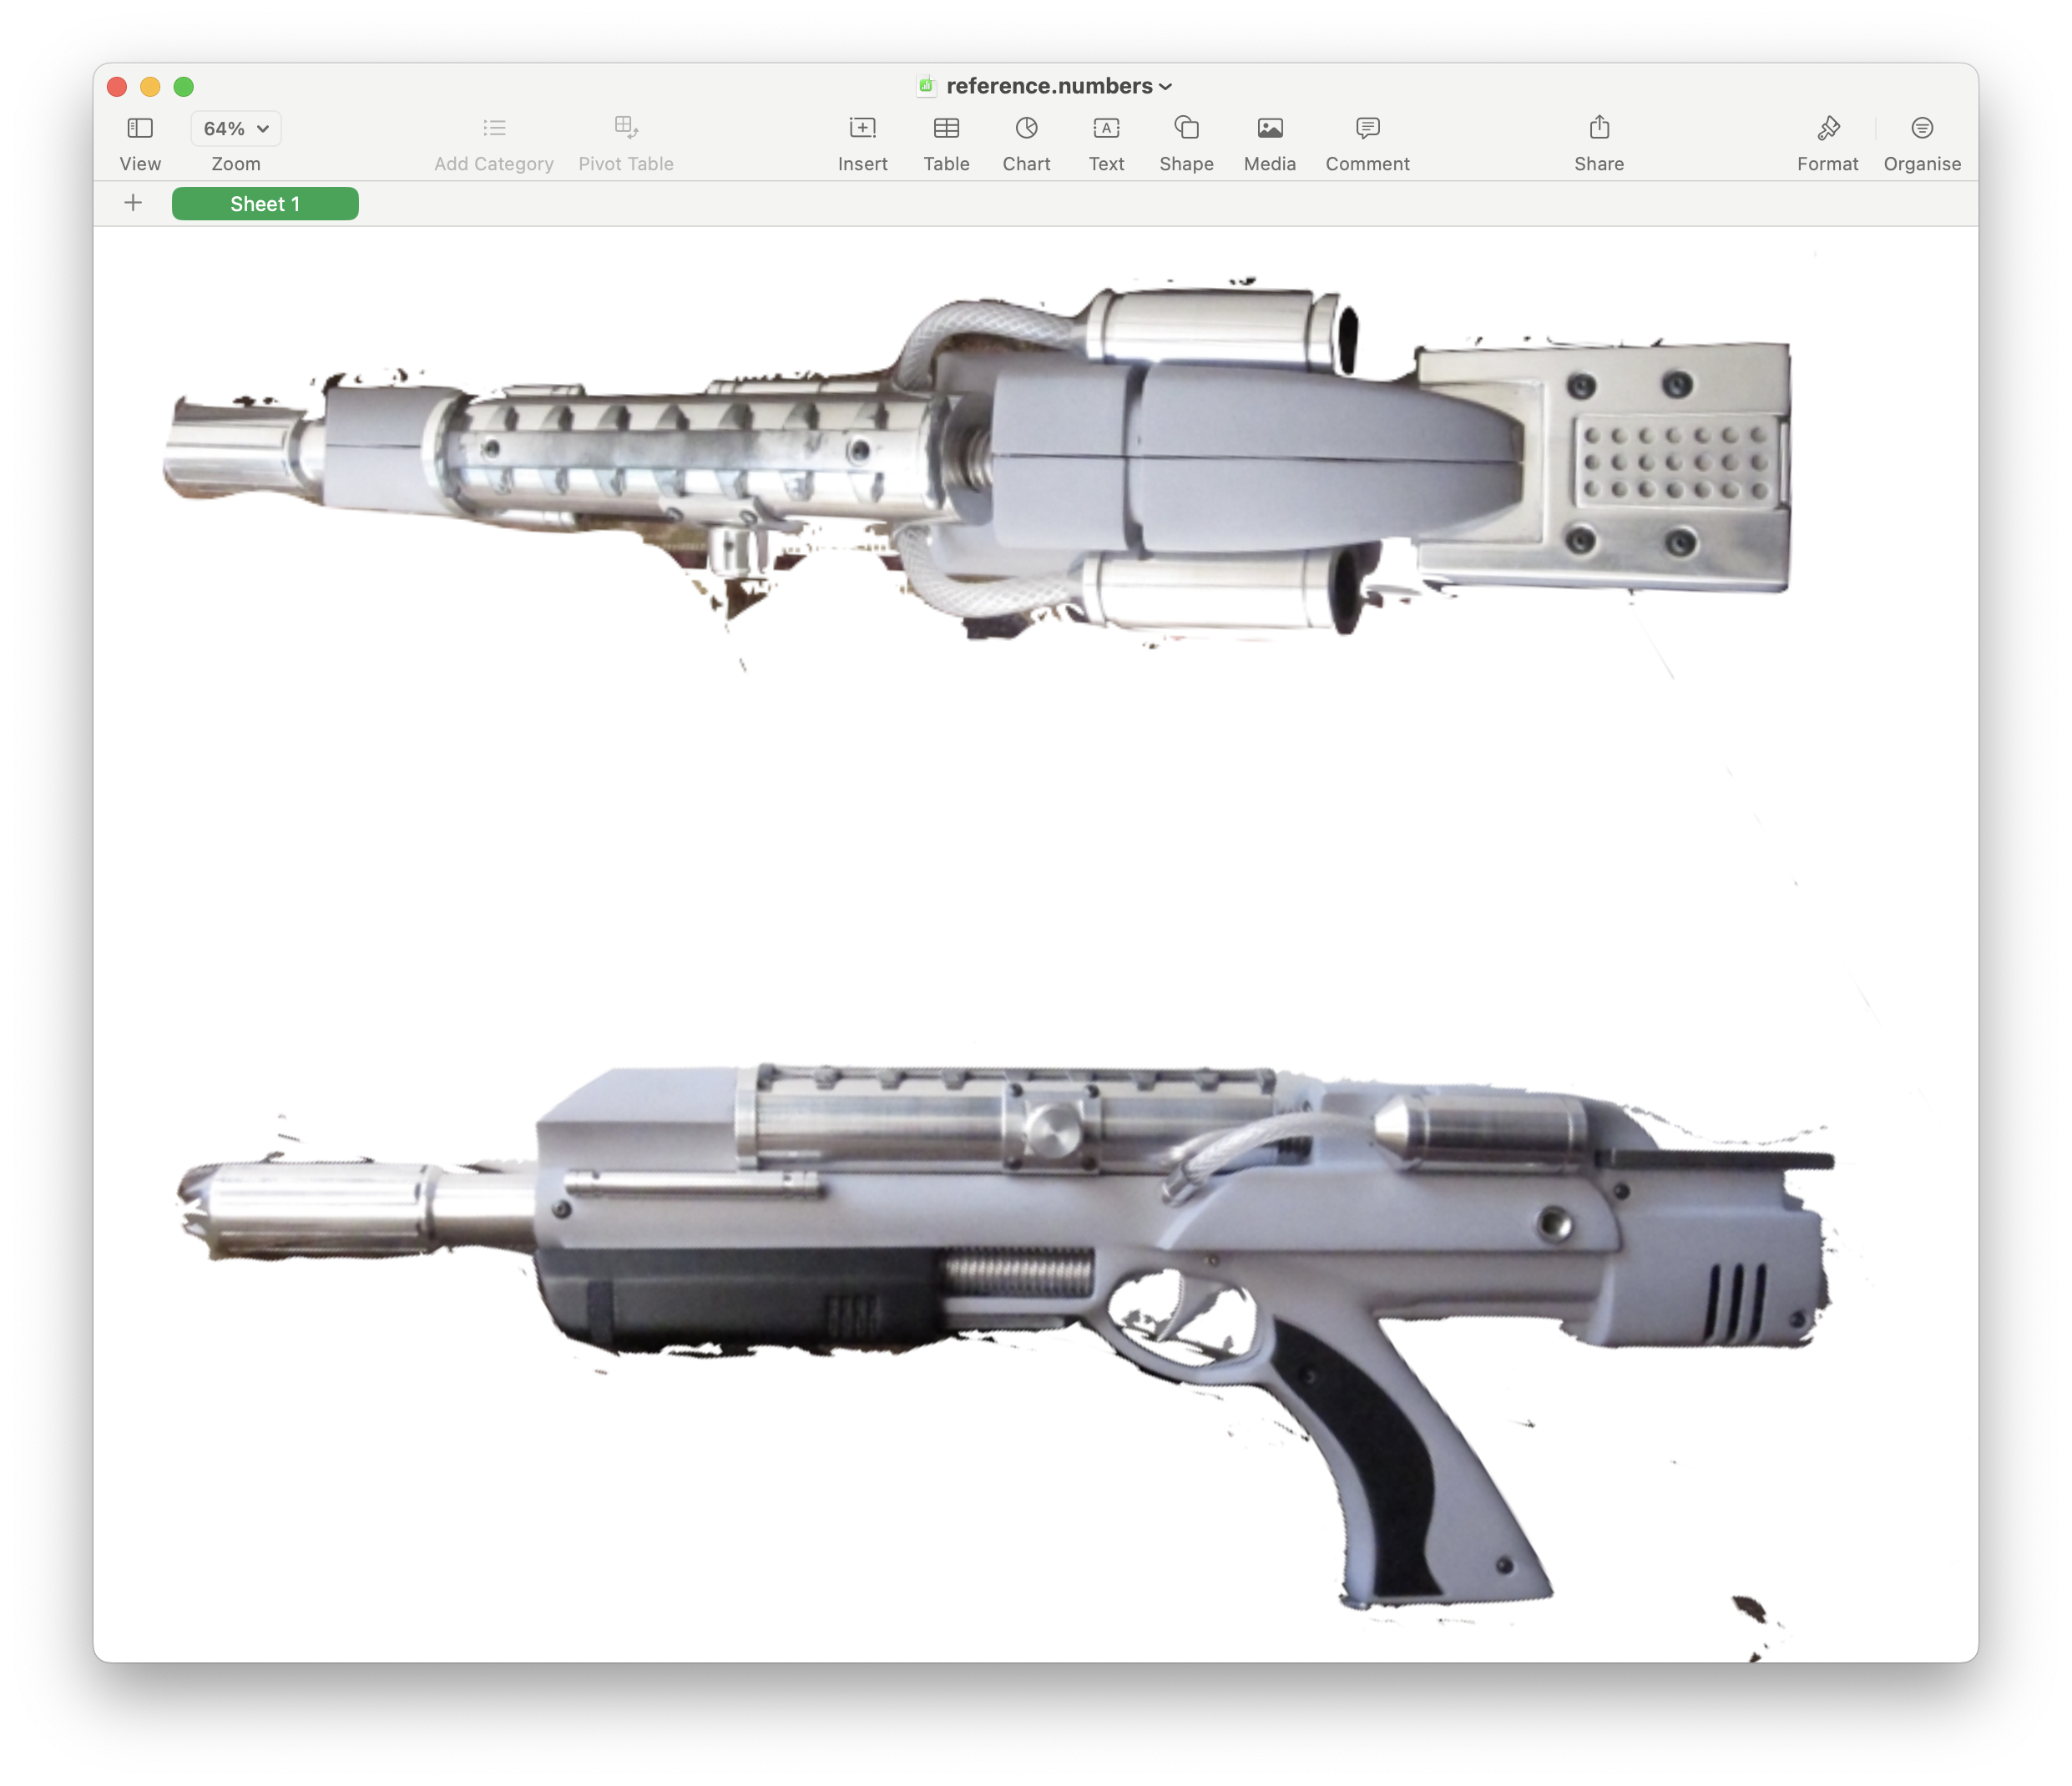
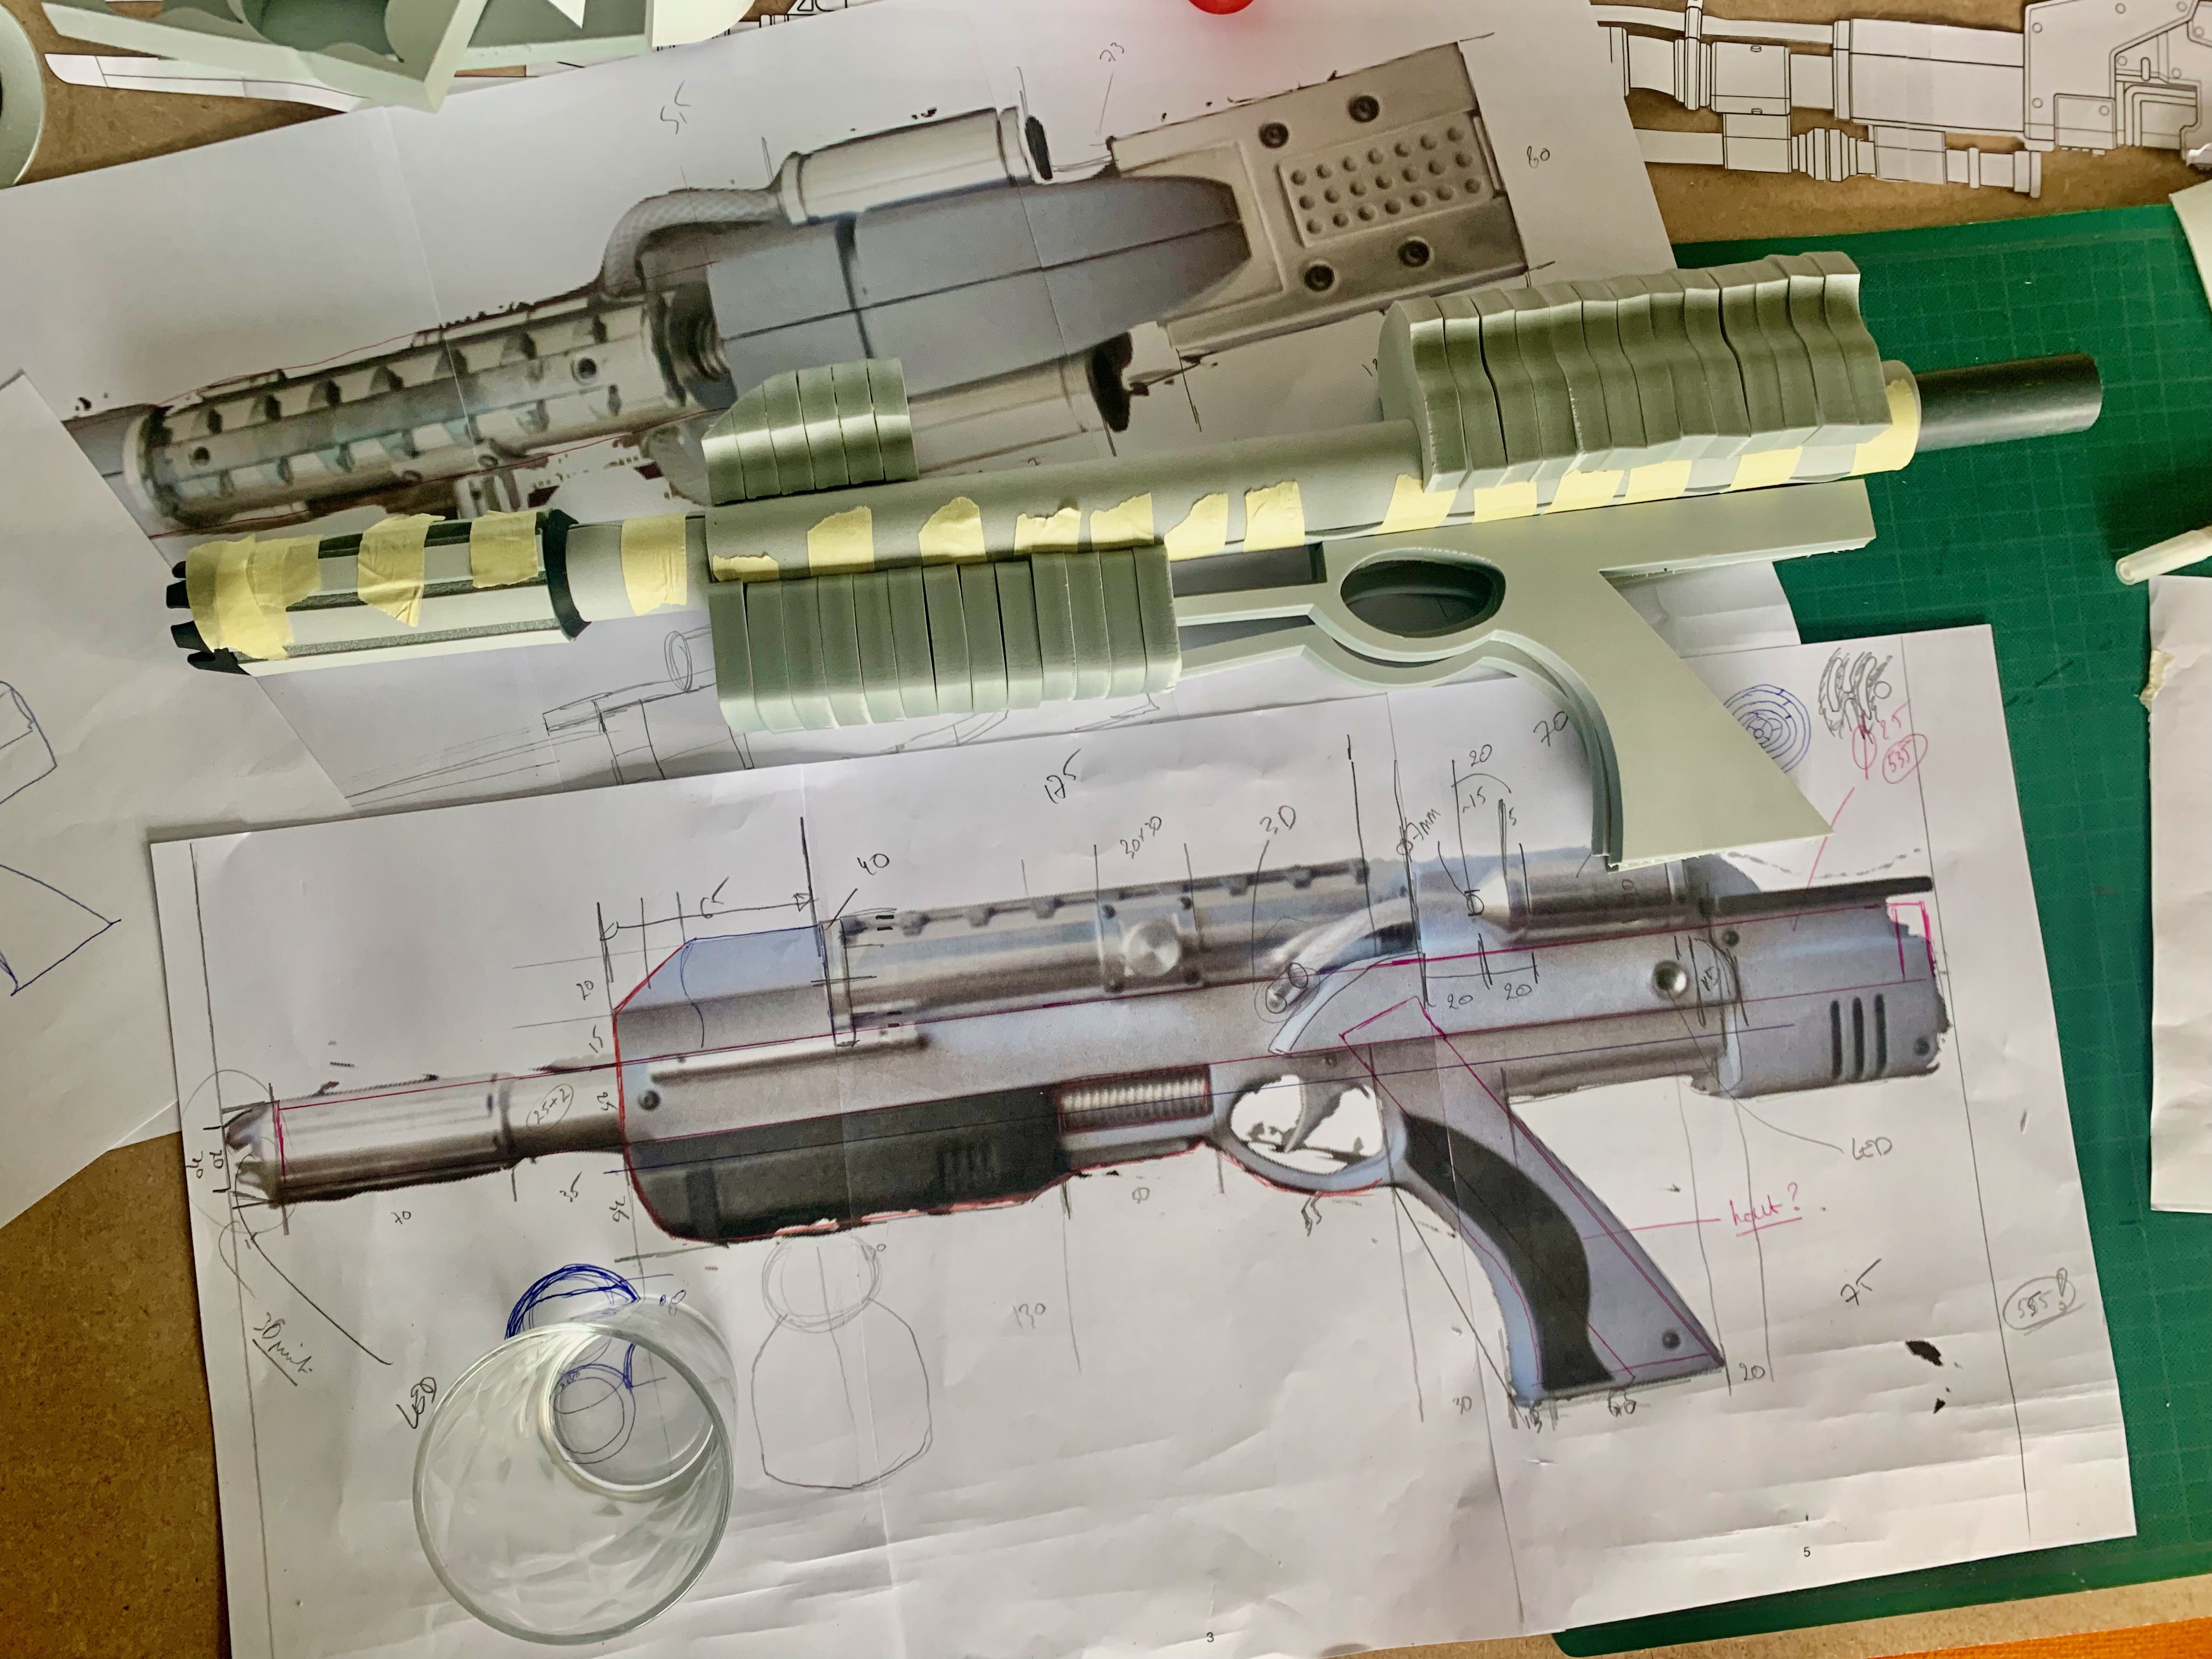
From some pictures online, I constructed a print-out template to use as blue-print of the top and side of the gun - and you gotta use what works… printing them from Numbers, allowed me to span it acros multiple pages and print it to scale 🫣

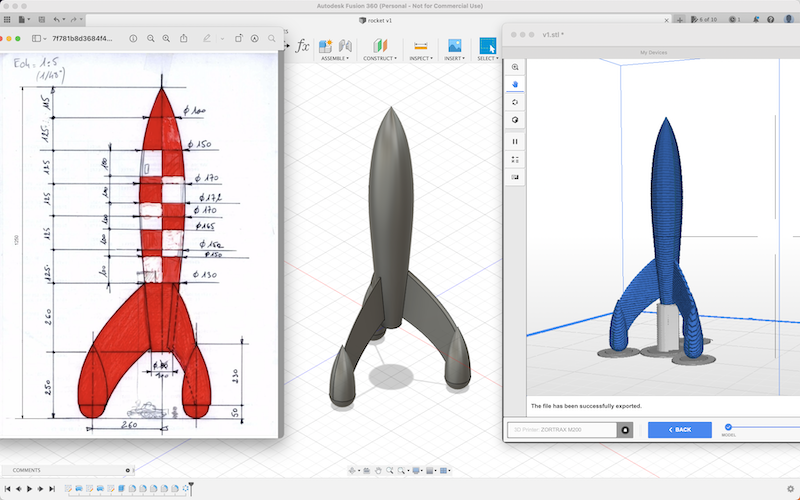
I had to come up with many 2D-to-3D-puzzles to combine basic shapes into a construction that immitated the original. While doing so, I modelled many parts in Fusion, until in the end I even had a complete 3D model of the gun.
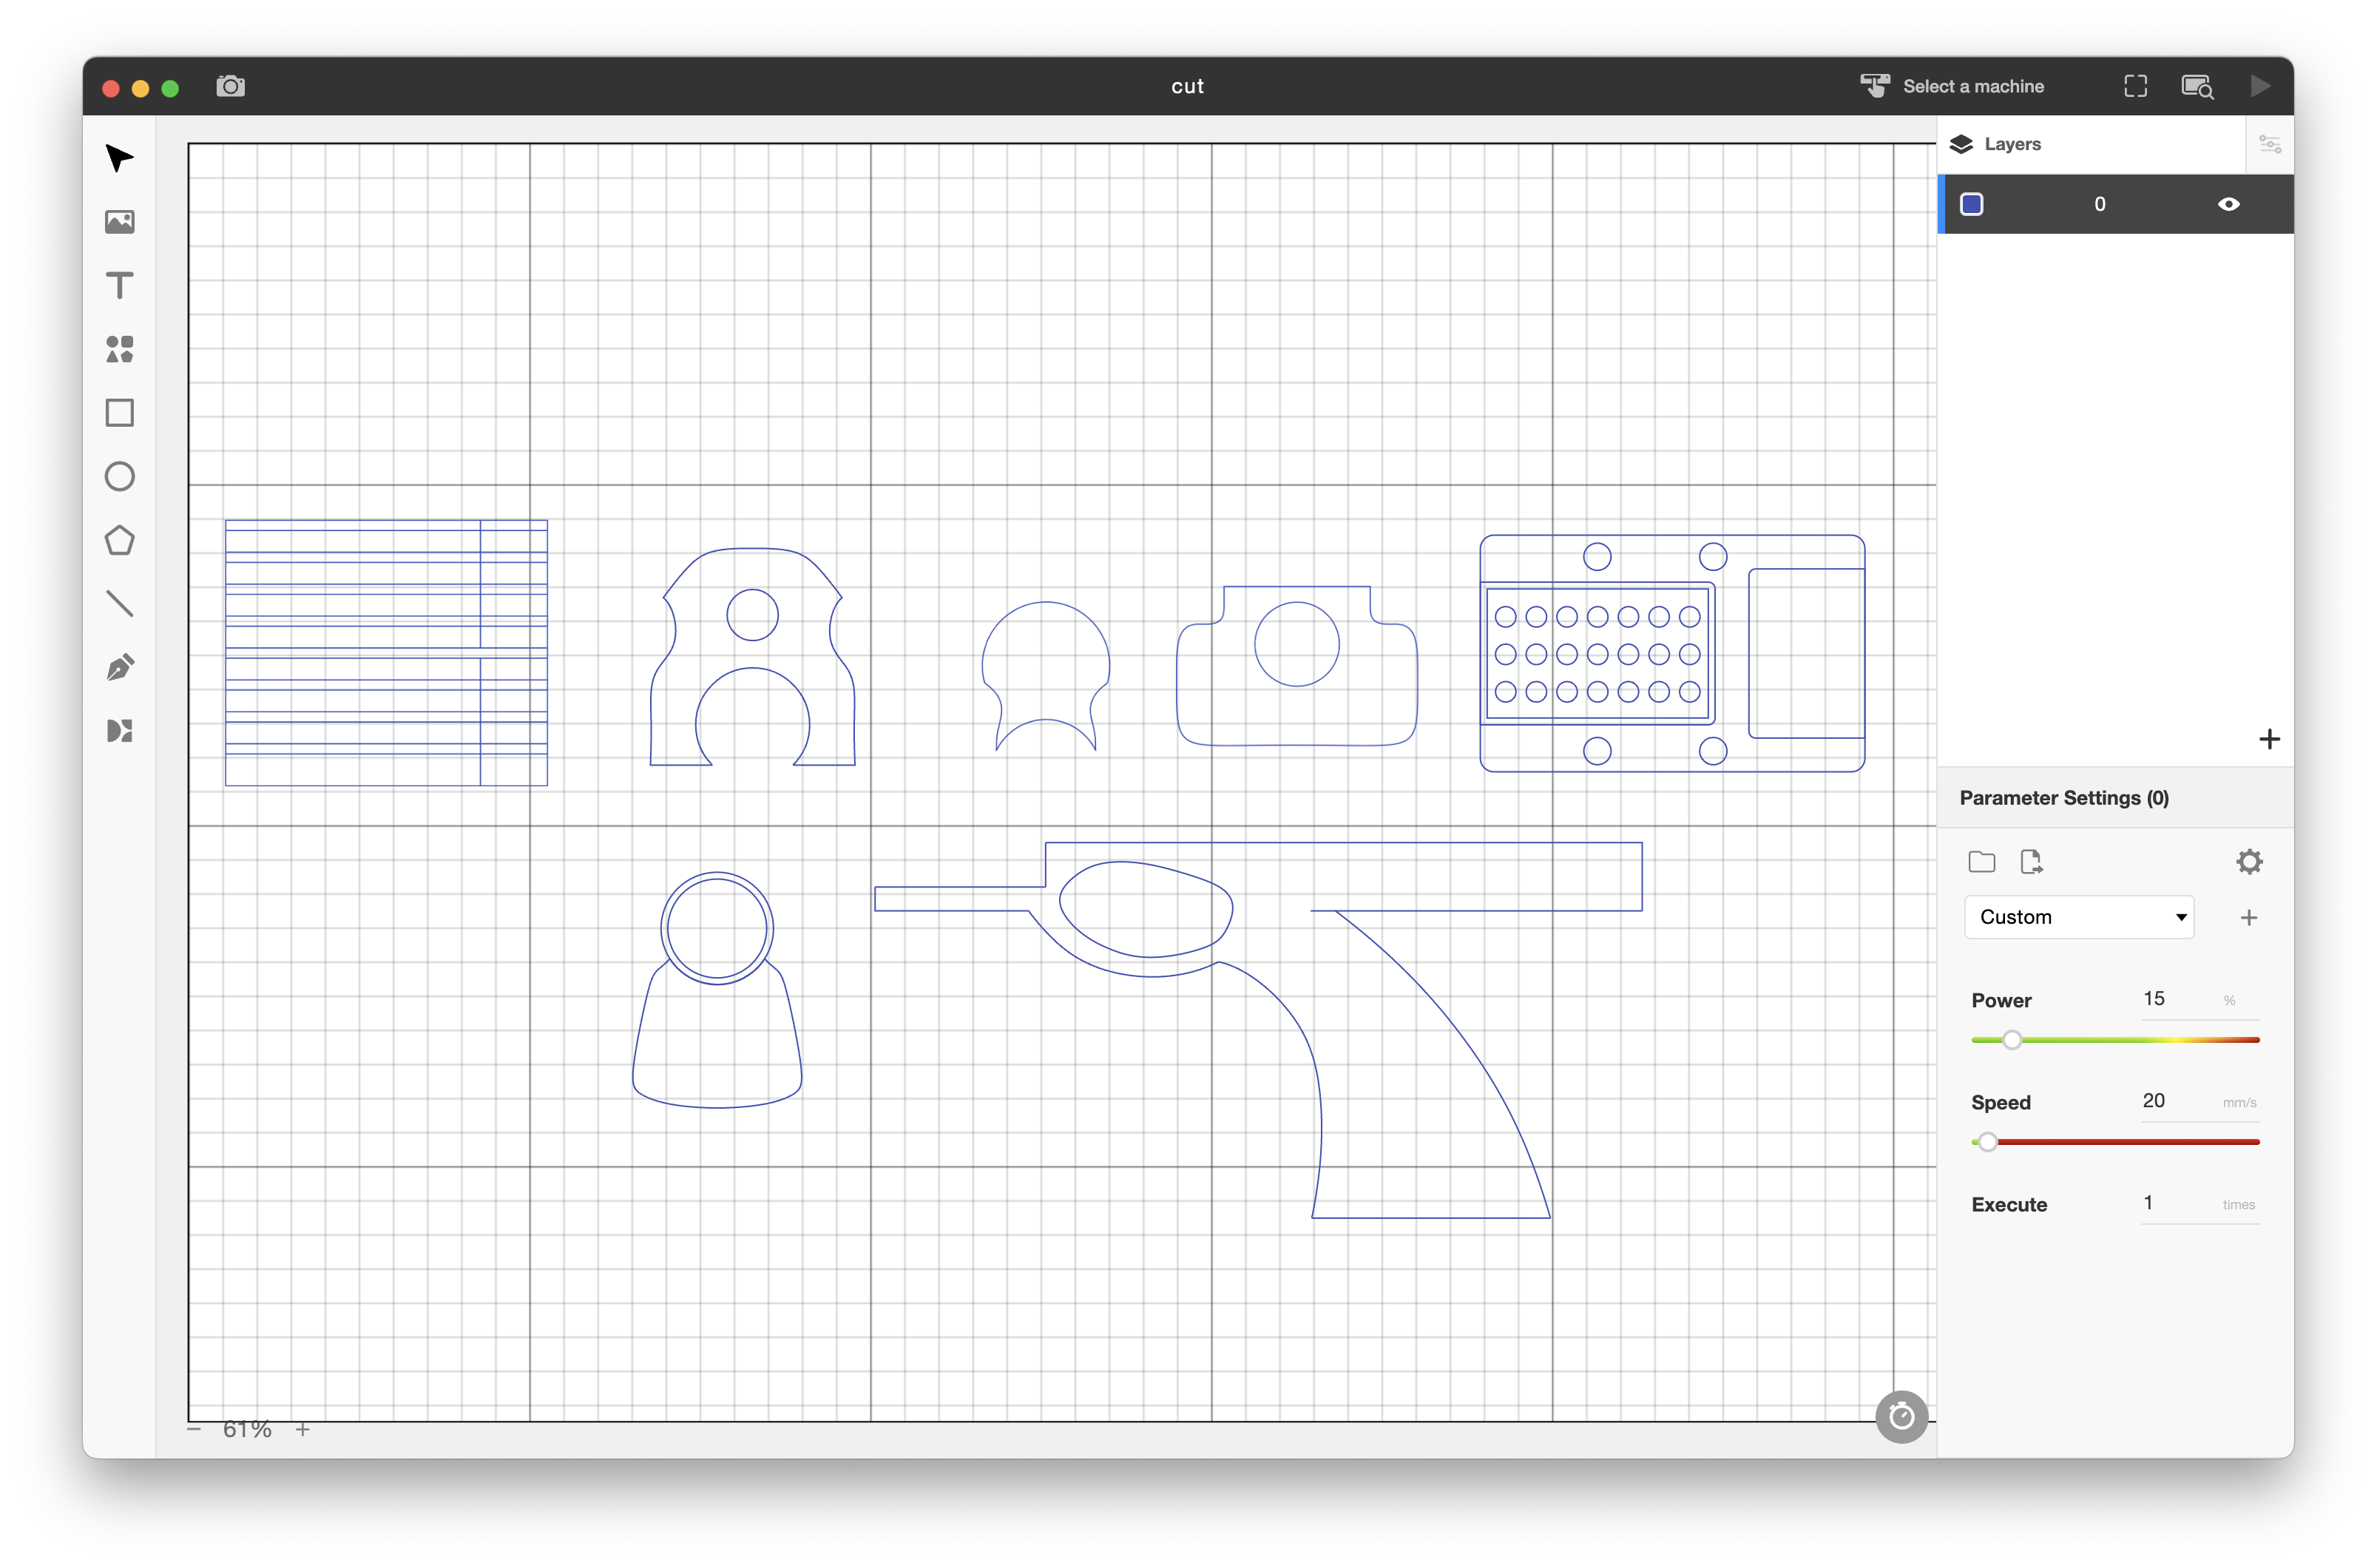
This allowed me to make many projections and section cuts to have clean 2D vector images and 3D surface models to feed into my laser cutter and/or 3D printer.
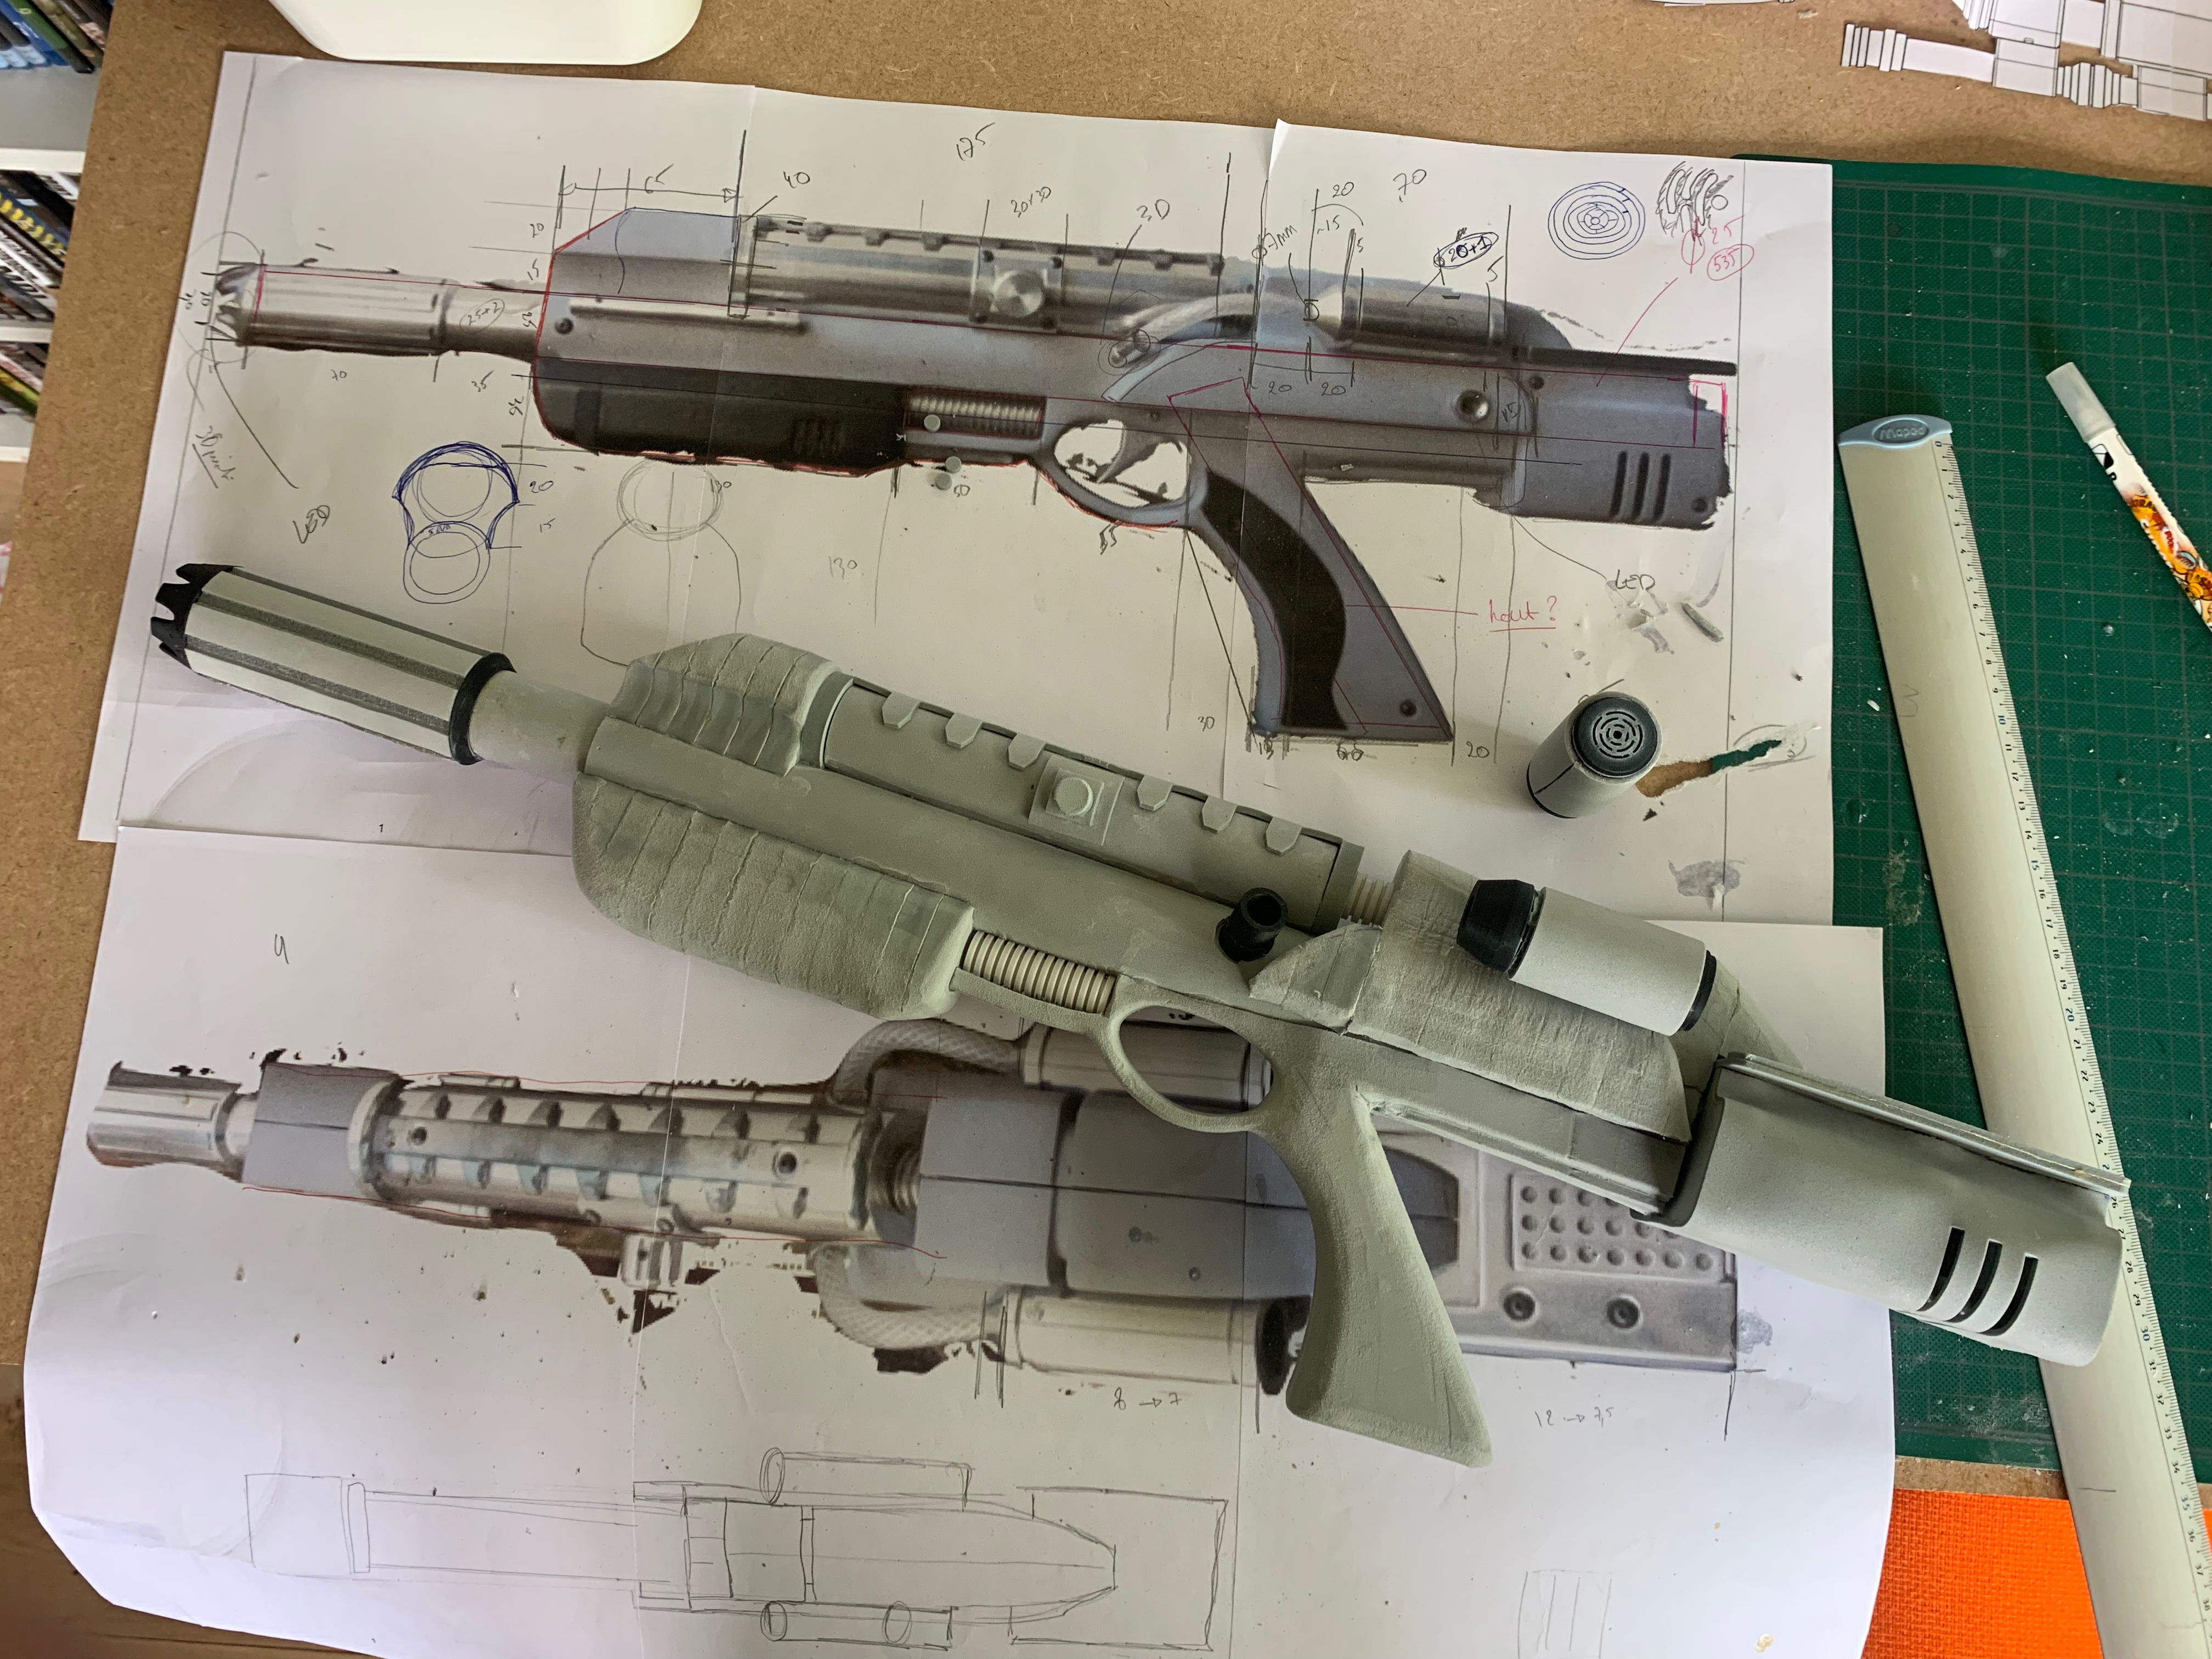
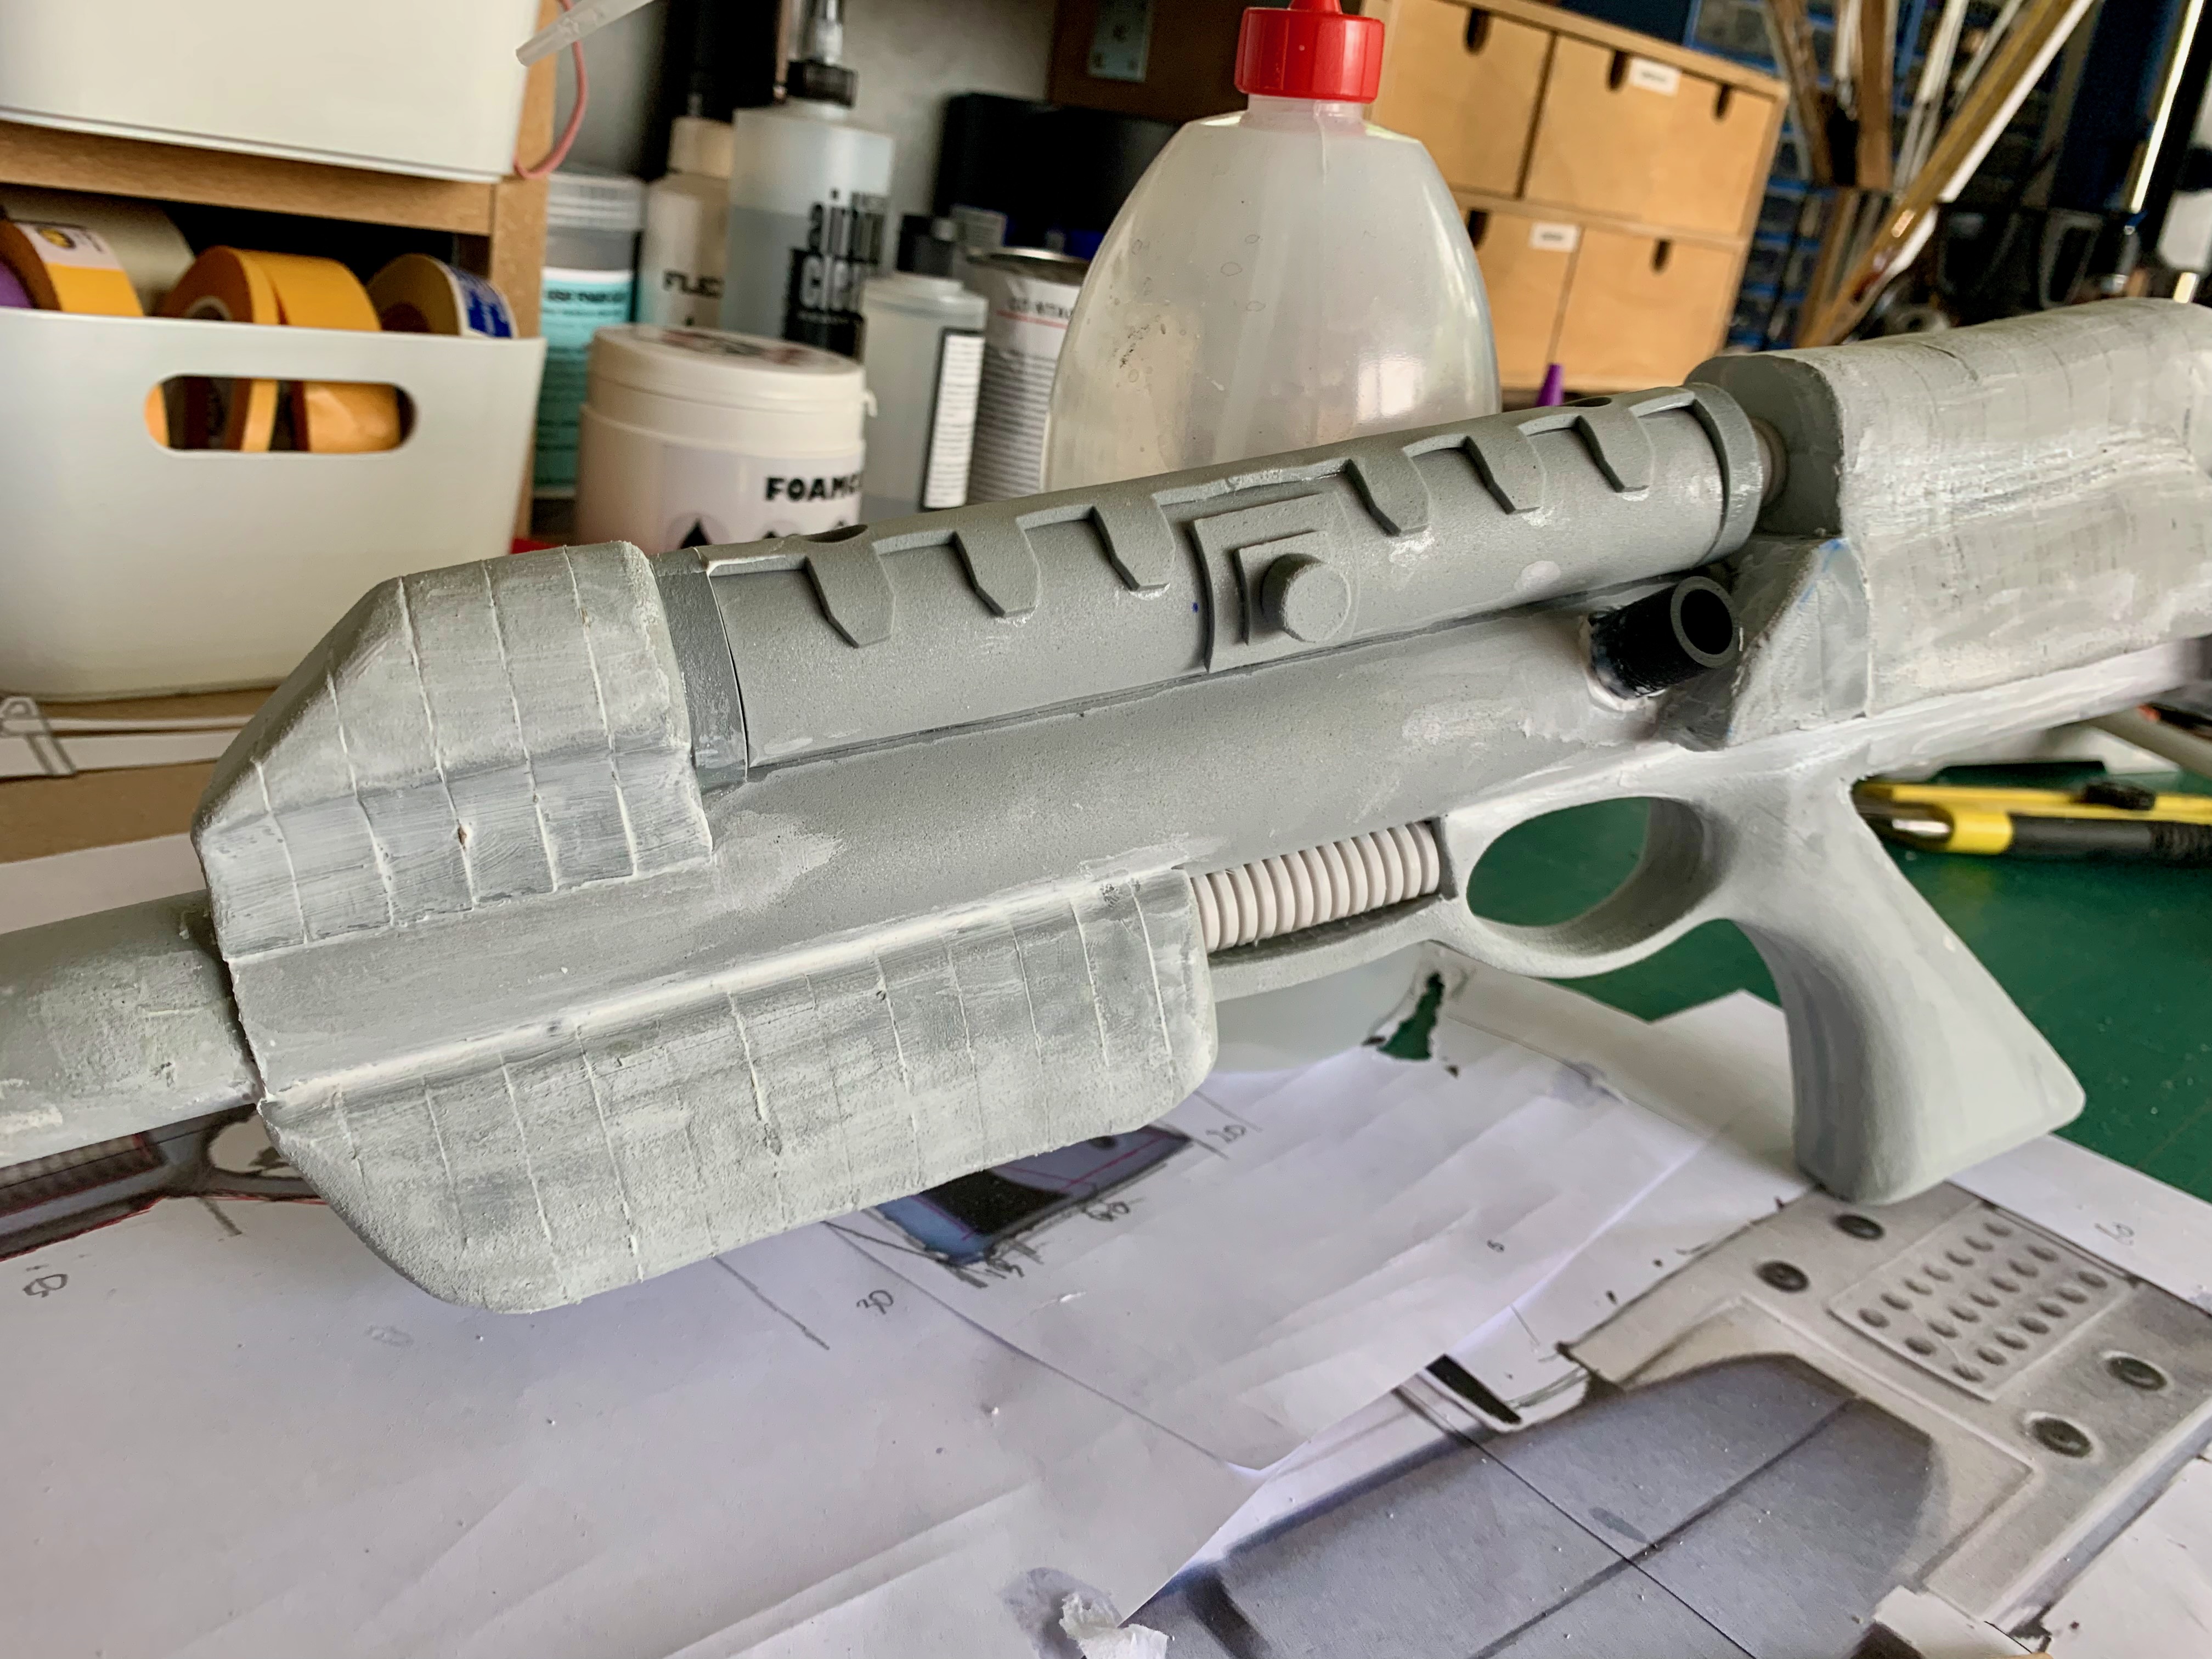
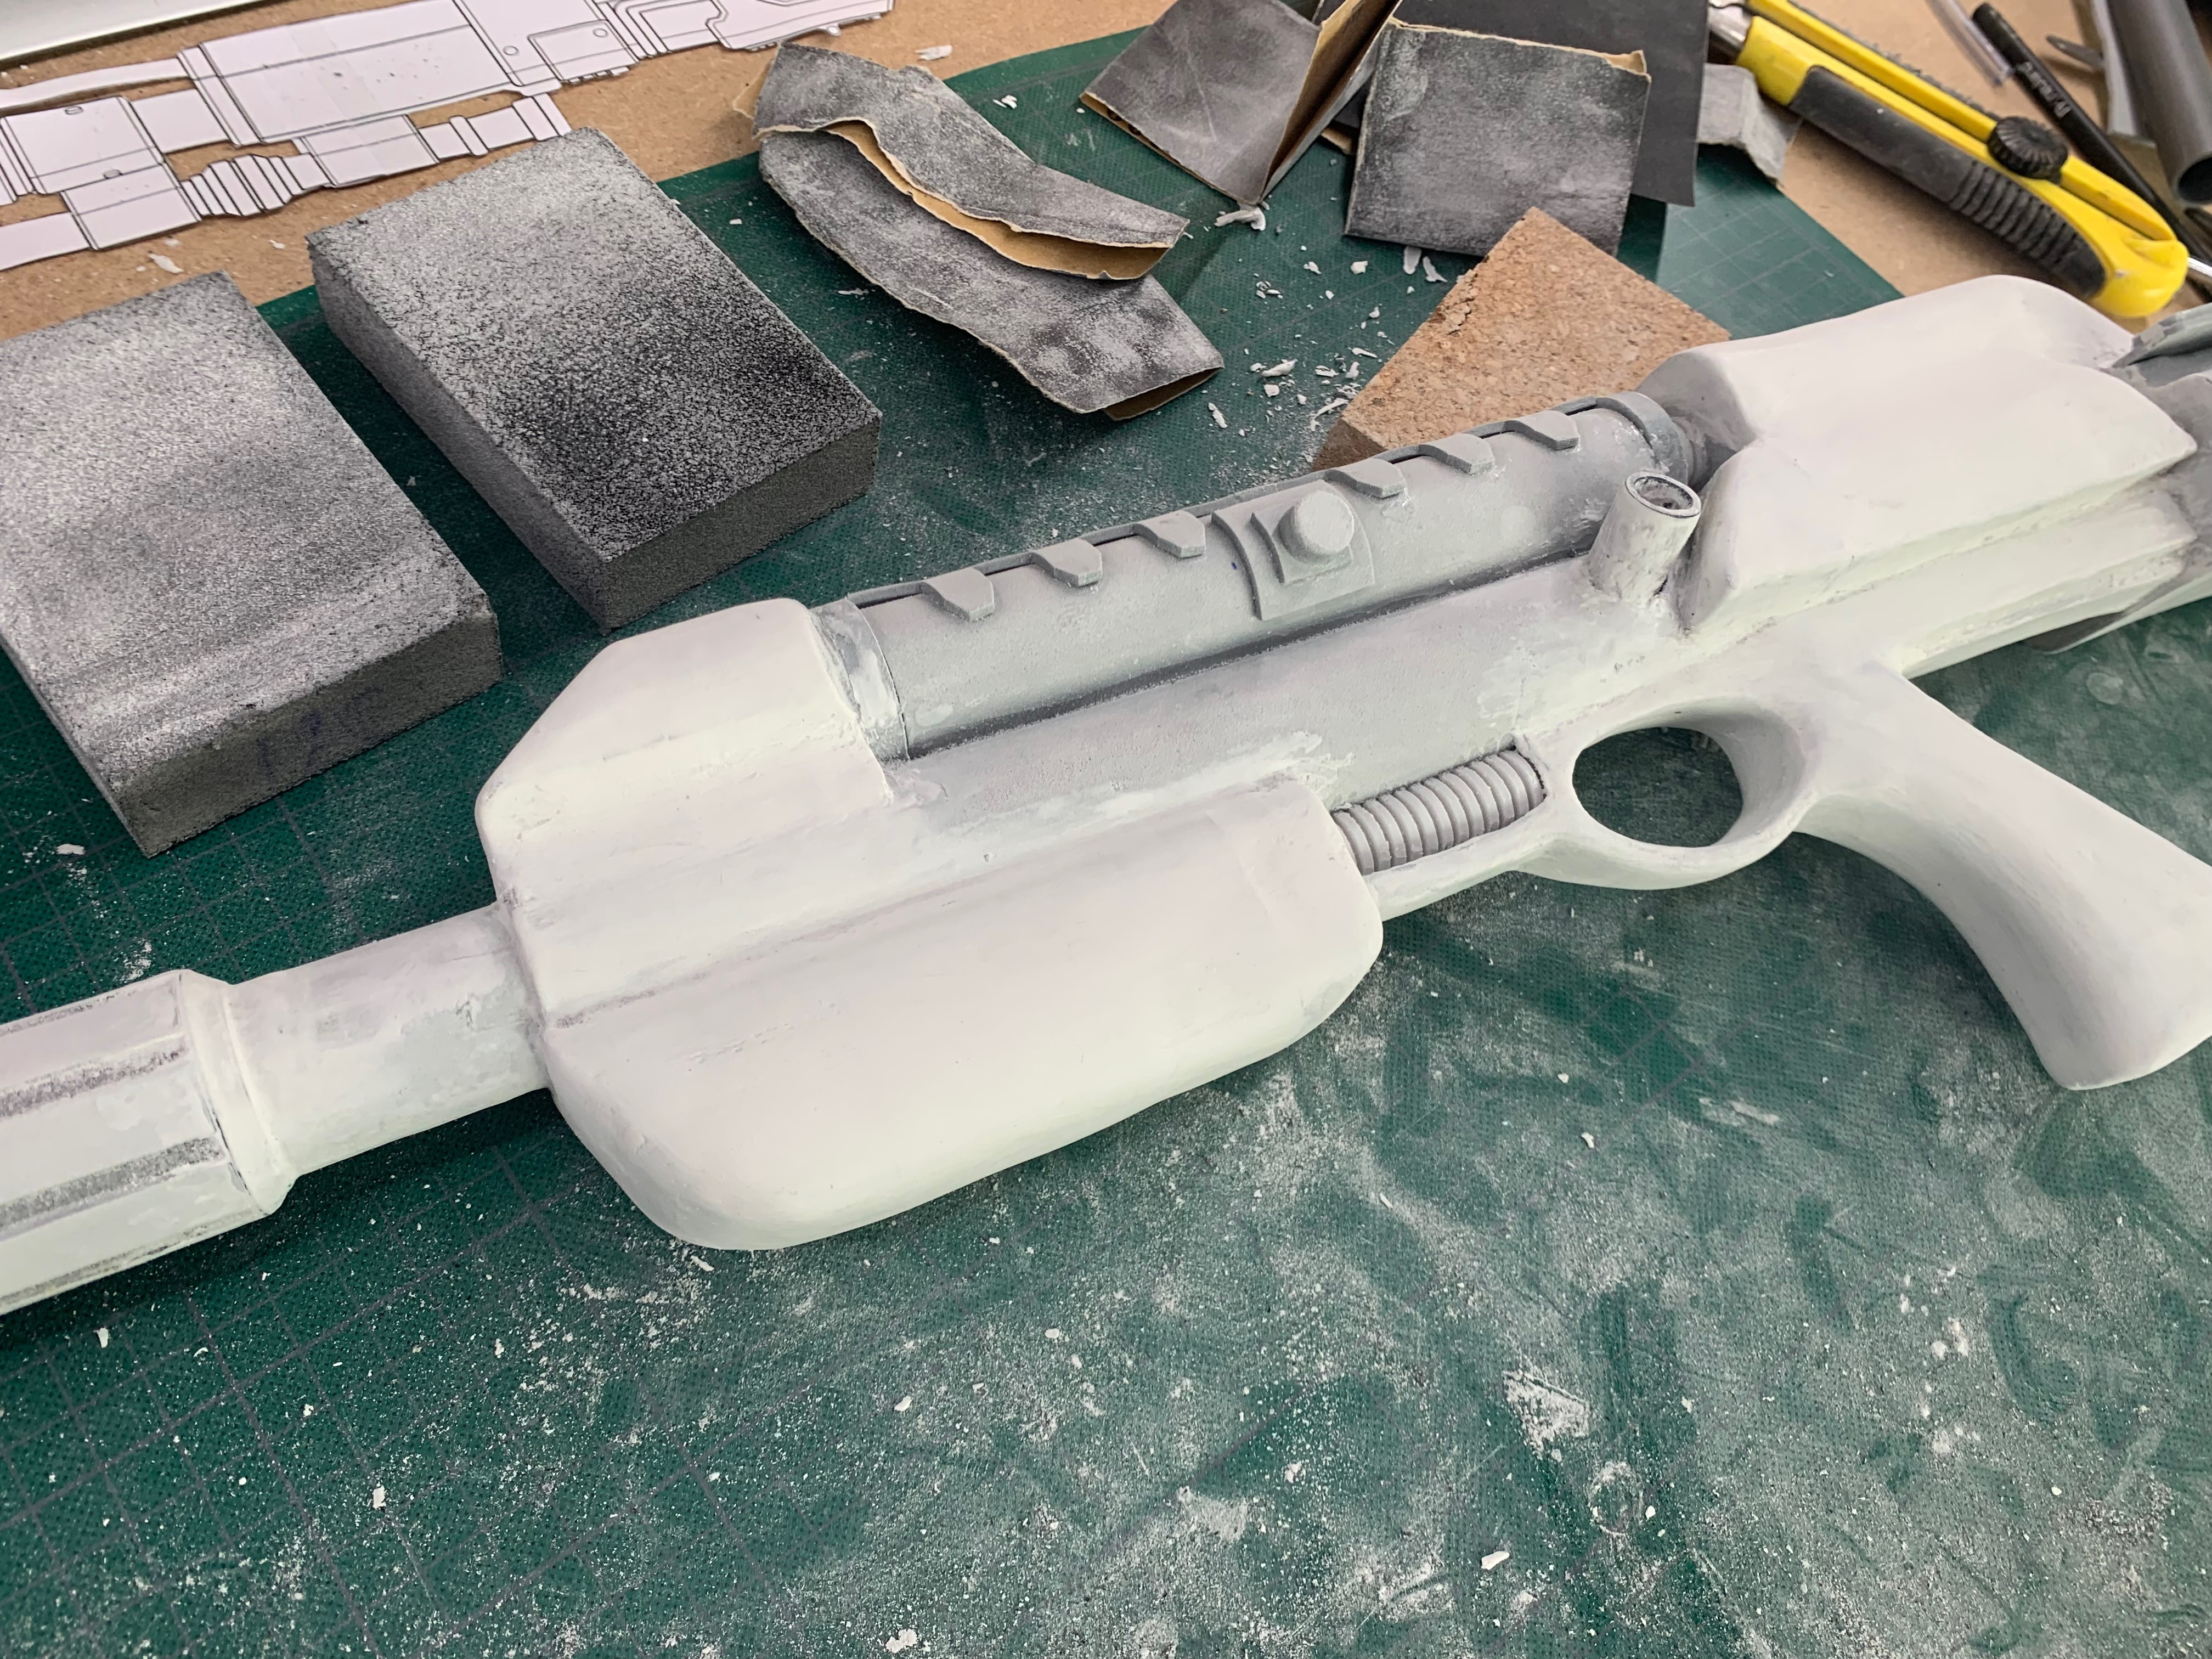
Cutting and Printing and Glueing and Sanding…
So, I again cut many pieces of EVA foam with my laser cutter, glued them together and sanded them to come up with a nice curvy look. Some smaller parts were 3D printed and had a layer of EVA foam clay added to make them more like the other parts.
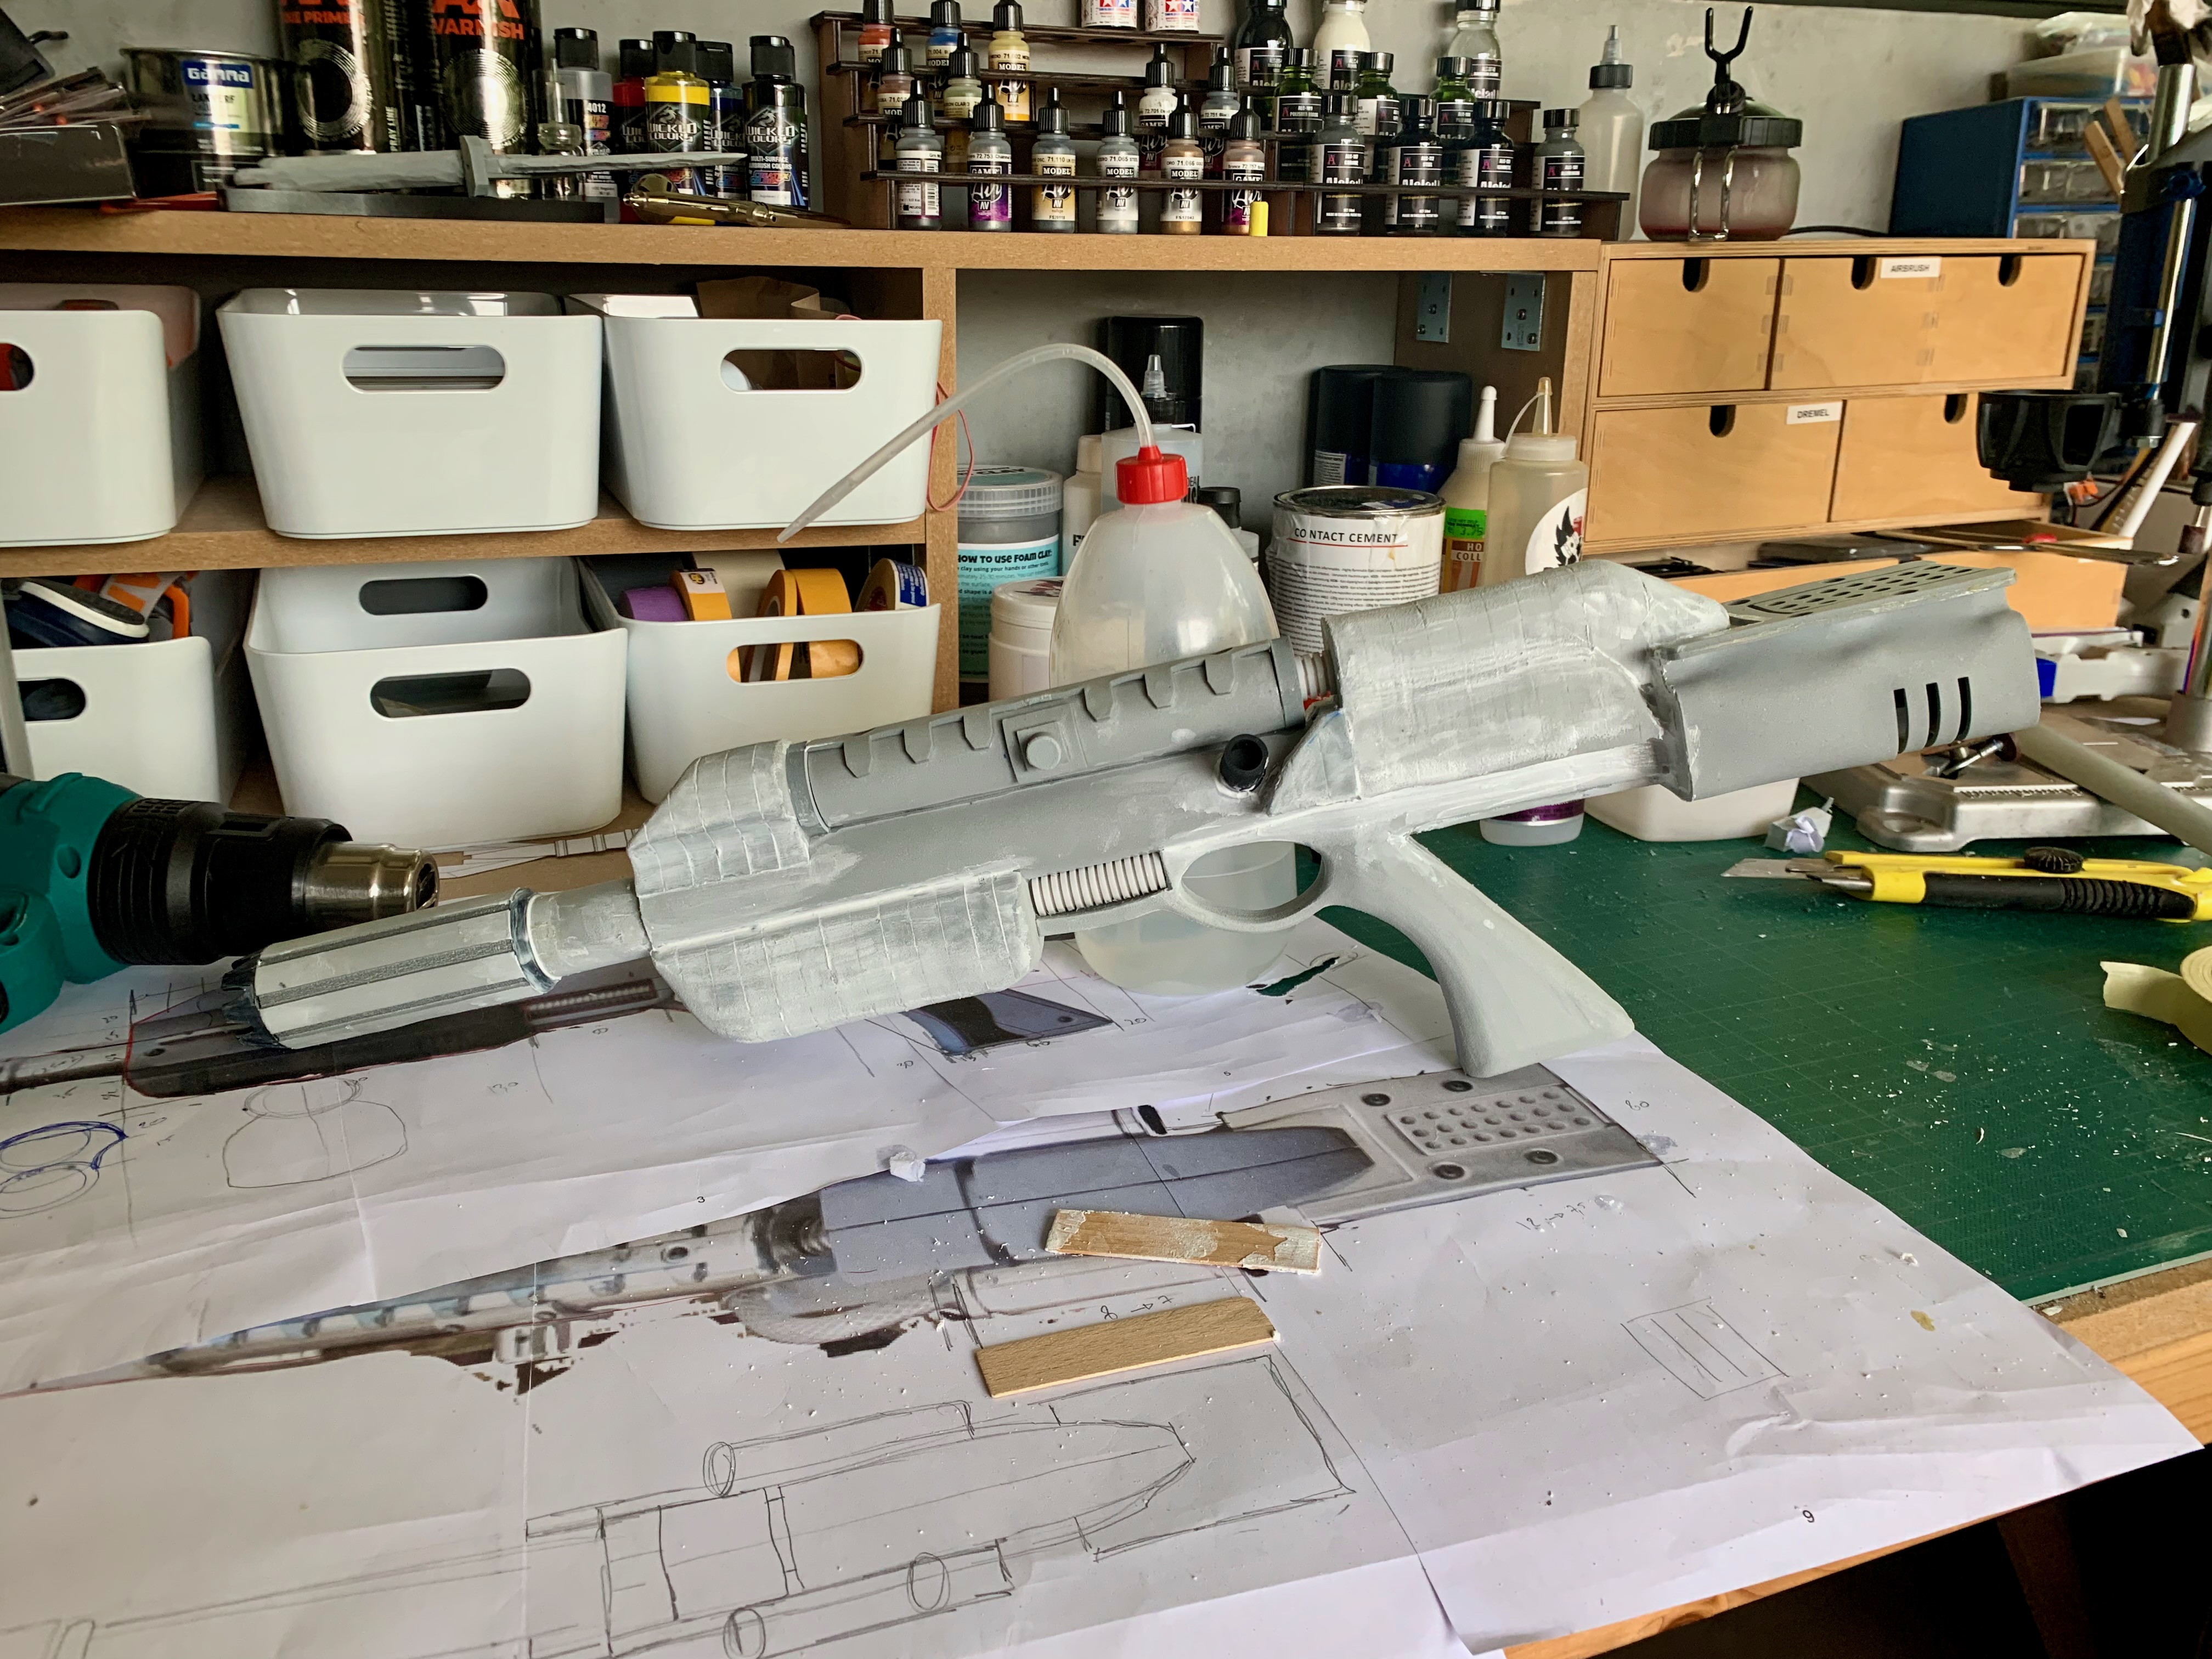
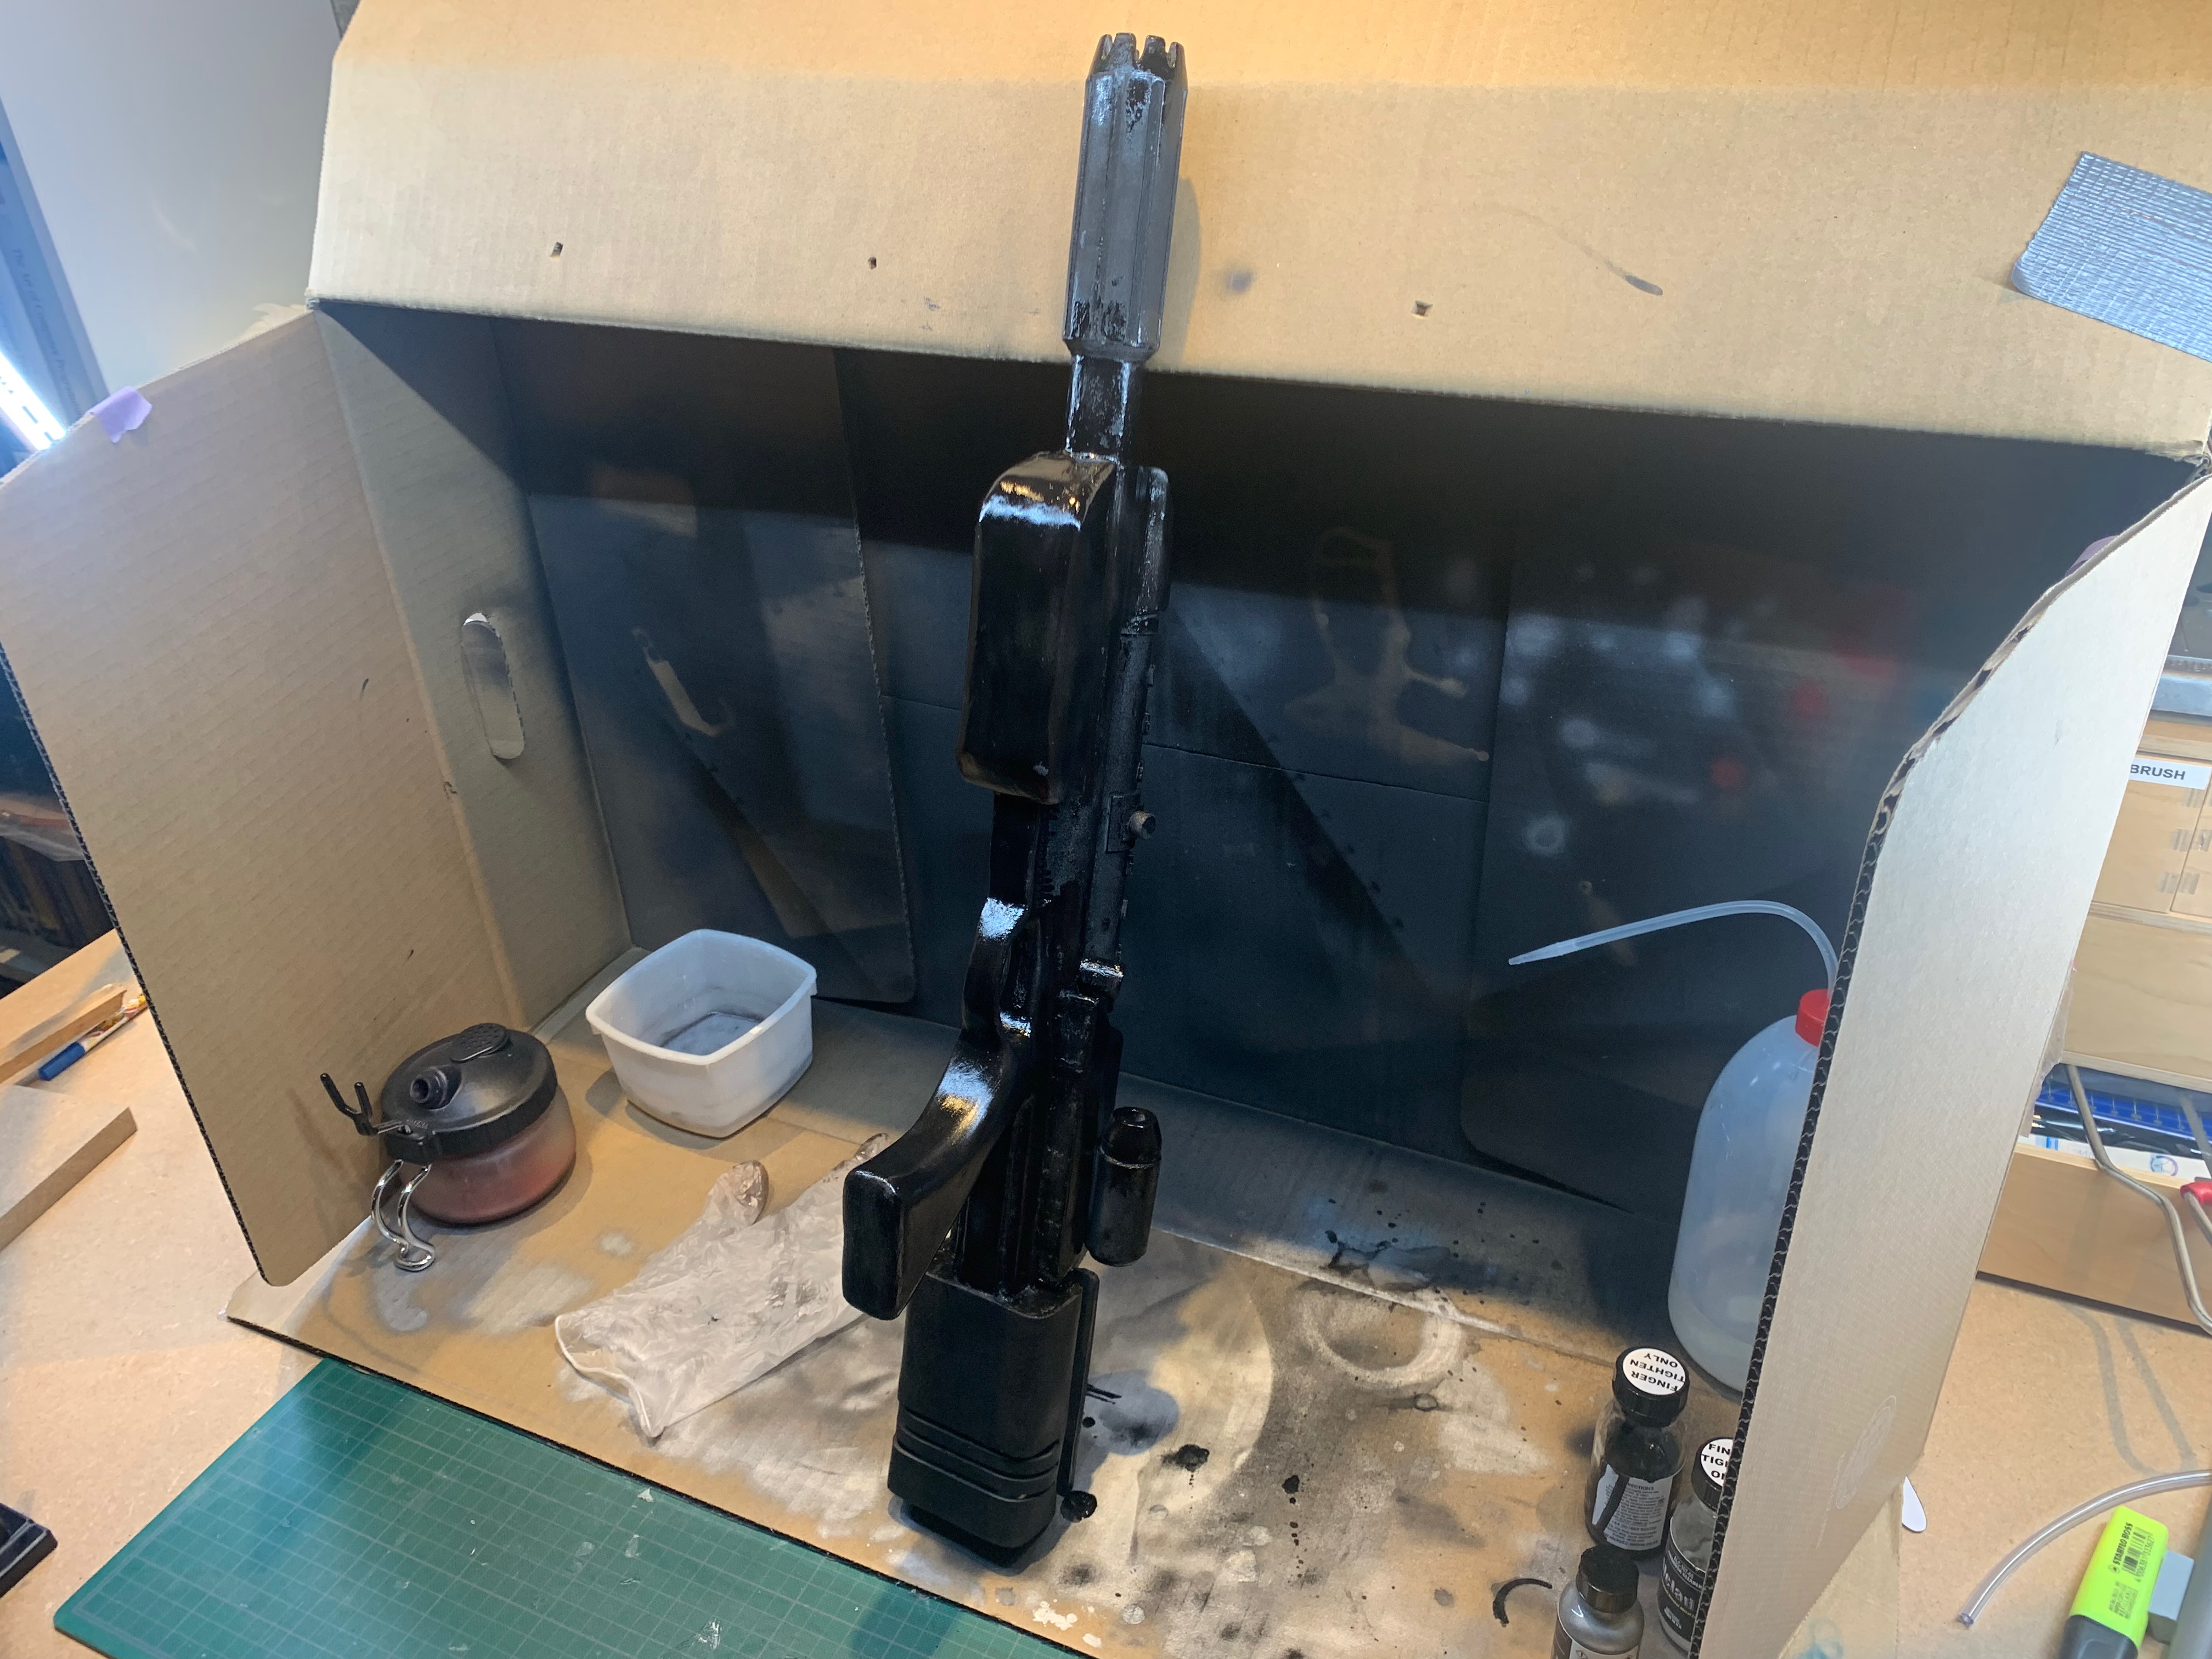
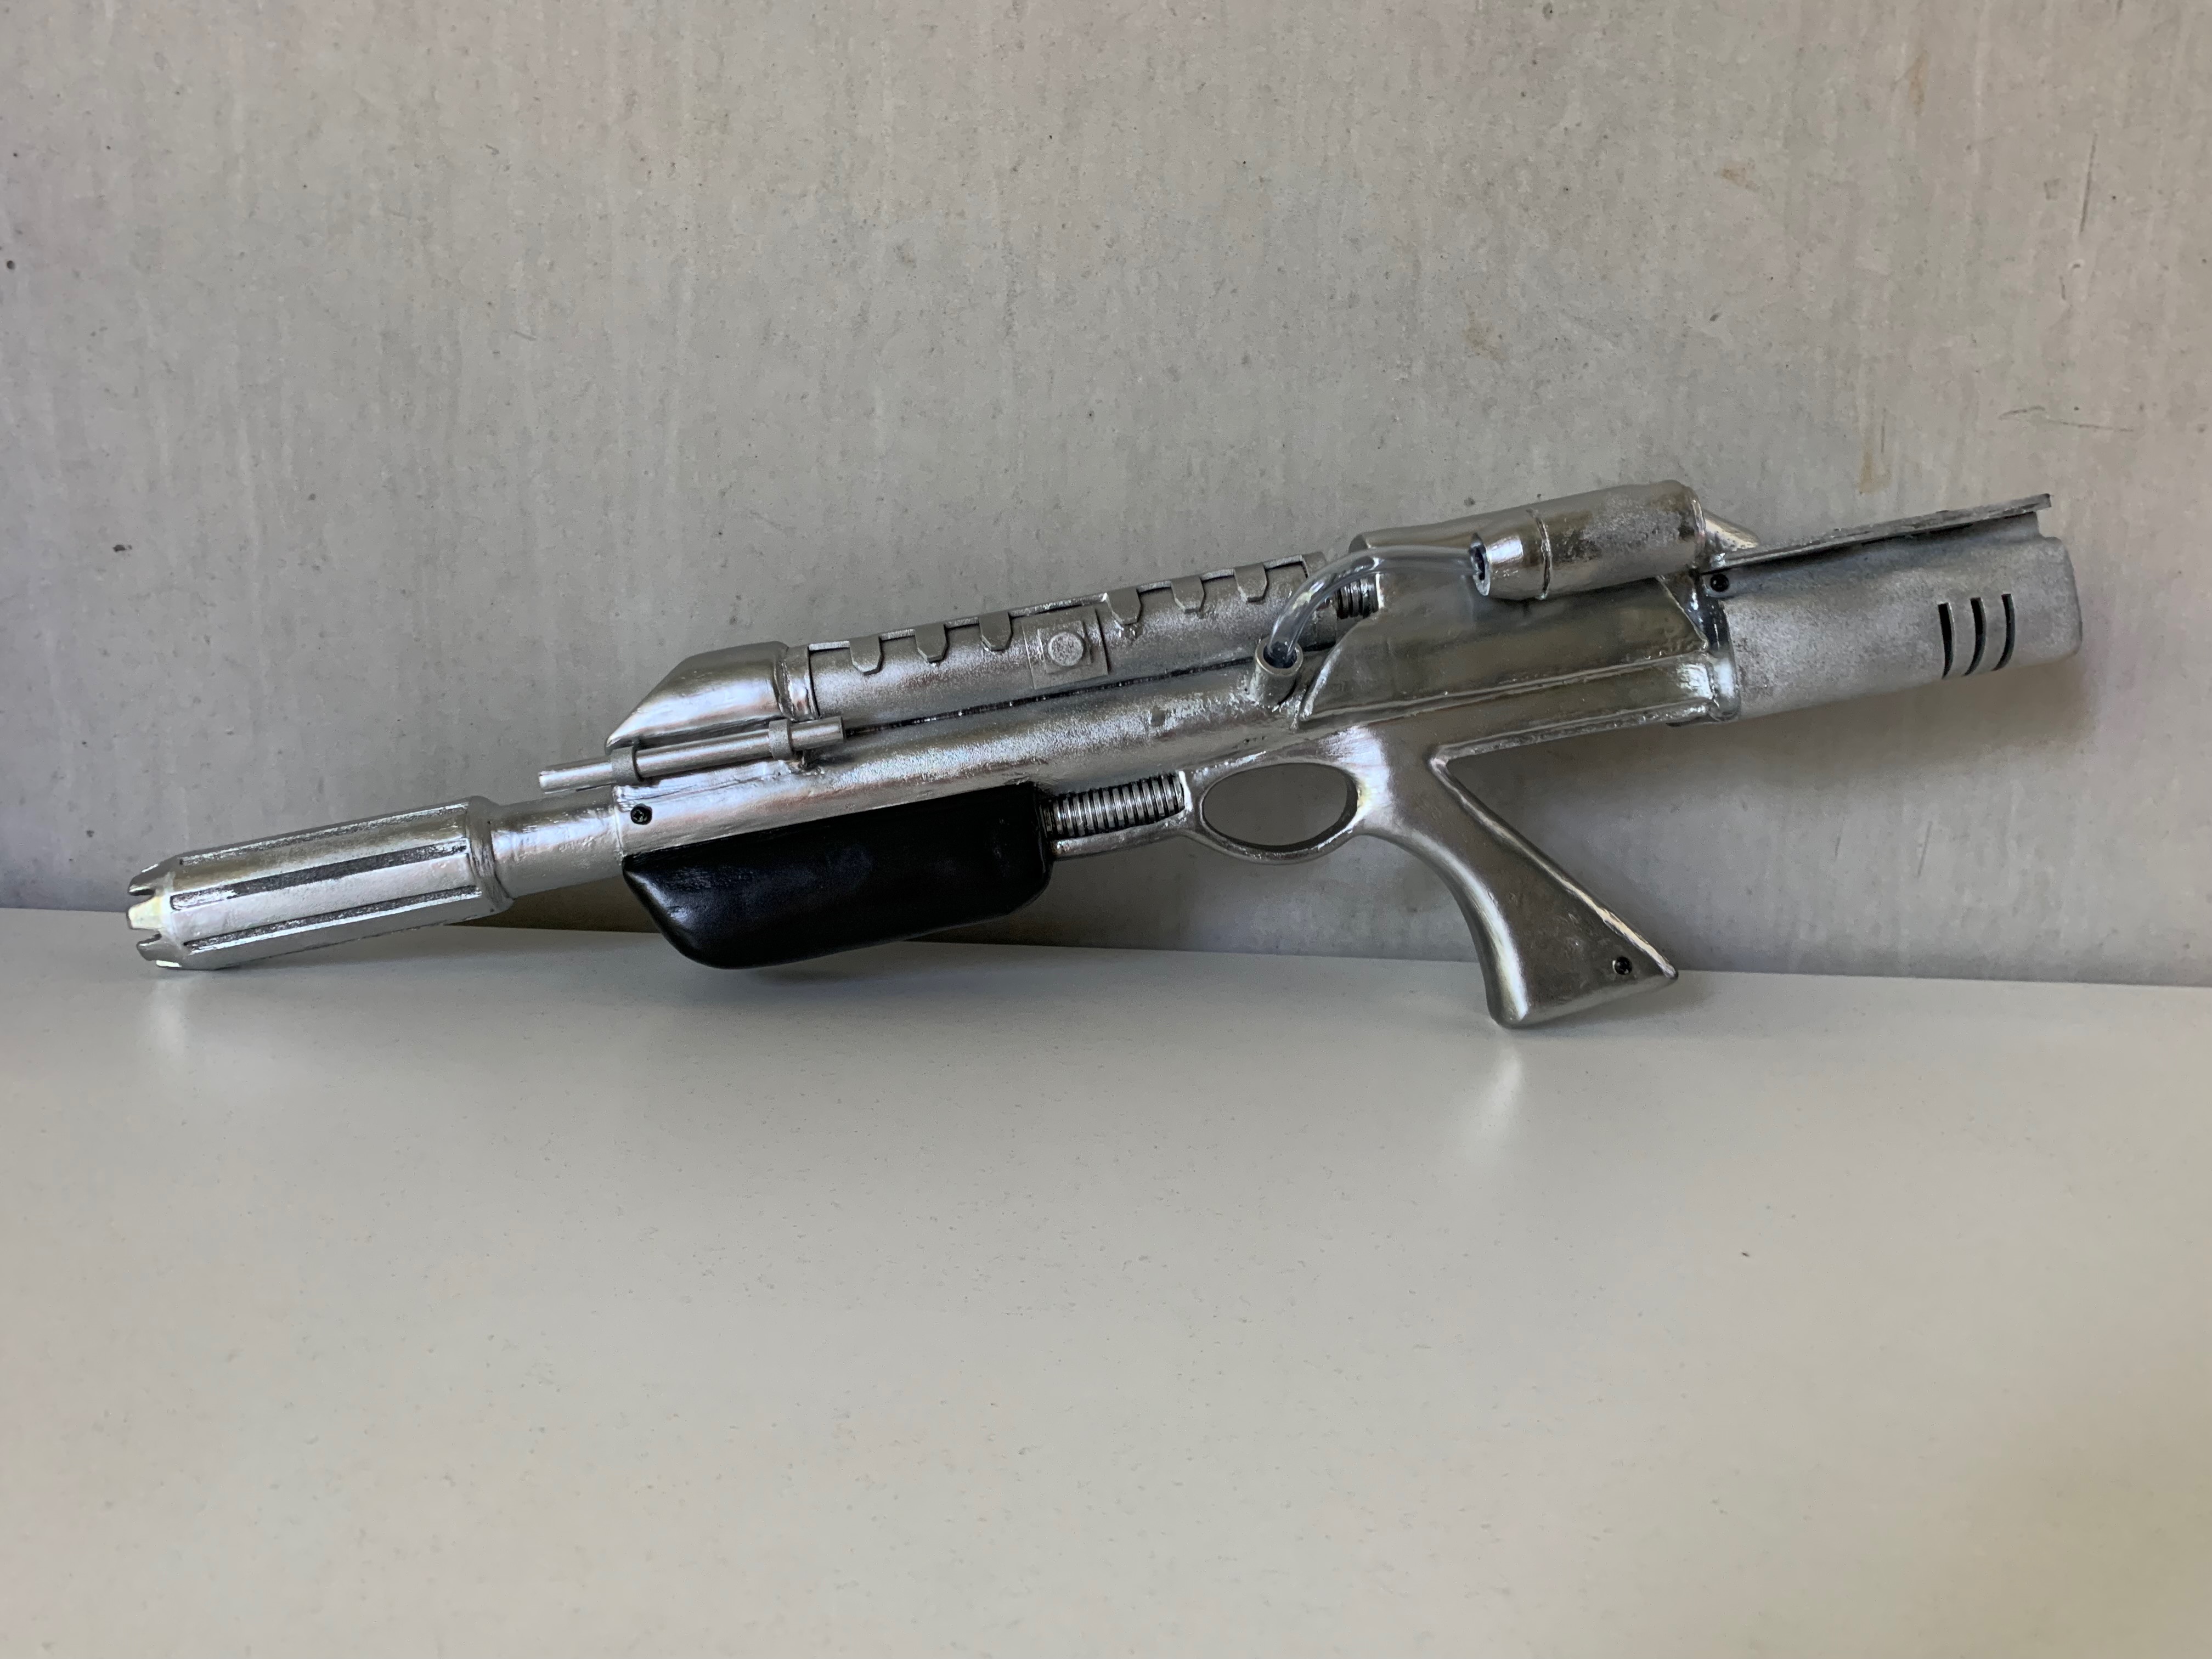
After the entire gun was assembled, I again applied a coat of Plasti Dip to give it a more metal look ‘n feel. The black is also the perfect and required base coat for the top-coat of silver shiny metal-like airbrush paint.
Some additional (real) screws and other wooden and plastic details added the final finishing touches.
In the end my son was very happy with the end-result - and to this date it is still my most elaborate EVA foam prop making project. If I had had more time, I would have redone the final coatings and first applied the foam clay also to the flat EVA foam parts. Now these parts have different feel and look more “porous” 🤷♂️