vCard
vCard
 Homemade by CVG
 My Homemade Apps
 Thingiverse
 Strava
Padel Racket
Since about a year now, I’m experimenting with eva foam. I’m starting with small projects to get a grip on the material.
First Occasion
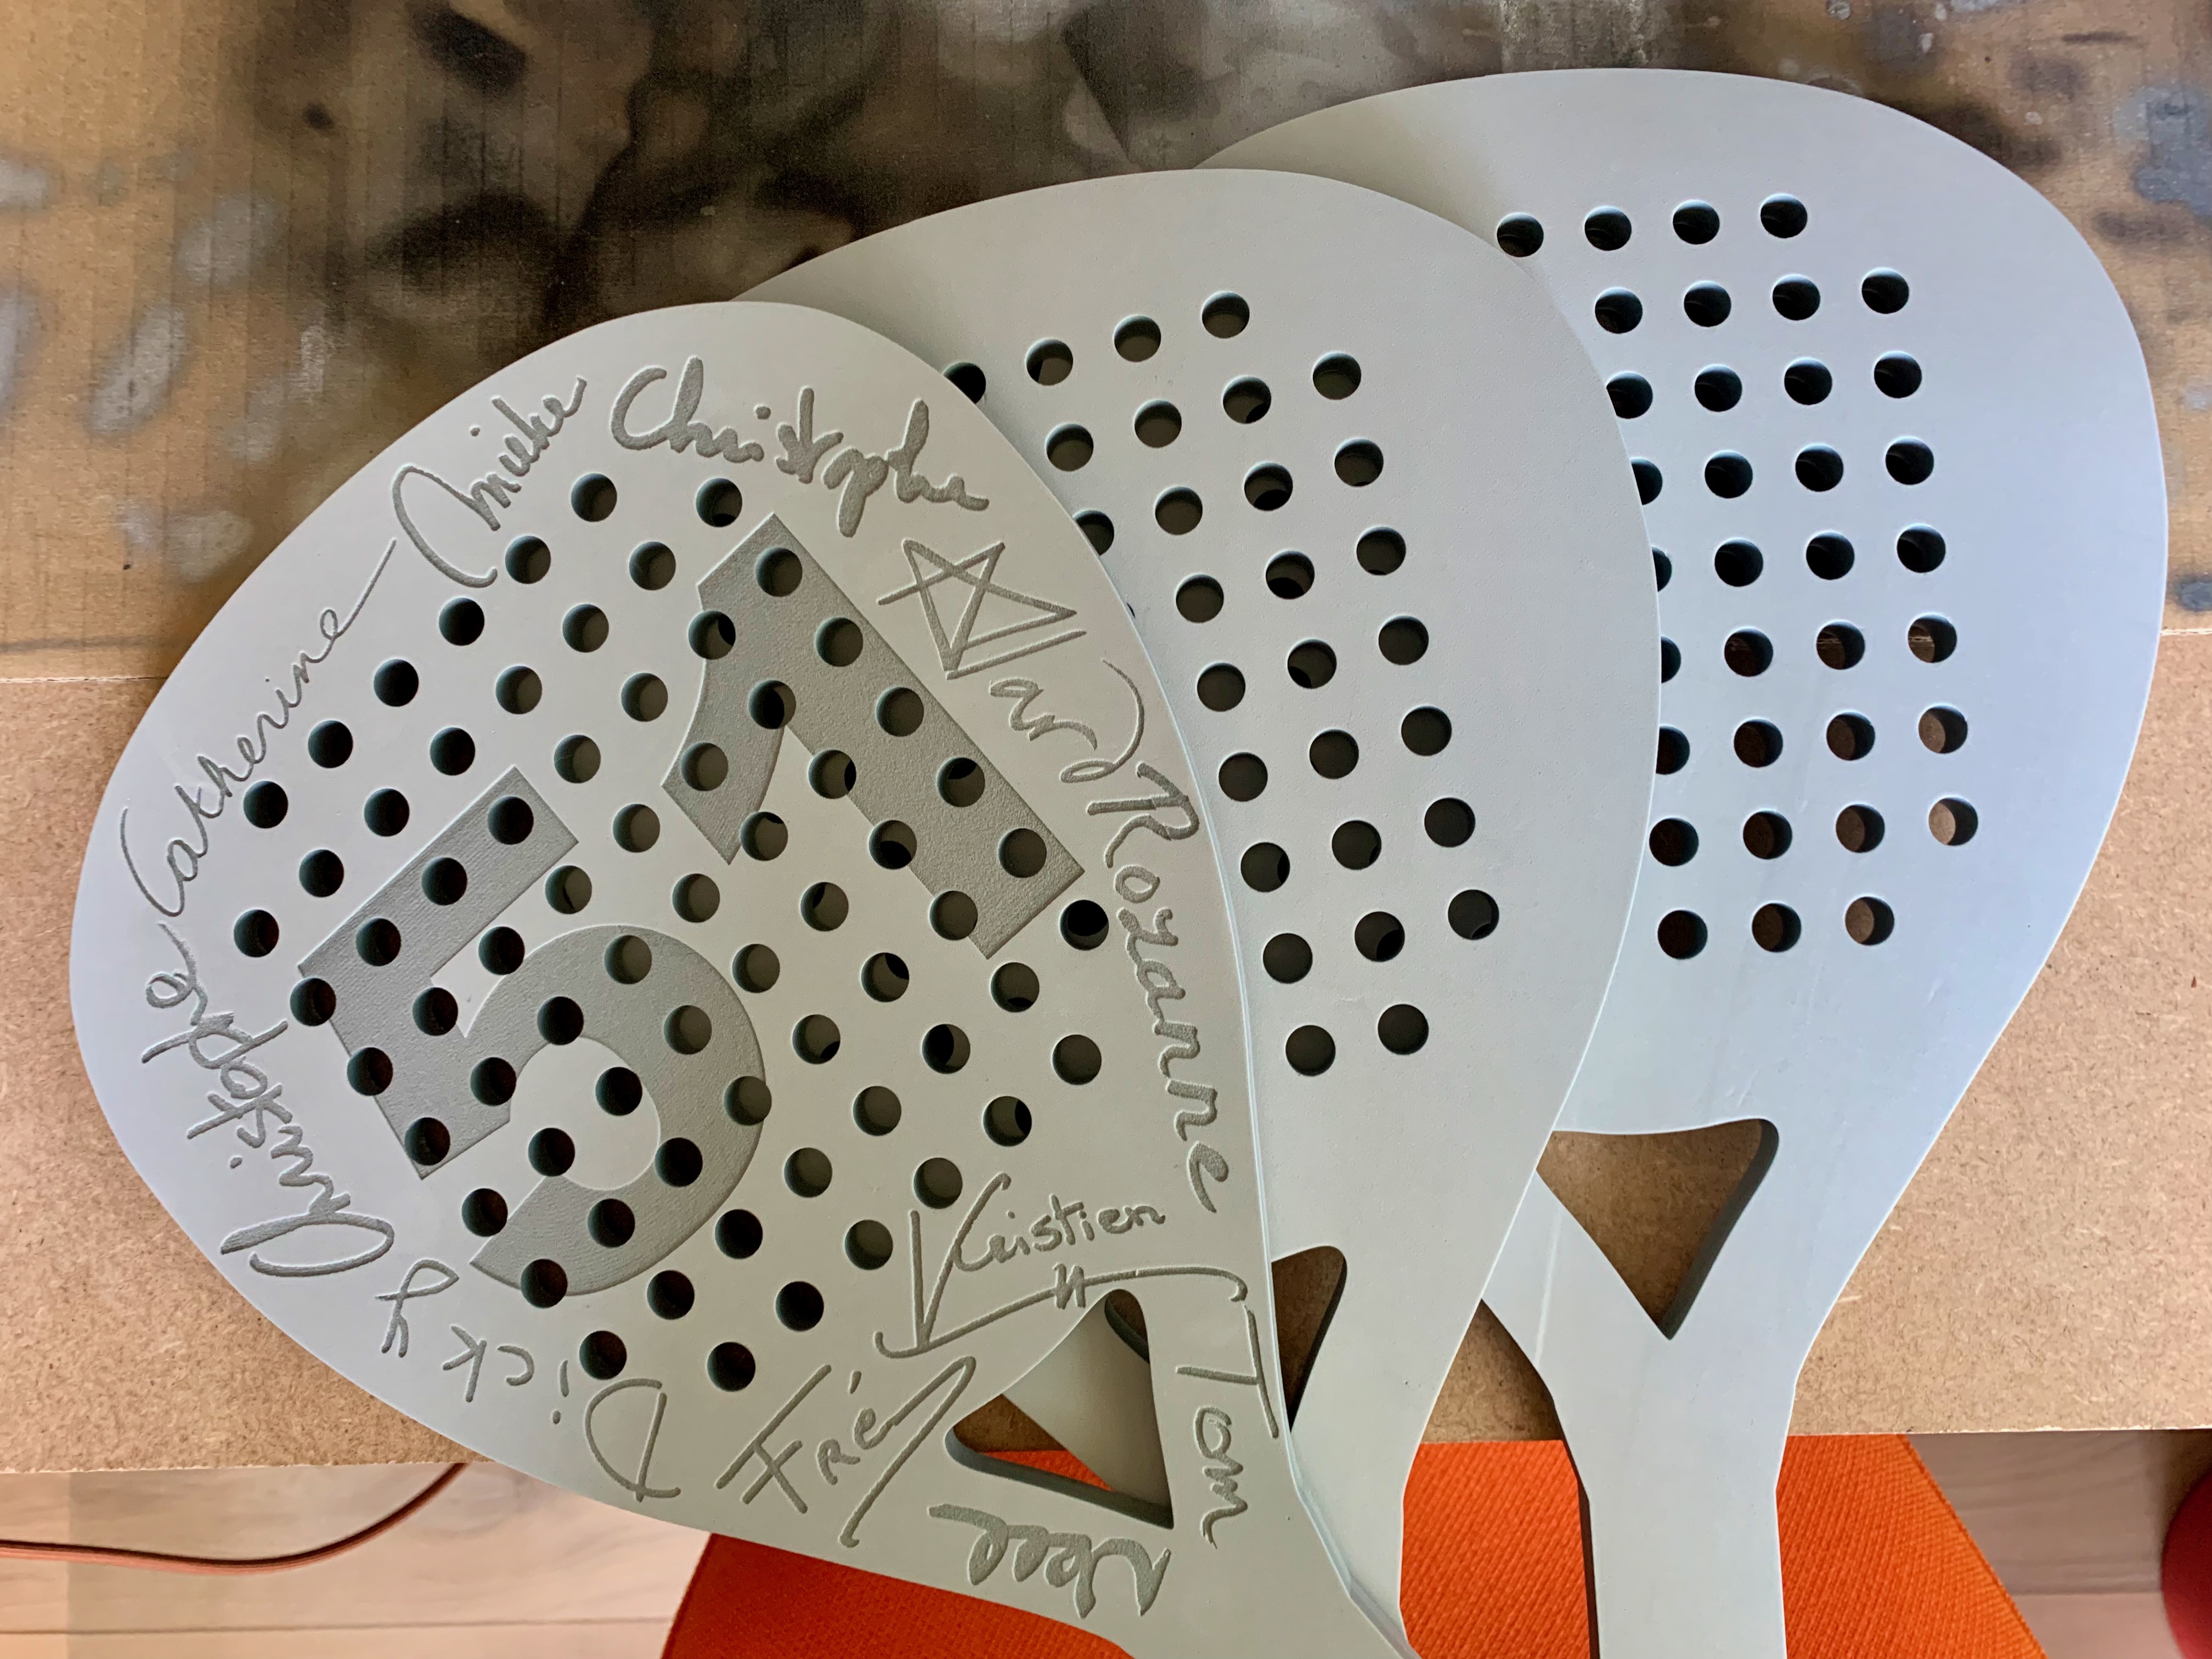
When my good friend Mark turned 50, he had to postpone his party due to some virus, and actually turned 51, I decided to “quickly” make some “gift wrapping” to present the money we wanted to give him to buy a new (real) padel racket. So I decided to create a life-size padel racket out of eva foam.
Plan and Start Small
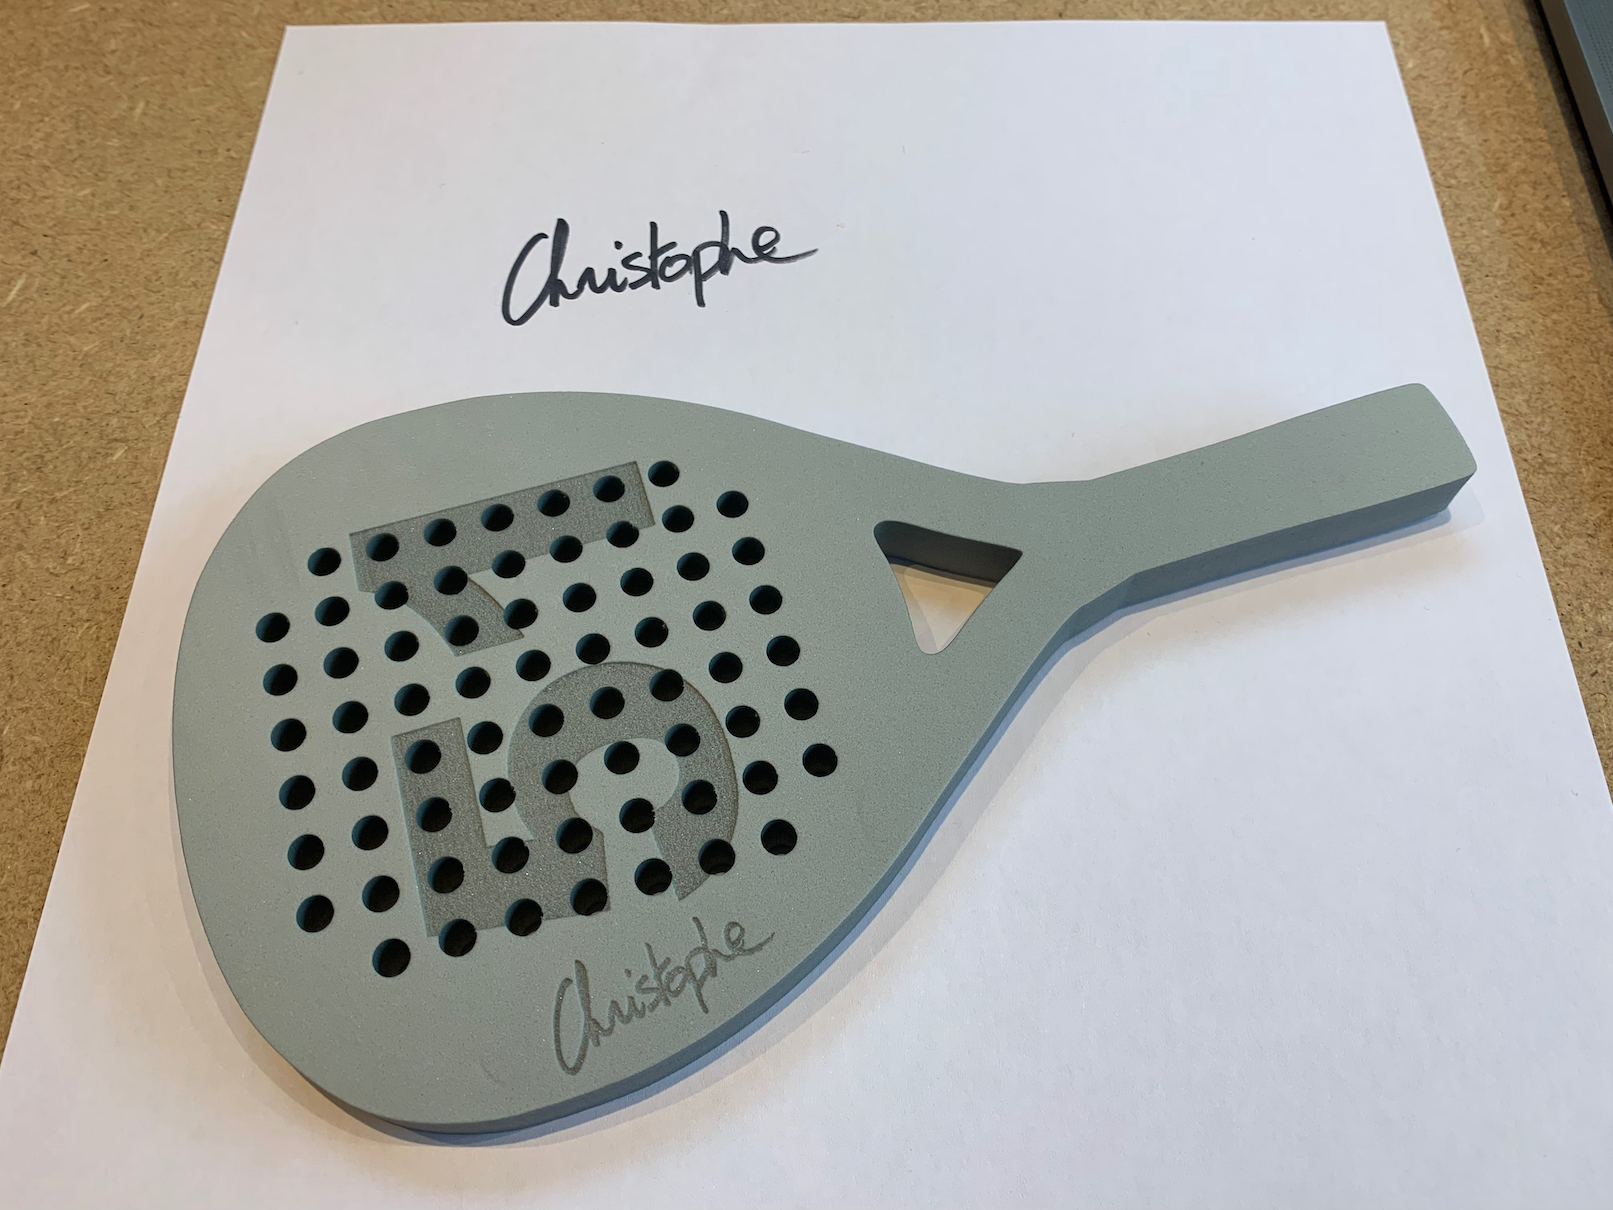
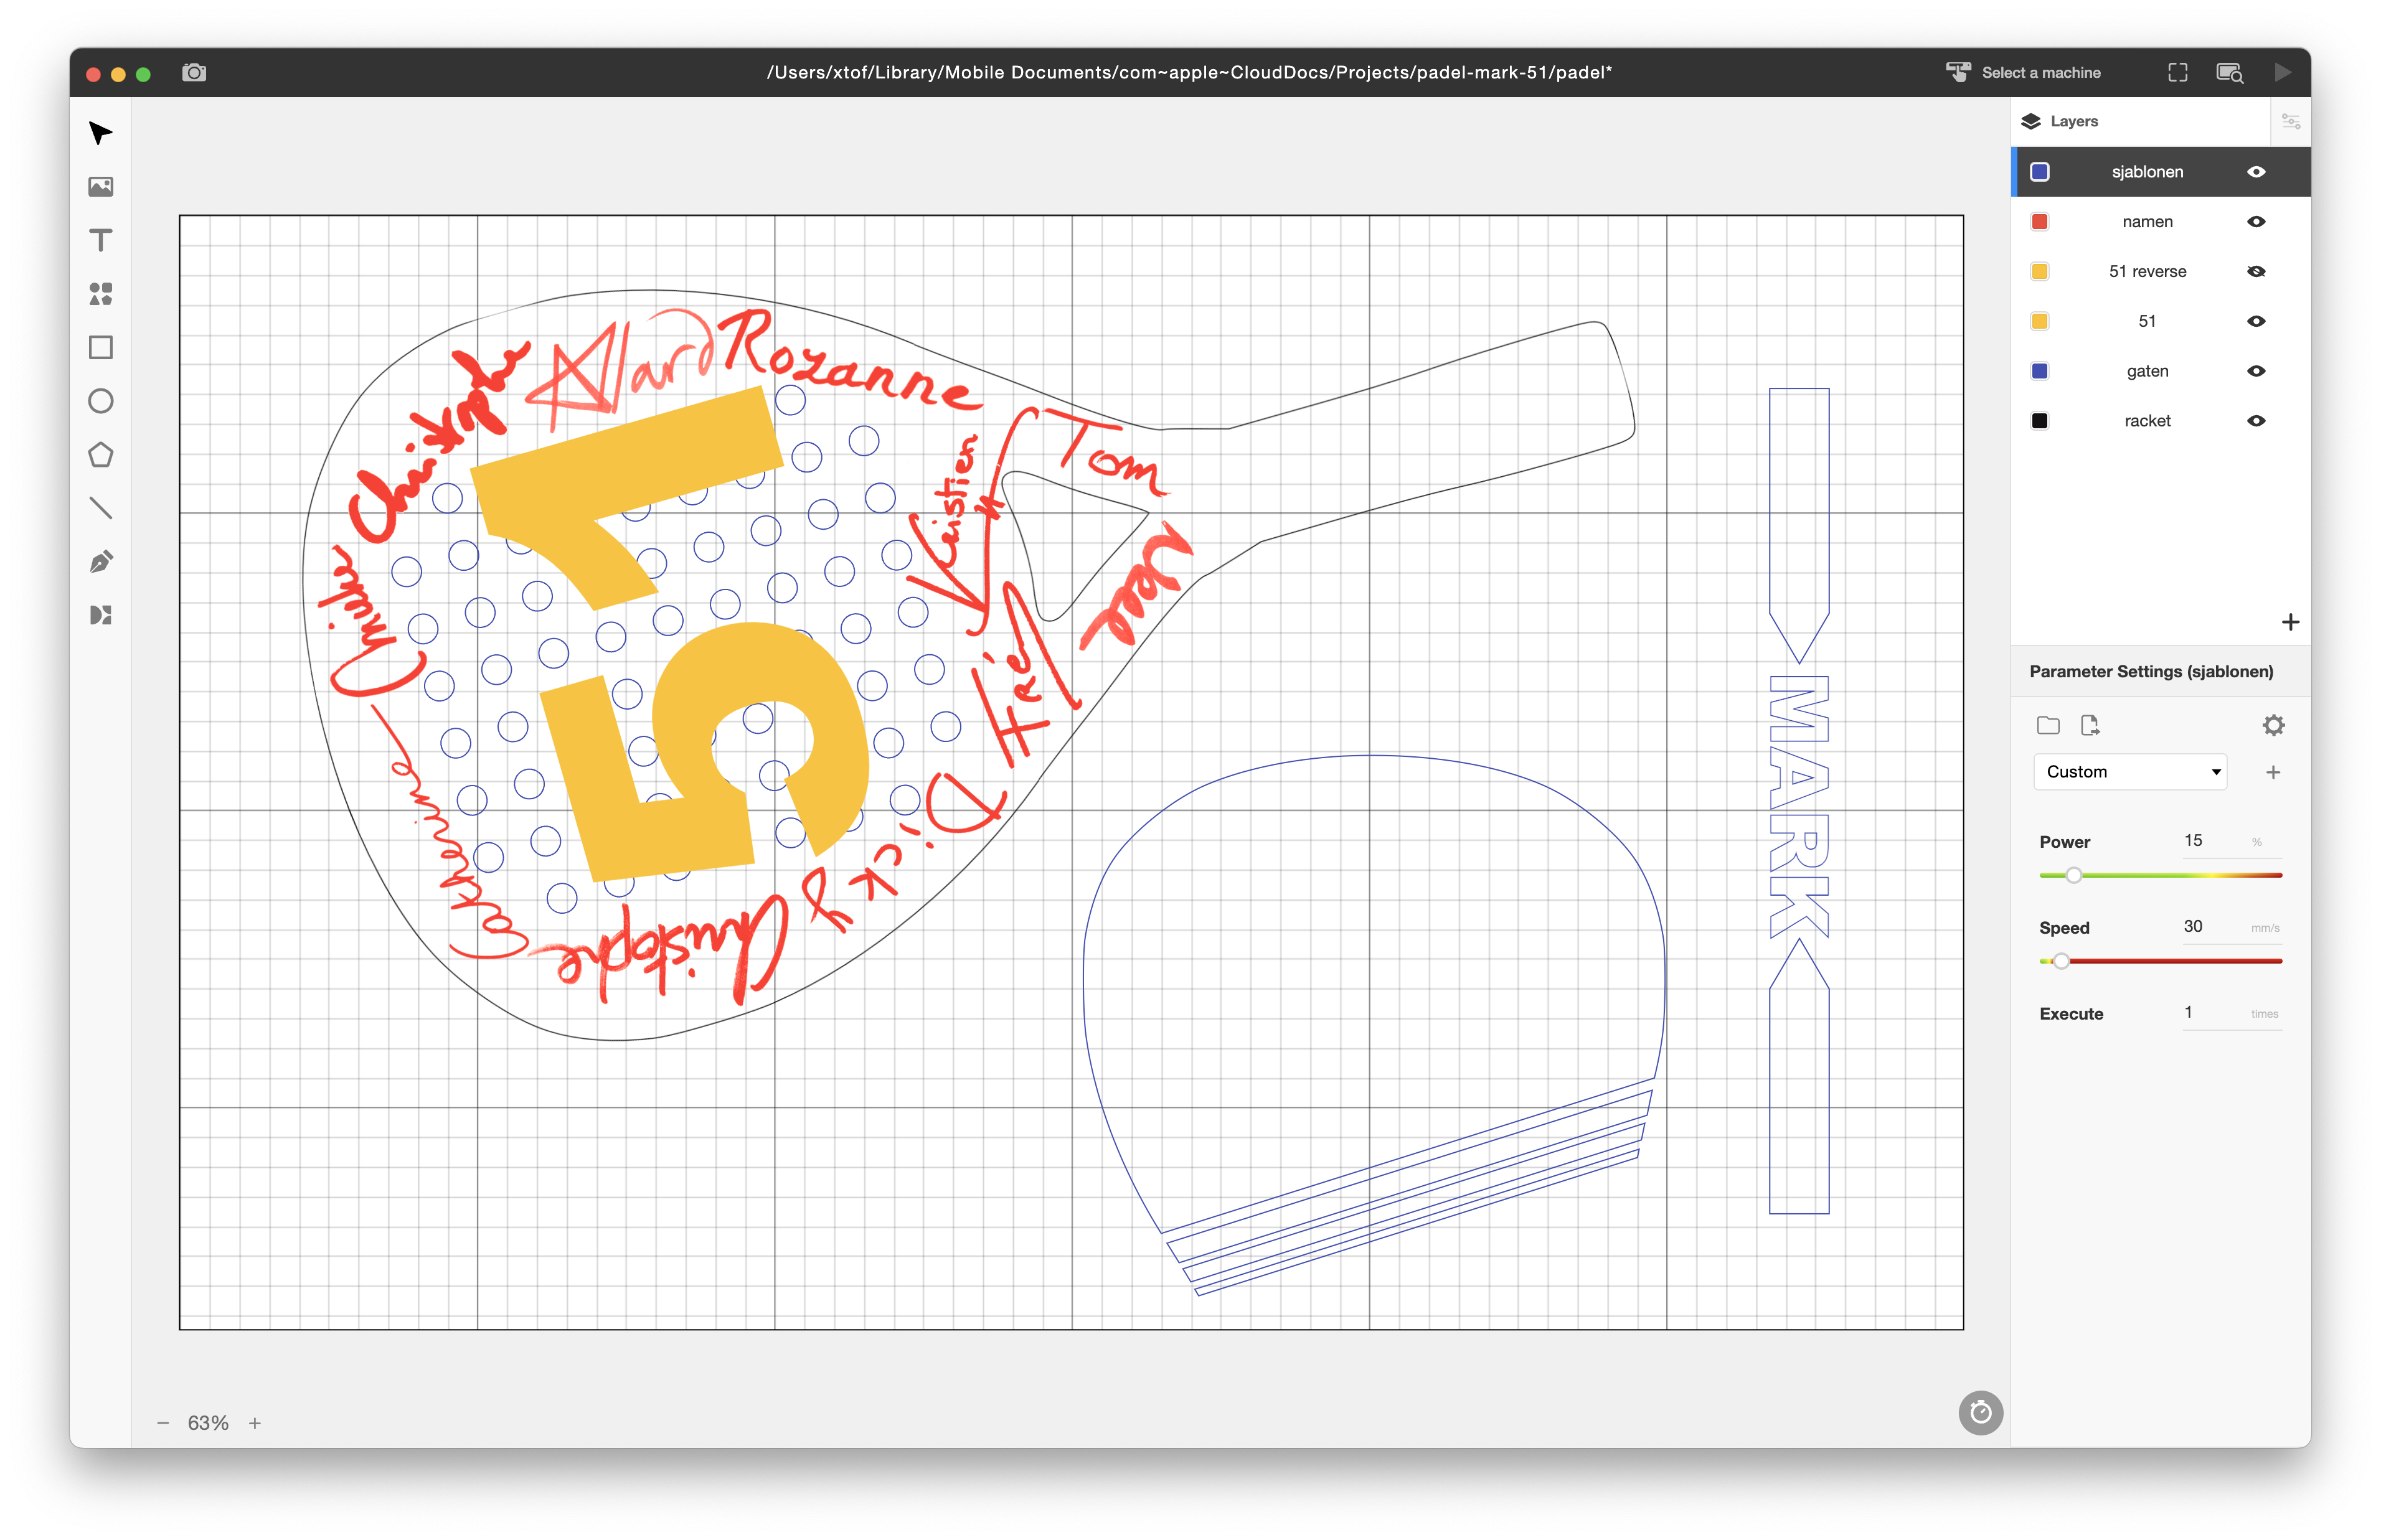
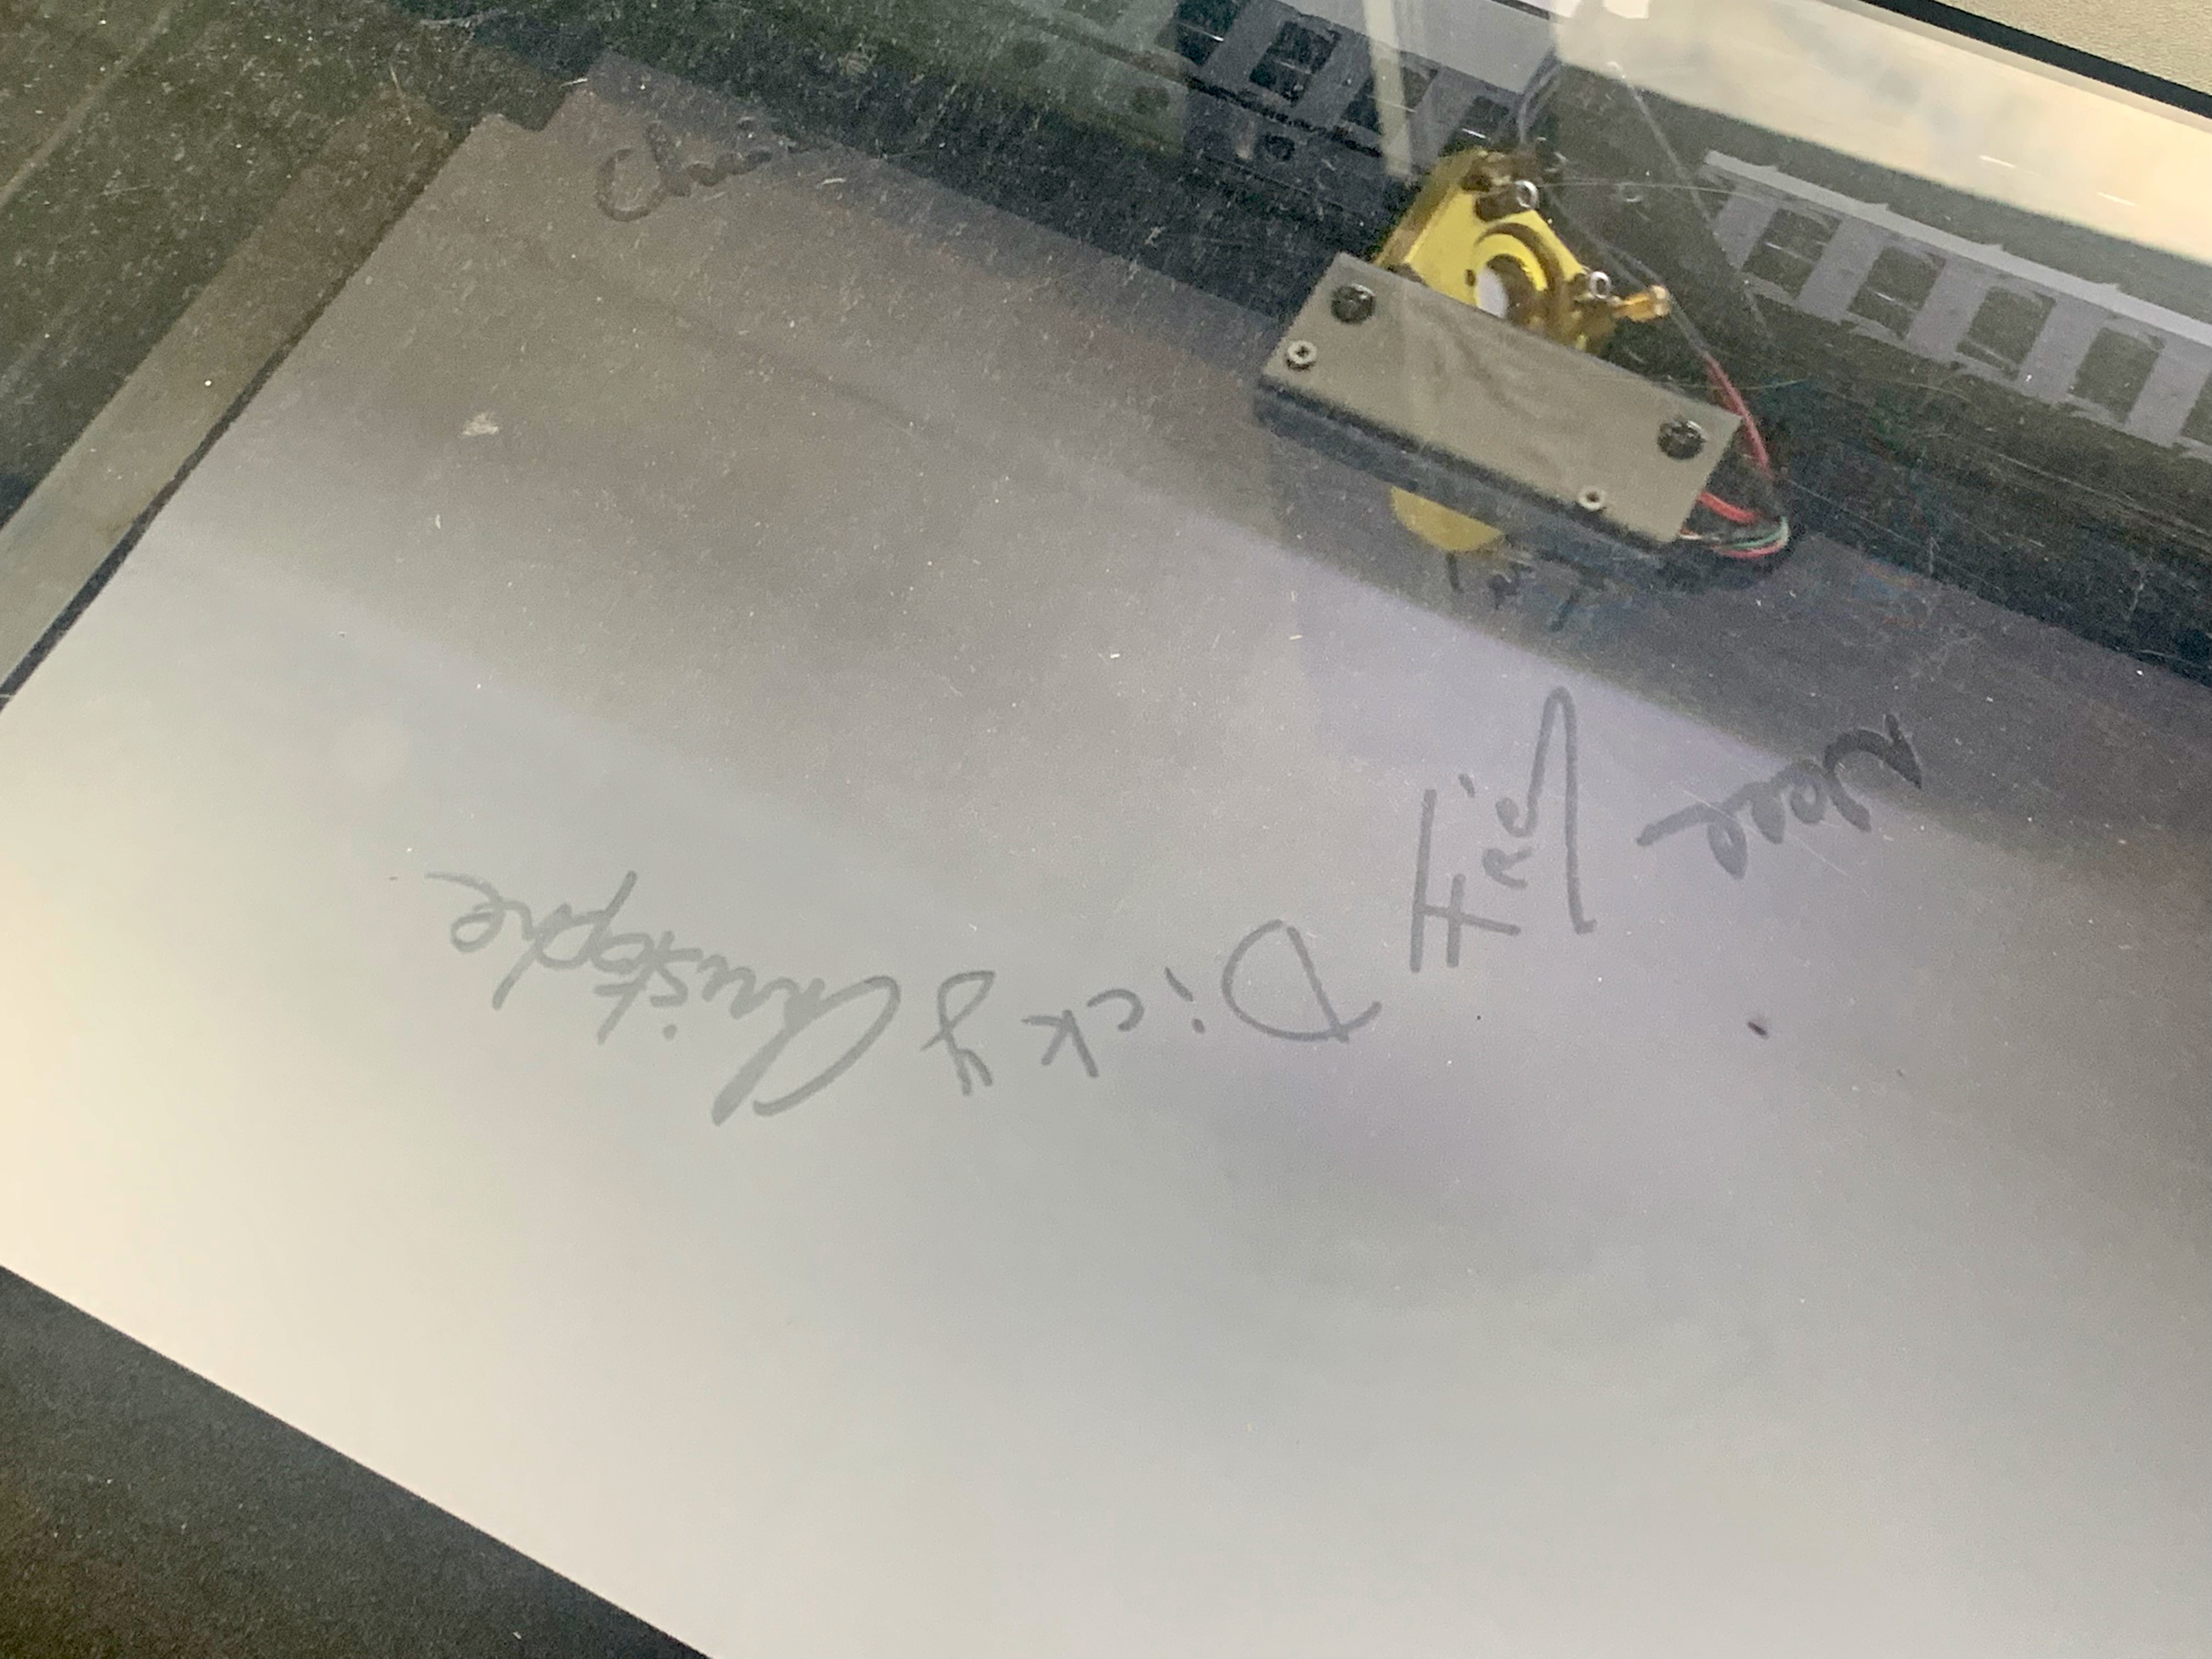
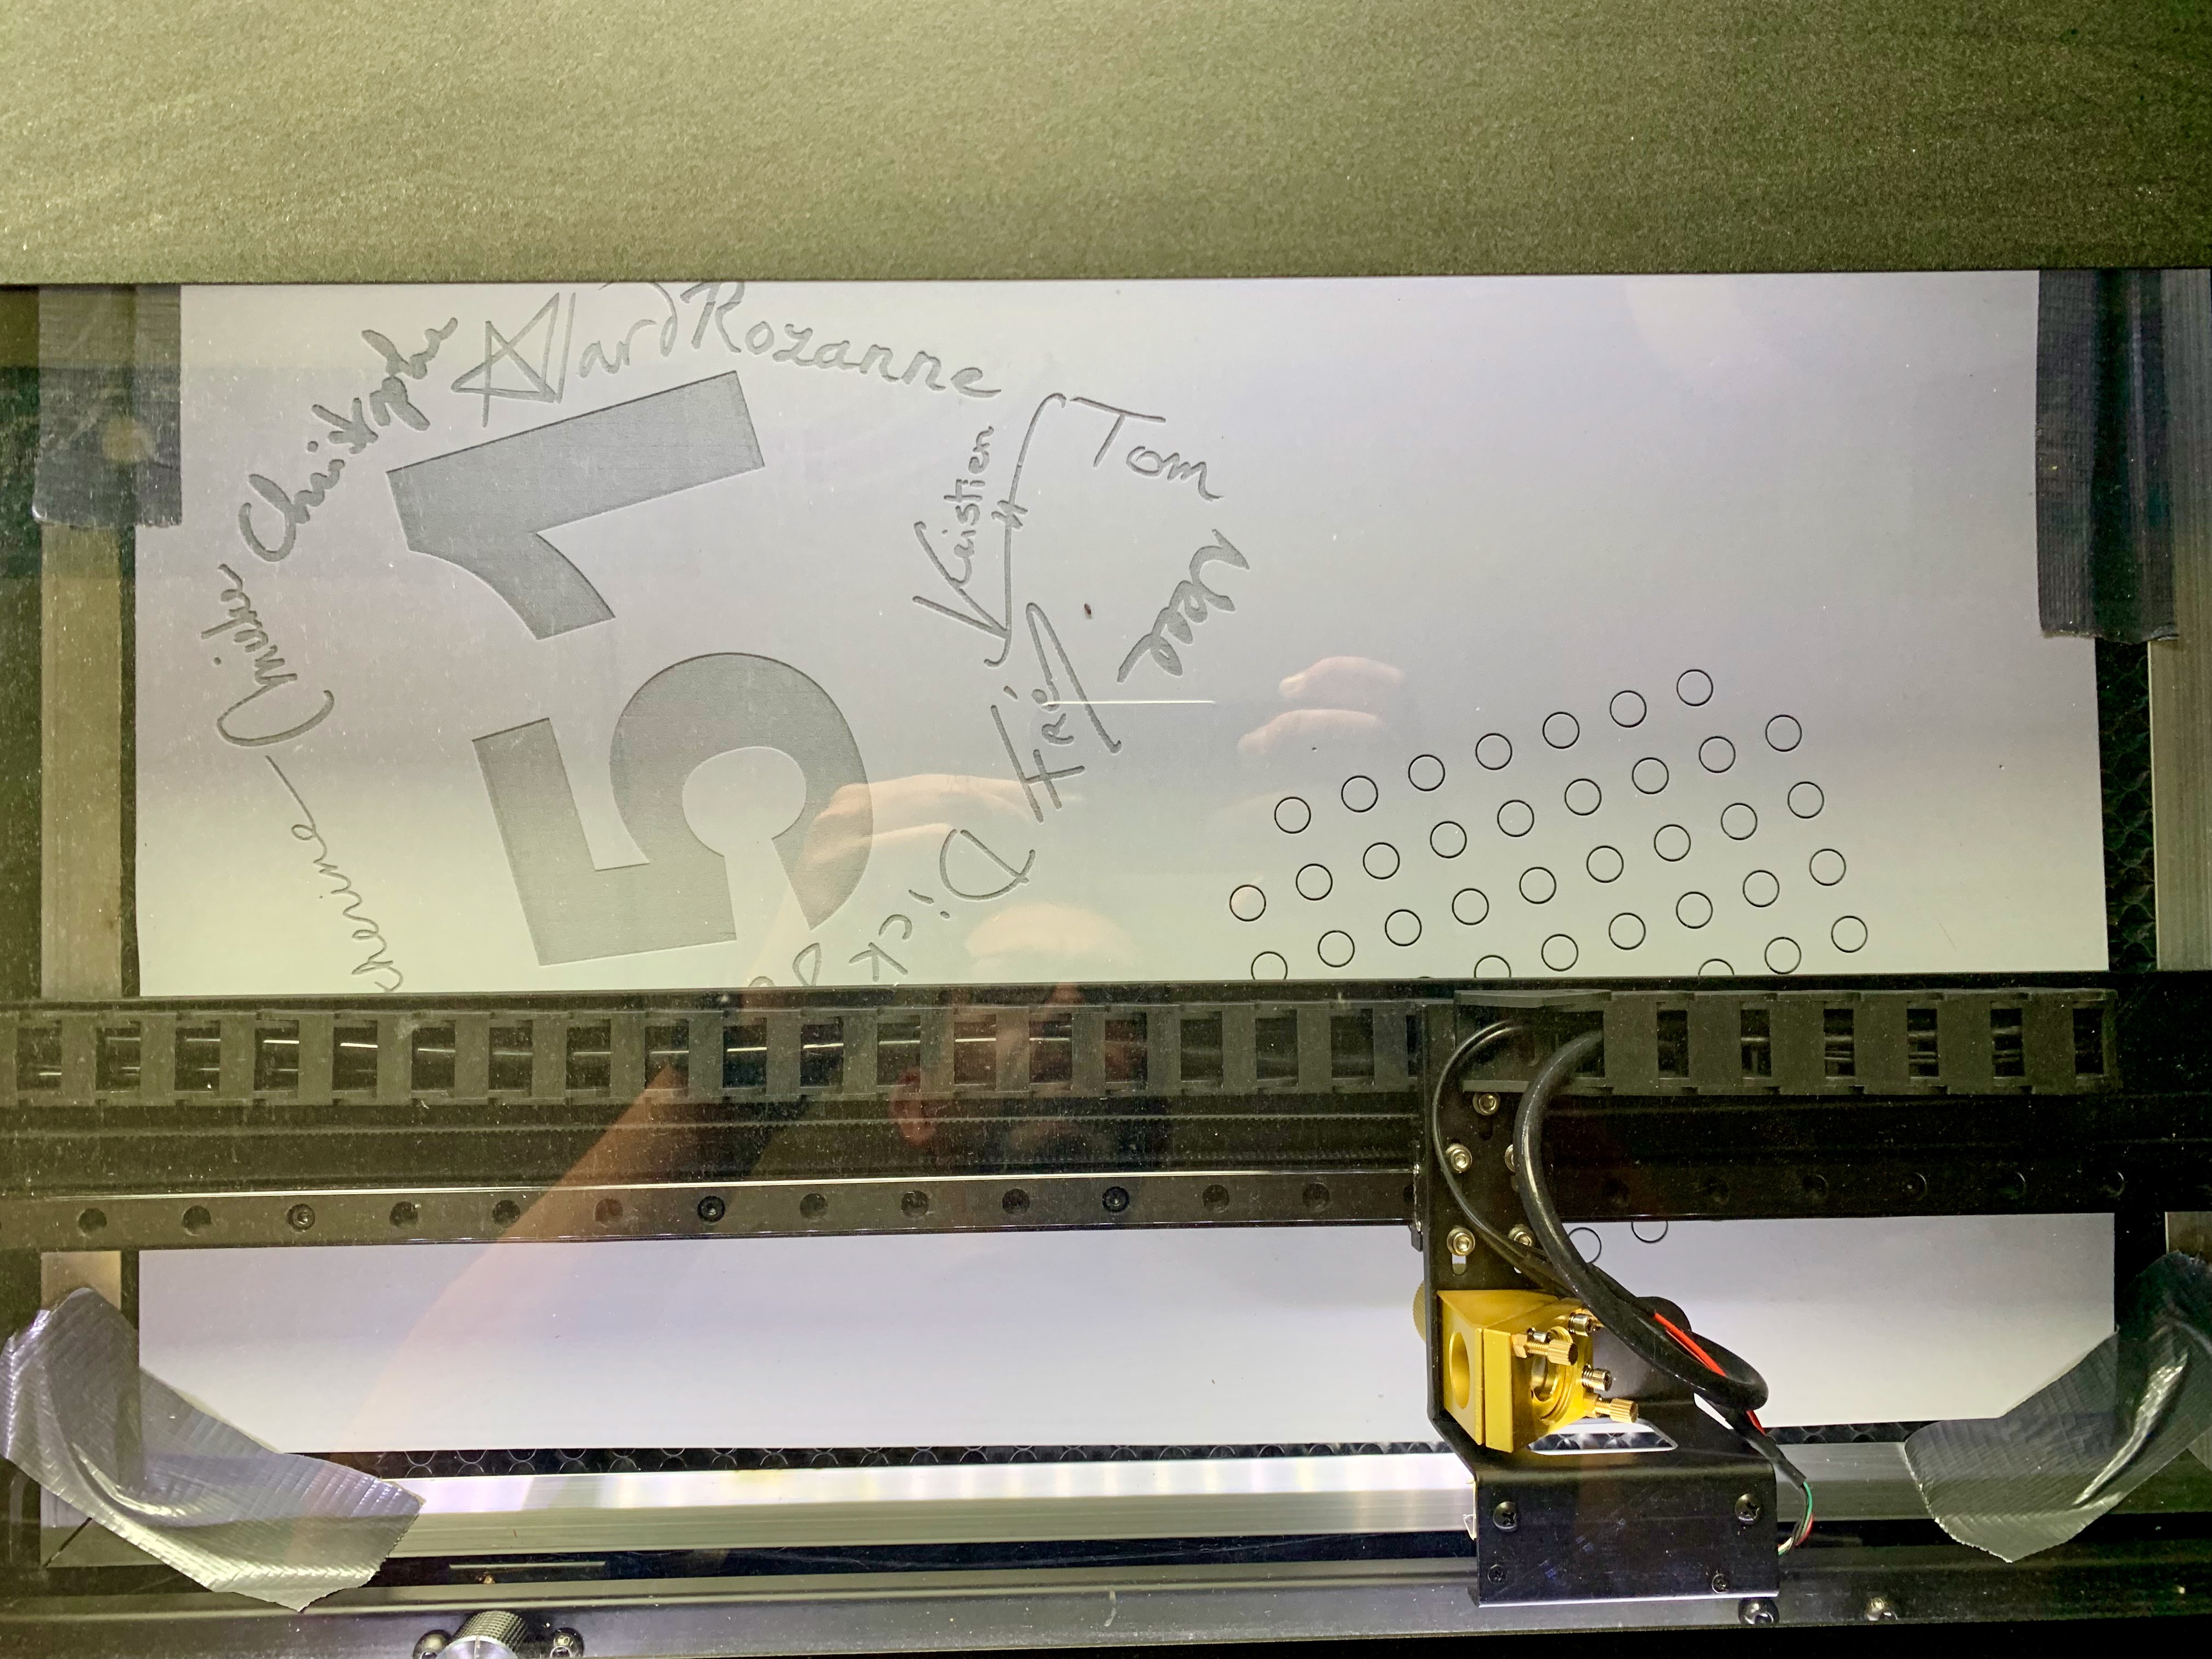
A life-size padel racket was of course not enough for me, so I added something extra: asked everybody that was going to chip in, to send me their name in their own handwriting. Using the laser cutter I could then also engrave their names into the racket. Before I proposed this approach, I made a small mock-up of the overall idea to make this more visible/tangible for the others.
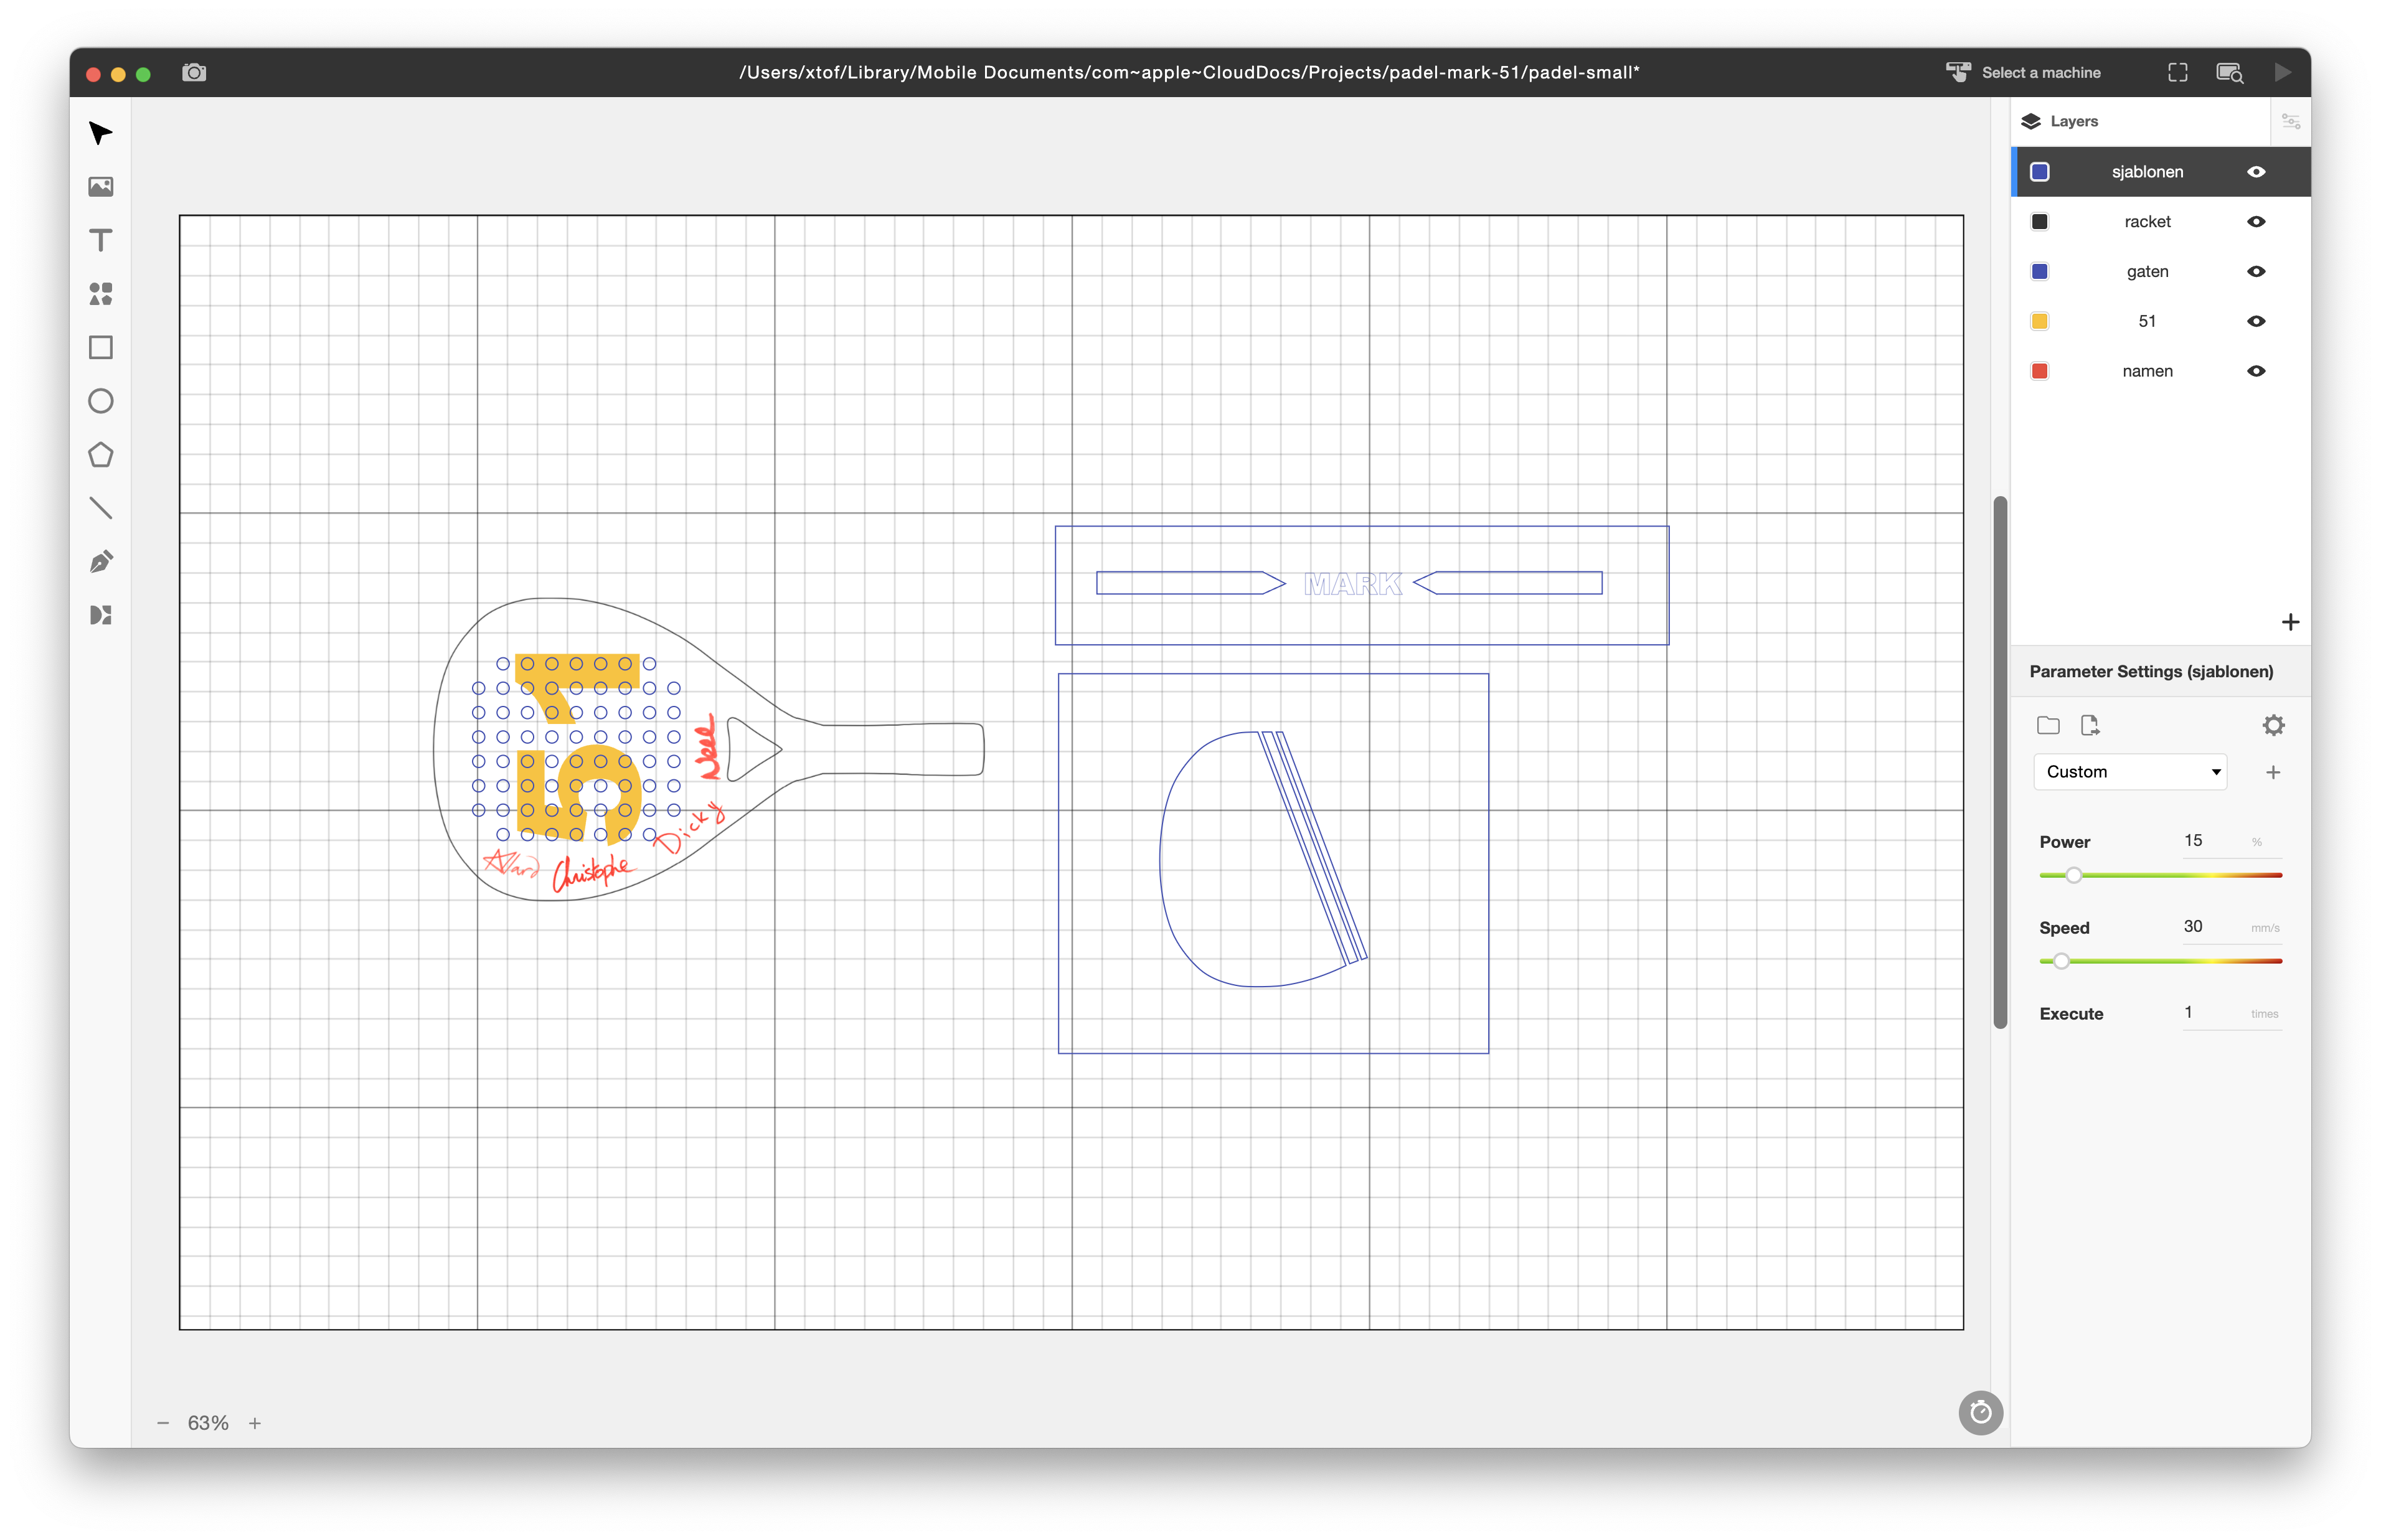
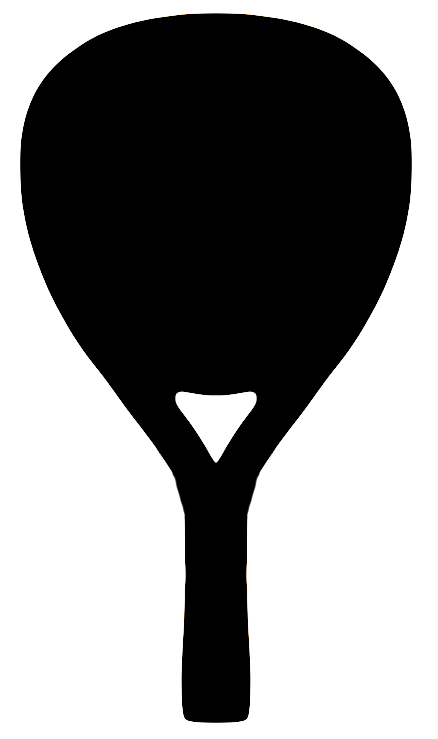
I found an outline of a padel racket online and cleaned it up, traced it in Inkscape, to end up with a nice scalable vector image of the outline of a racket. The rest could be added in the laser cutting software.
I also included some cuts to create stencils to apply the air brush paint decorations later on.
Cutting
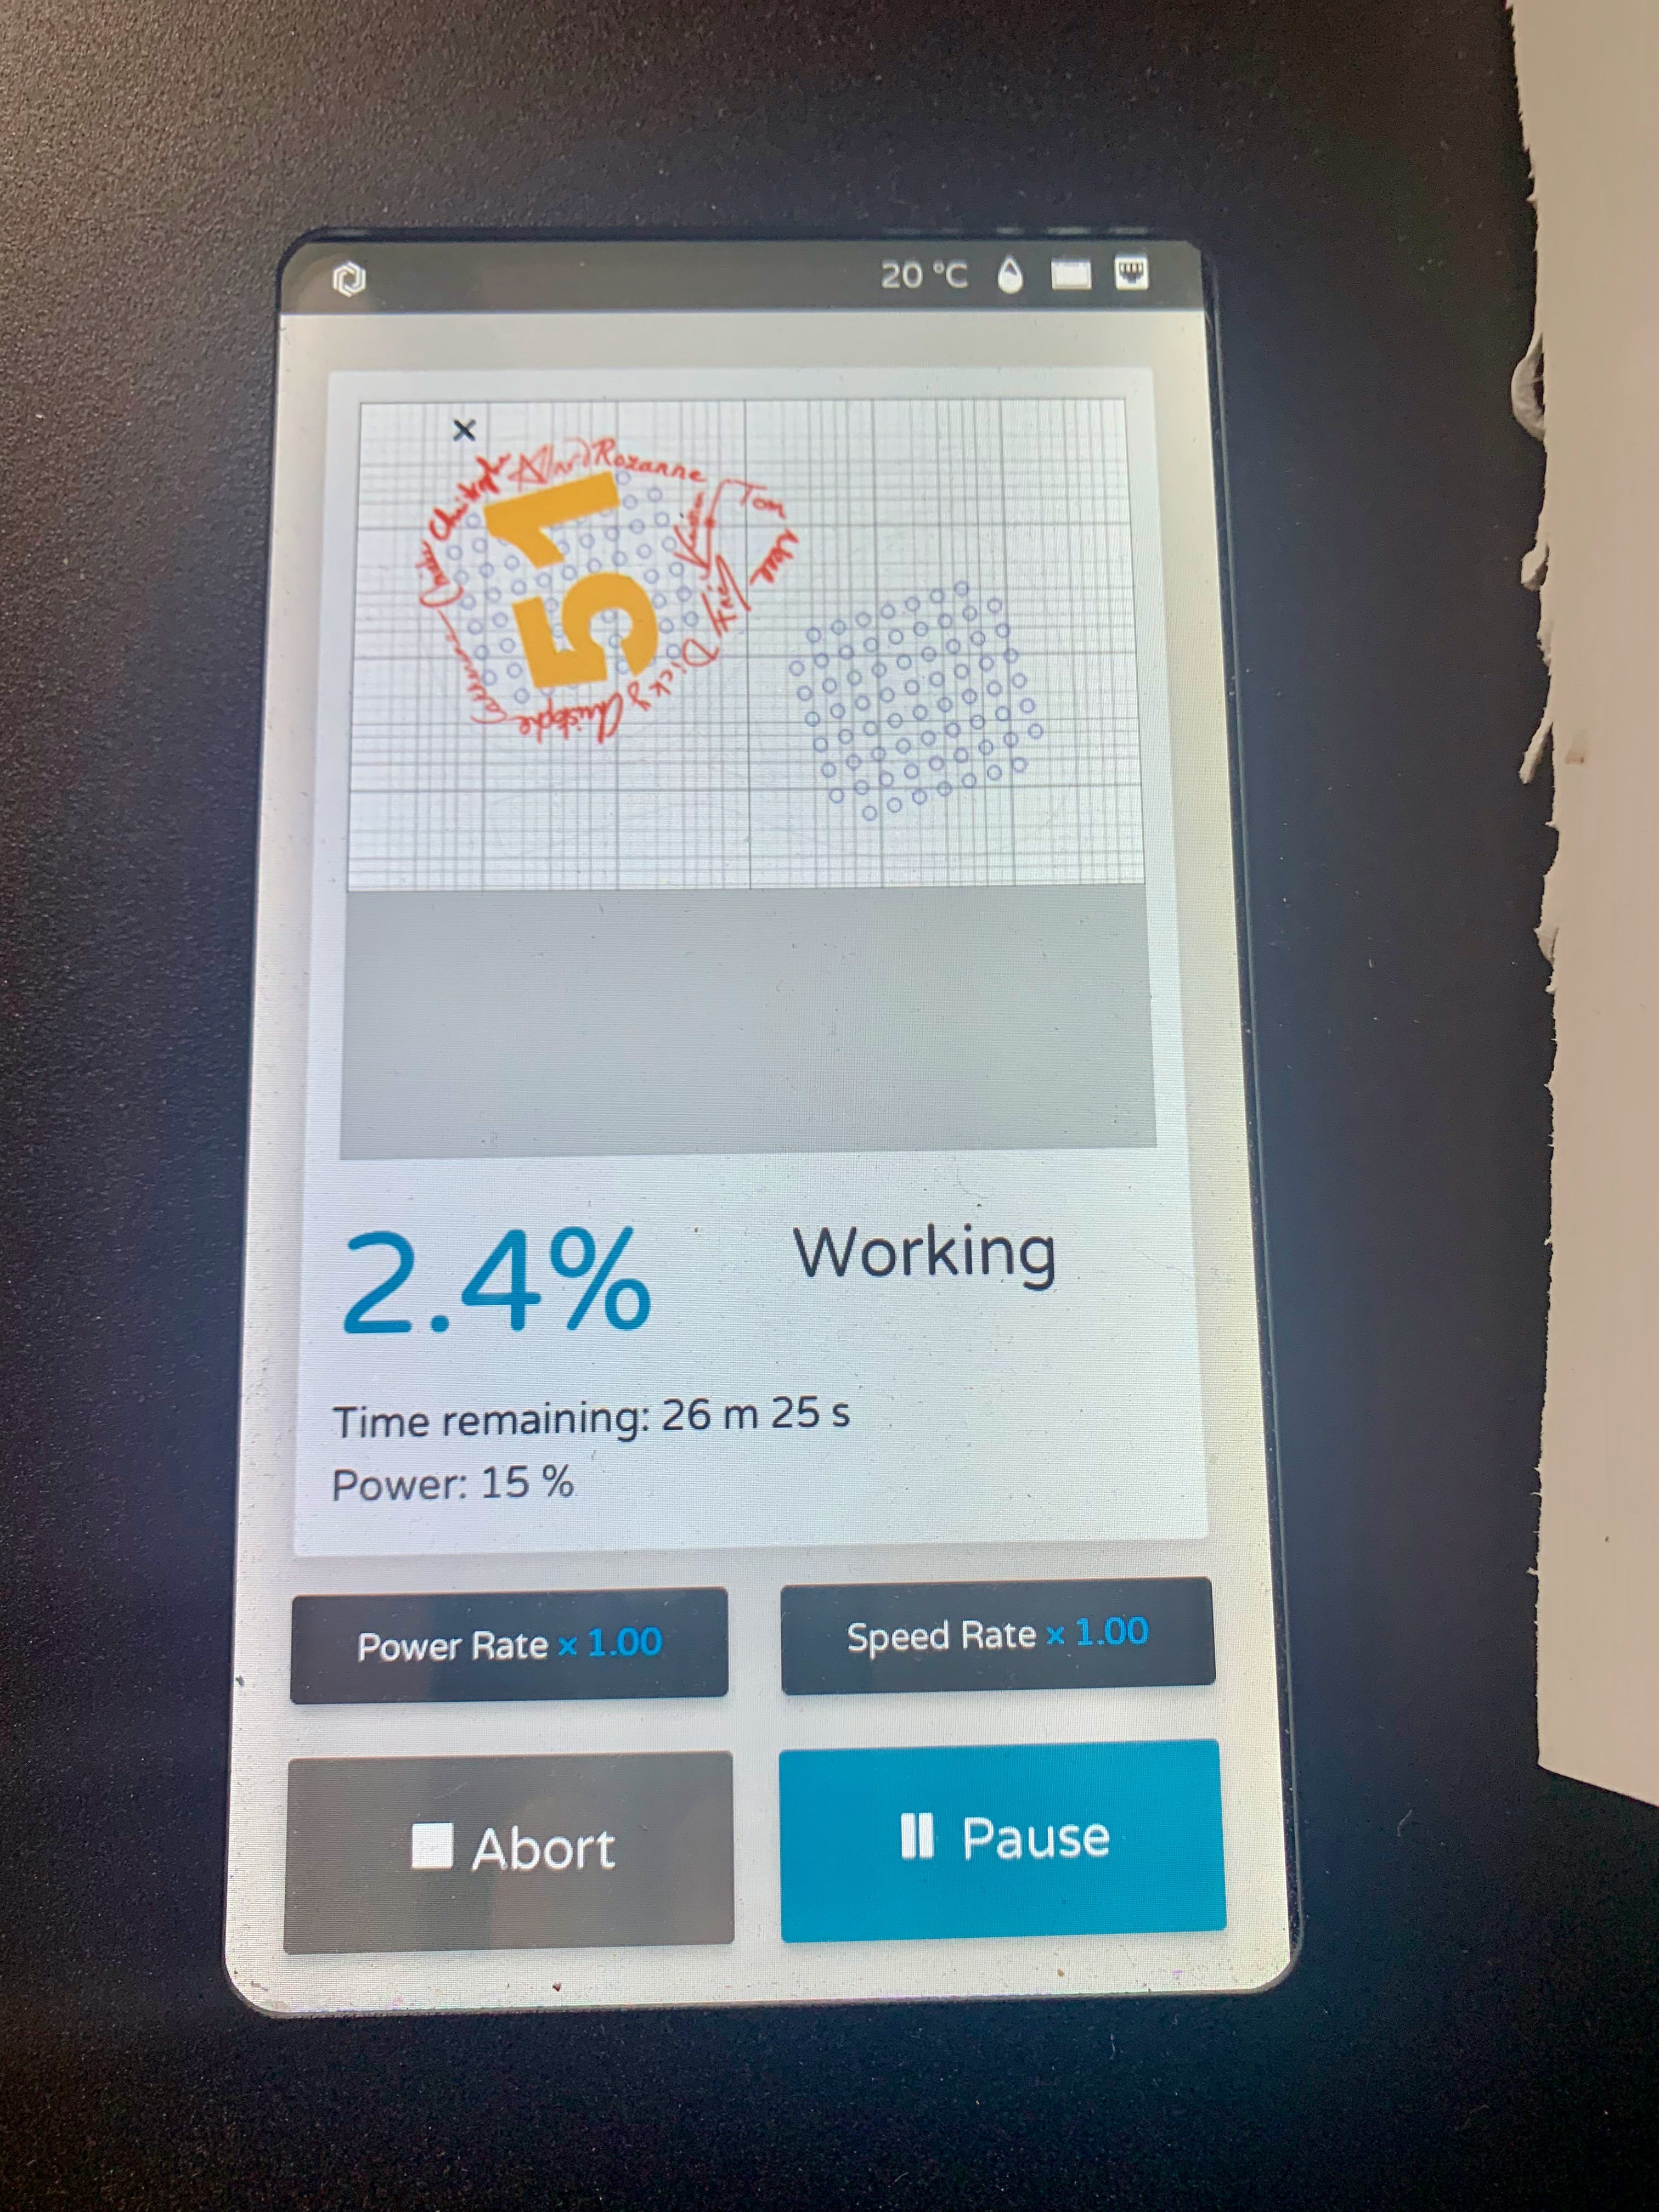
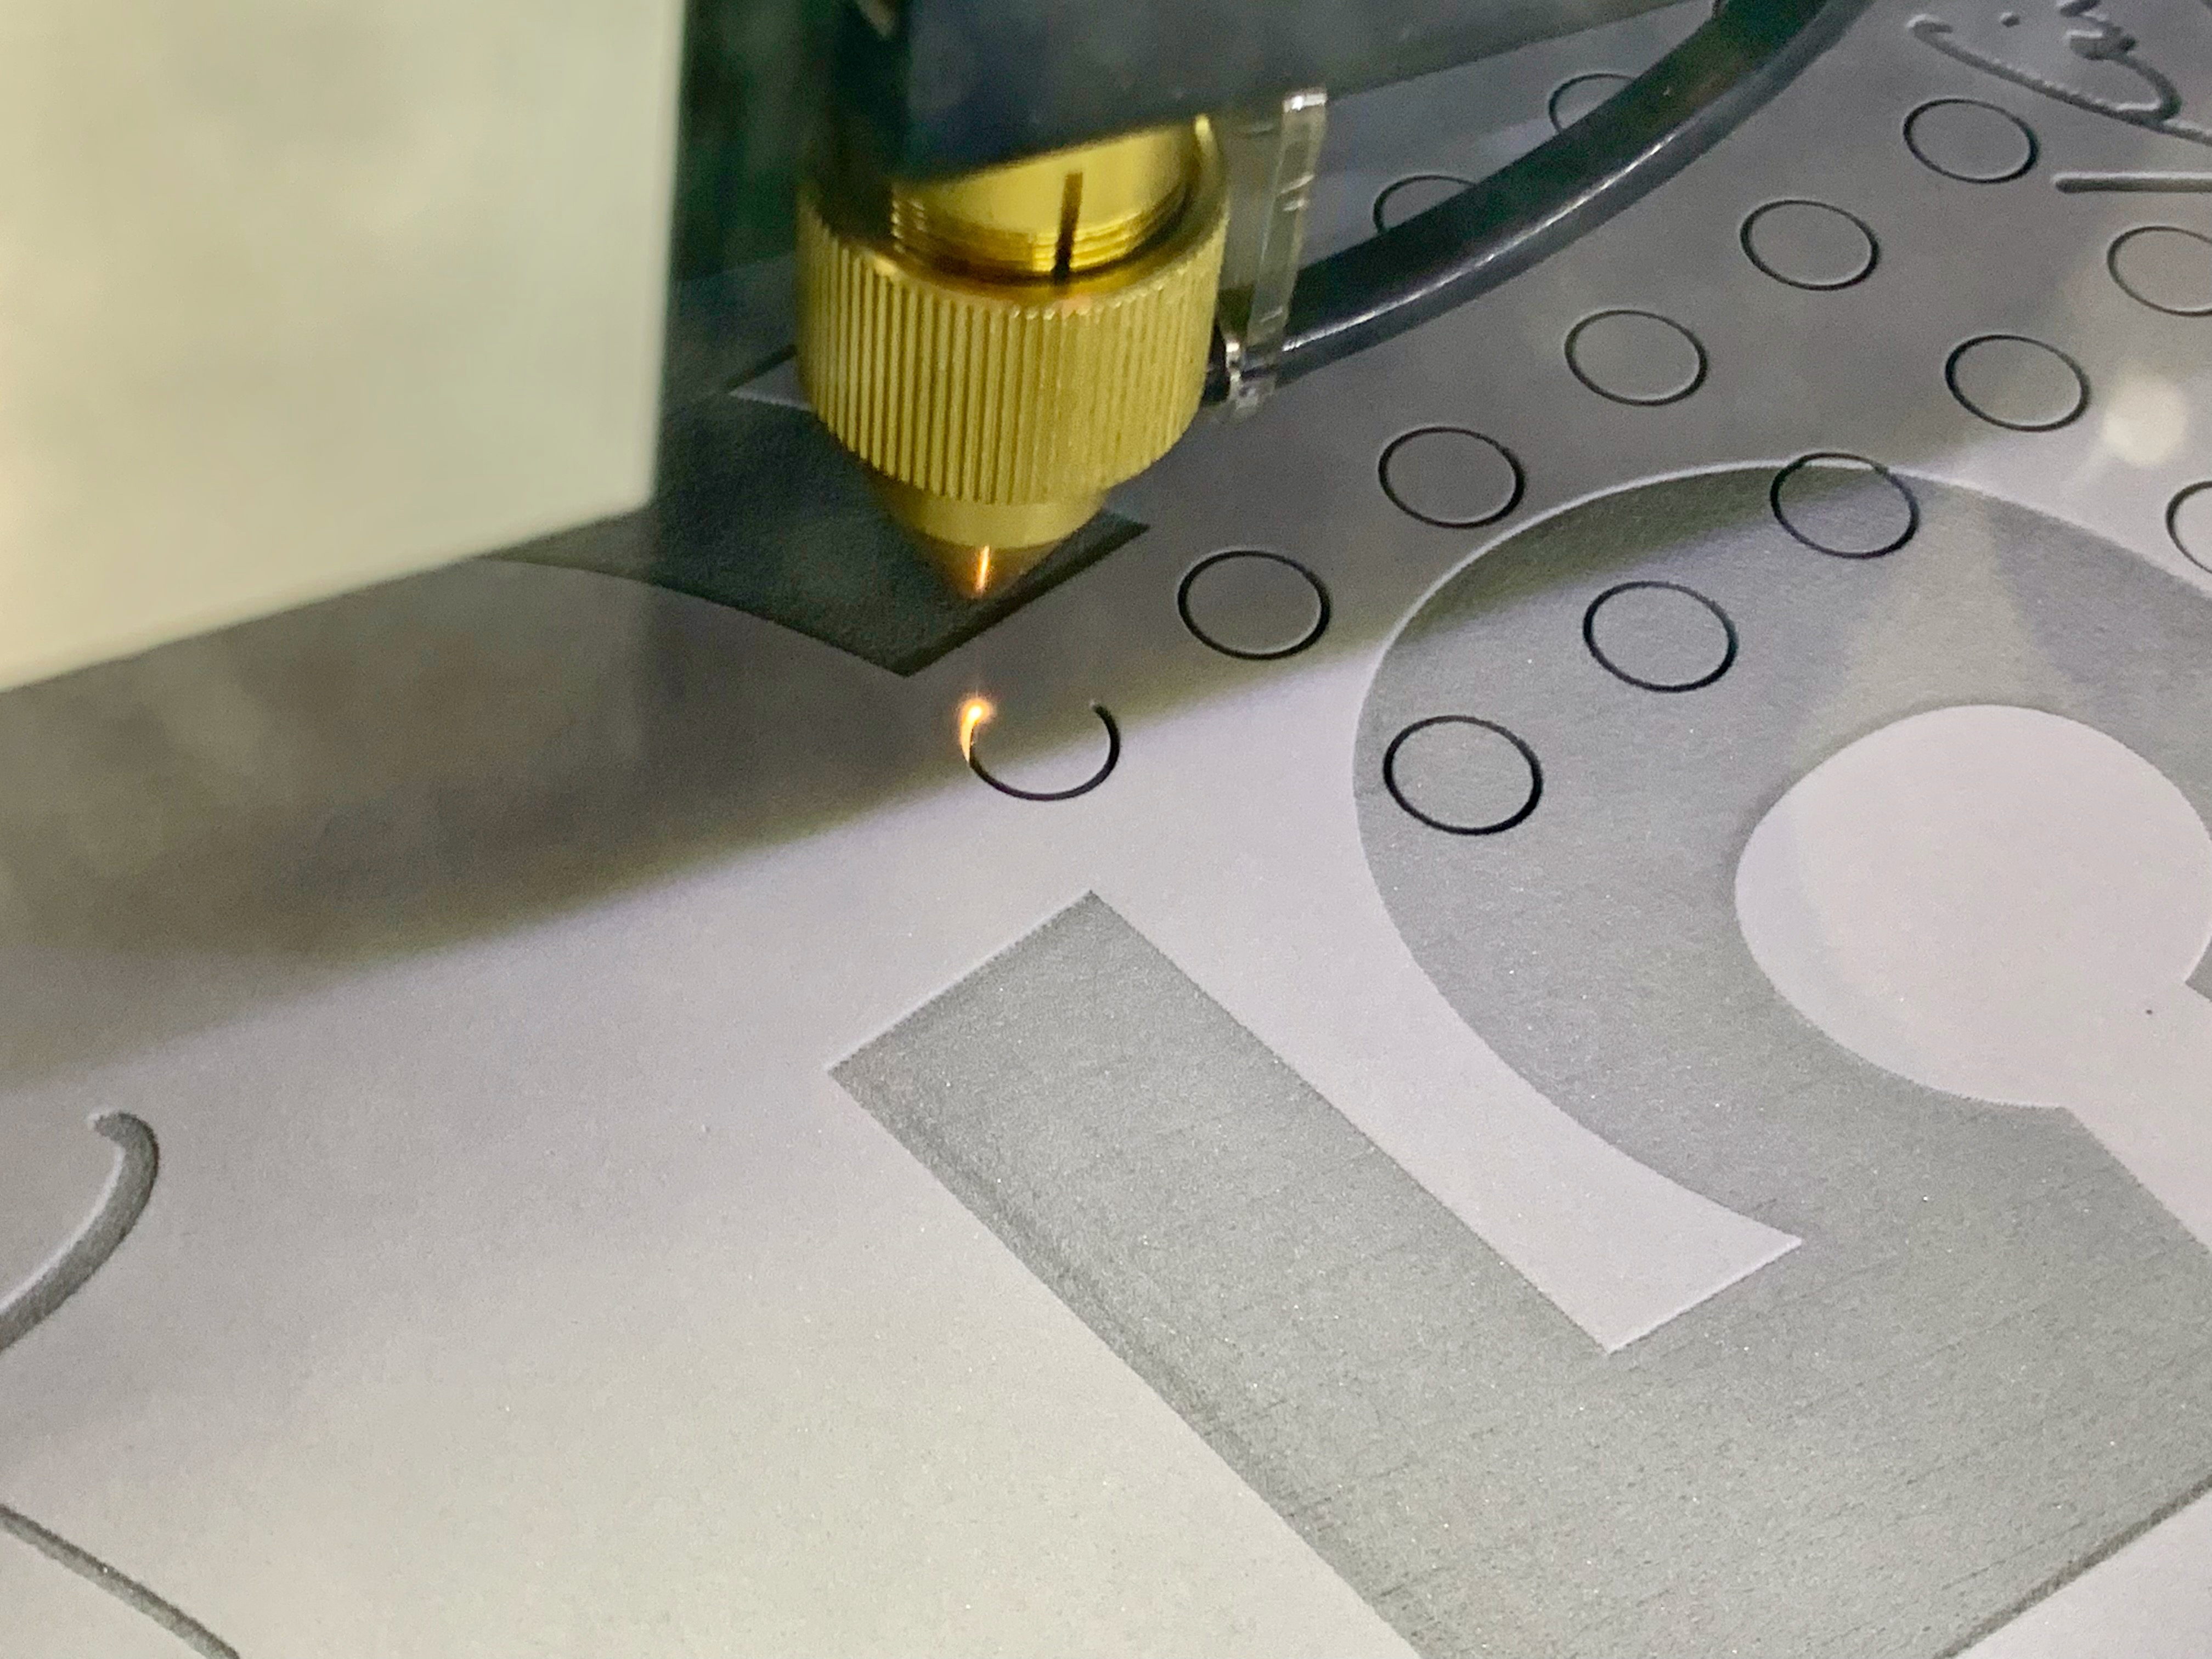
Everything starts with a first cut… a laser cut in this case. and I brought everything together in the laser cutting software and started cutting and engraving…


I used 1cm thick eva foam and three layers gave me a reasonable overall thickness for the racket. Glue them together with contact glue et voila… we’ve made ourselves a real padel racket. Real… because apparently most real padel rackets actually have a core of… eva foam 🤪
In all honesty, I considered to get me some epoxy and fiber sheets, to give it a real finish,… time didn’t permit me to do that. And we weren’t finished just yet…
Shaping
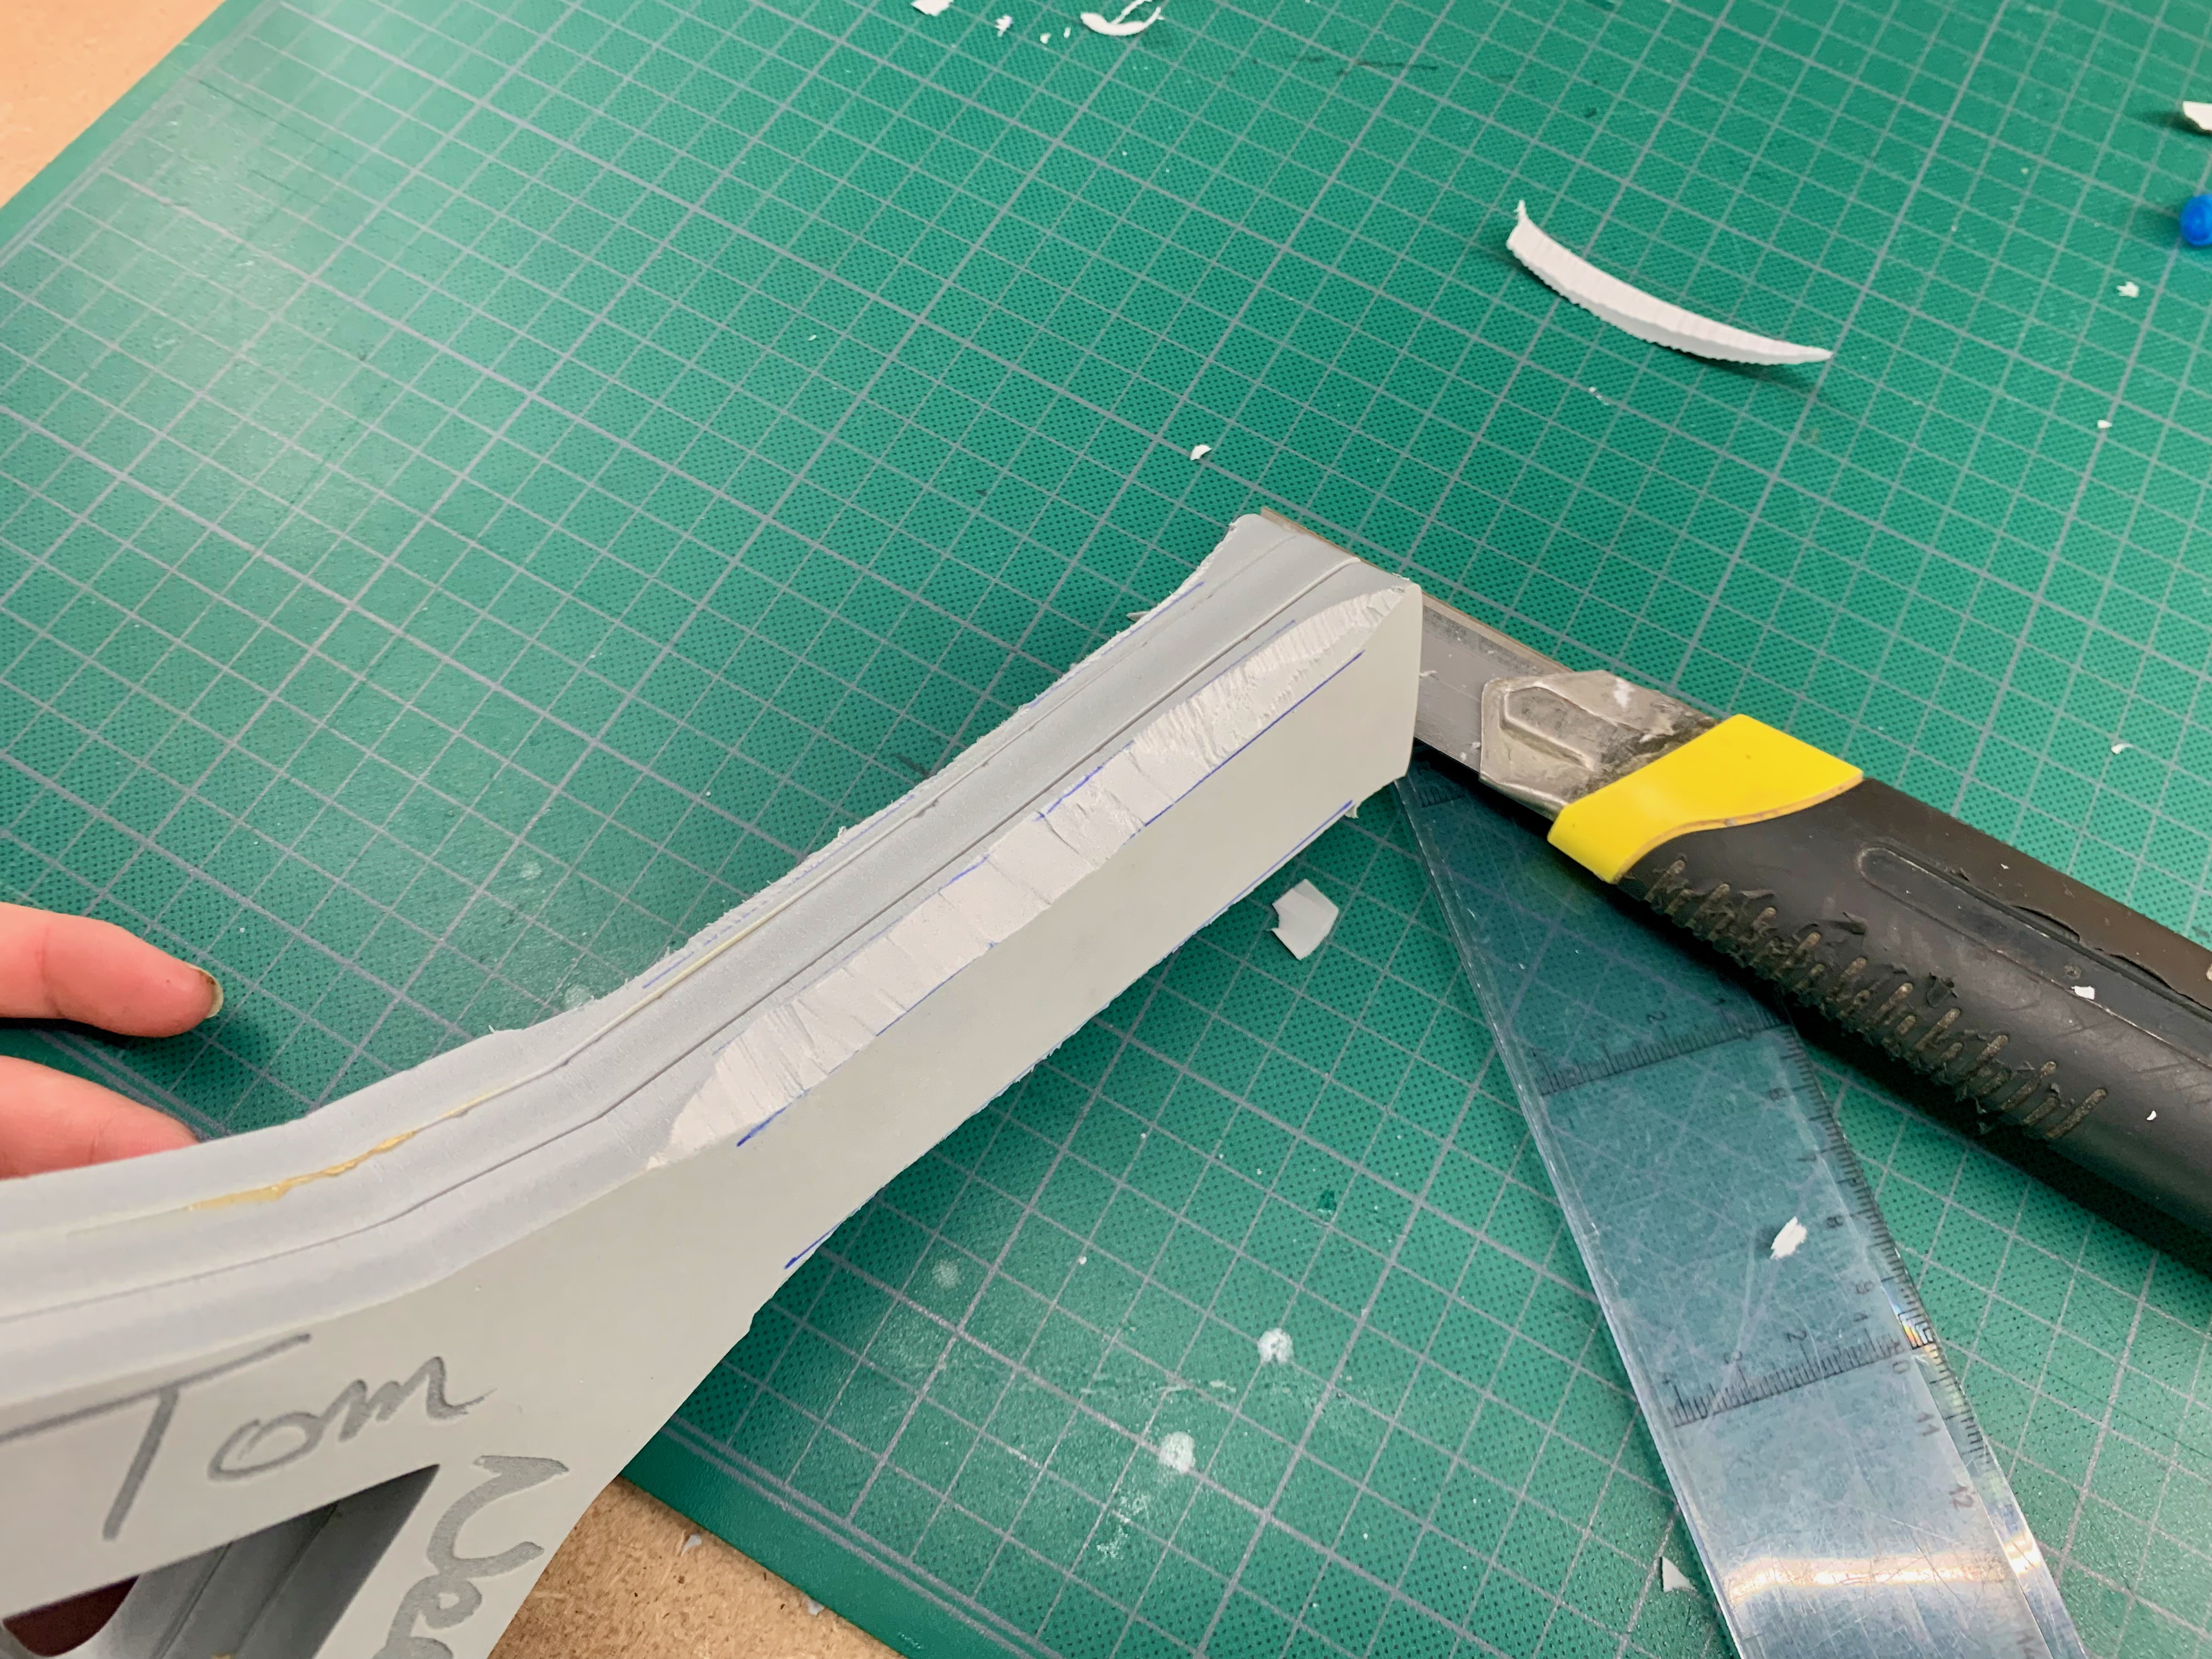

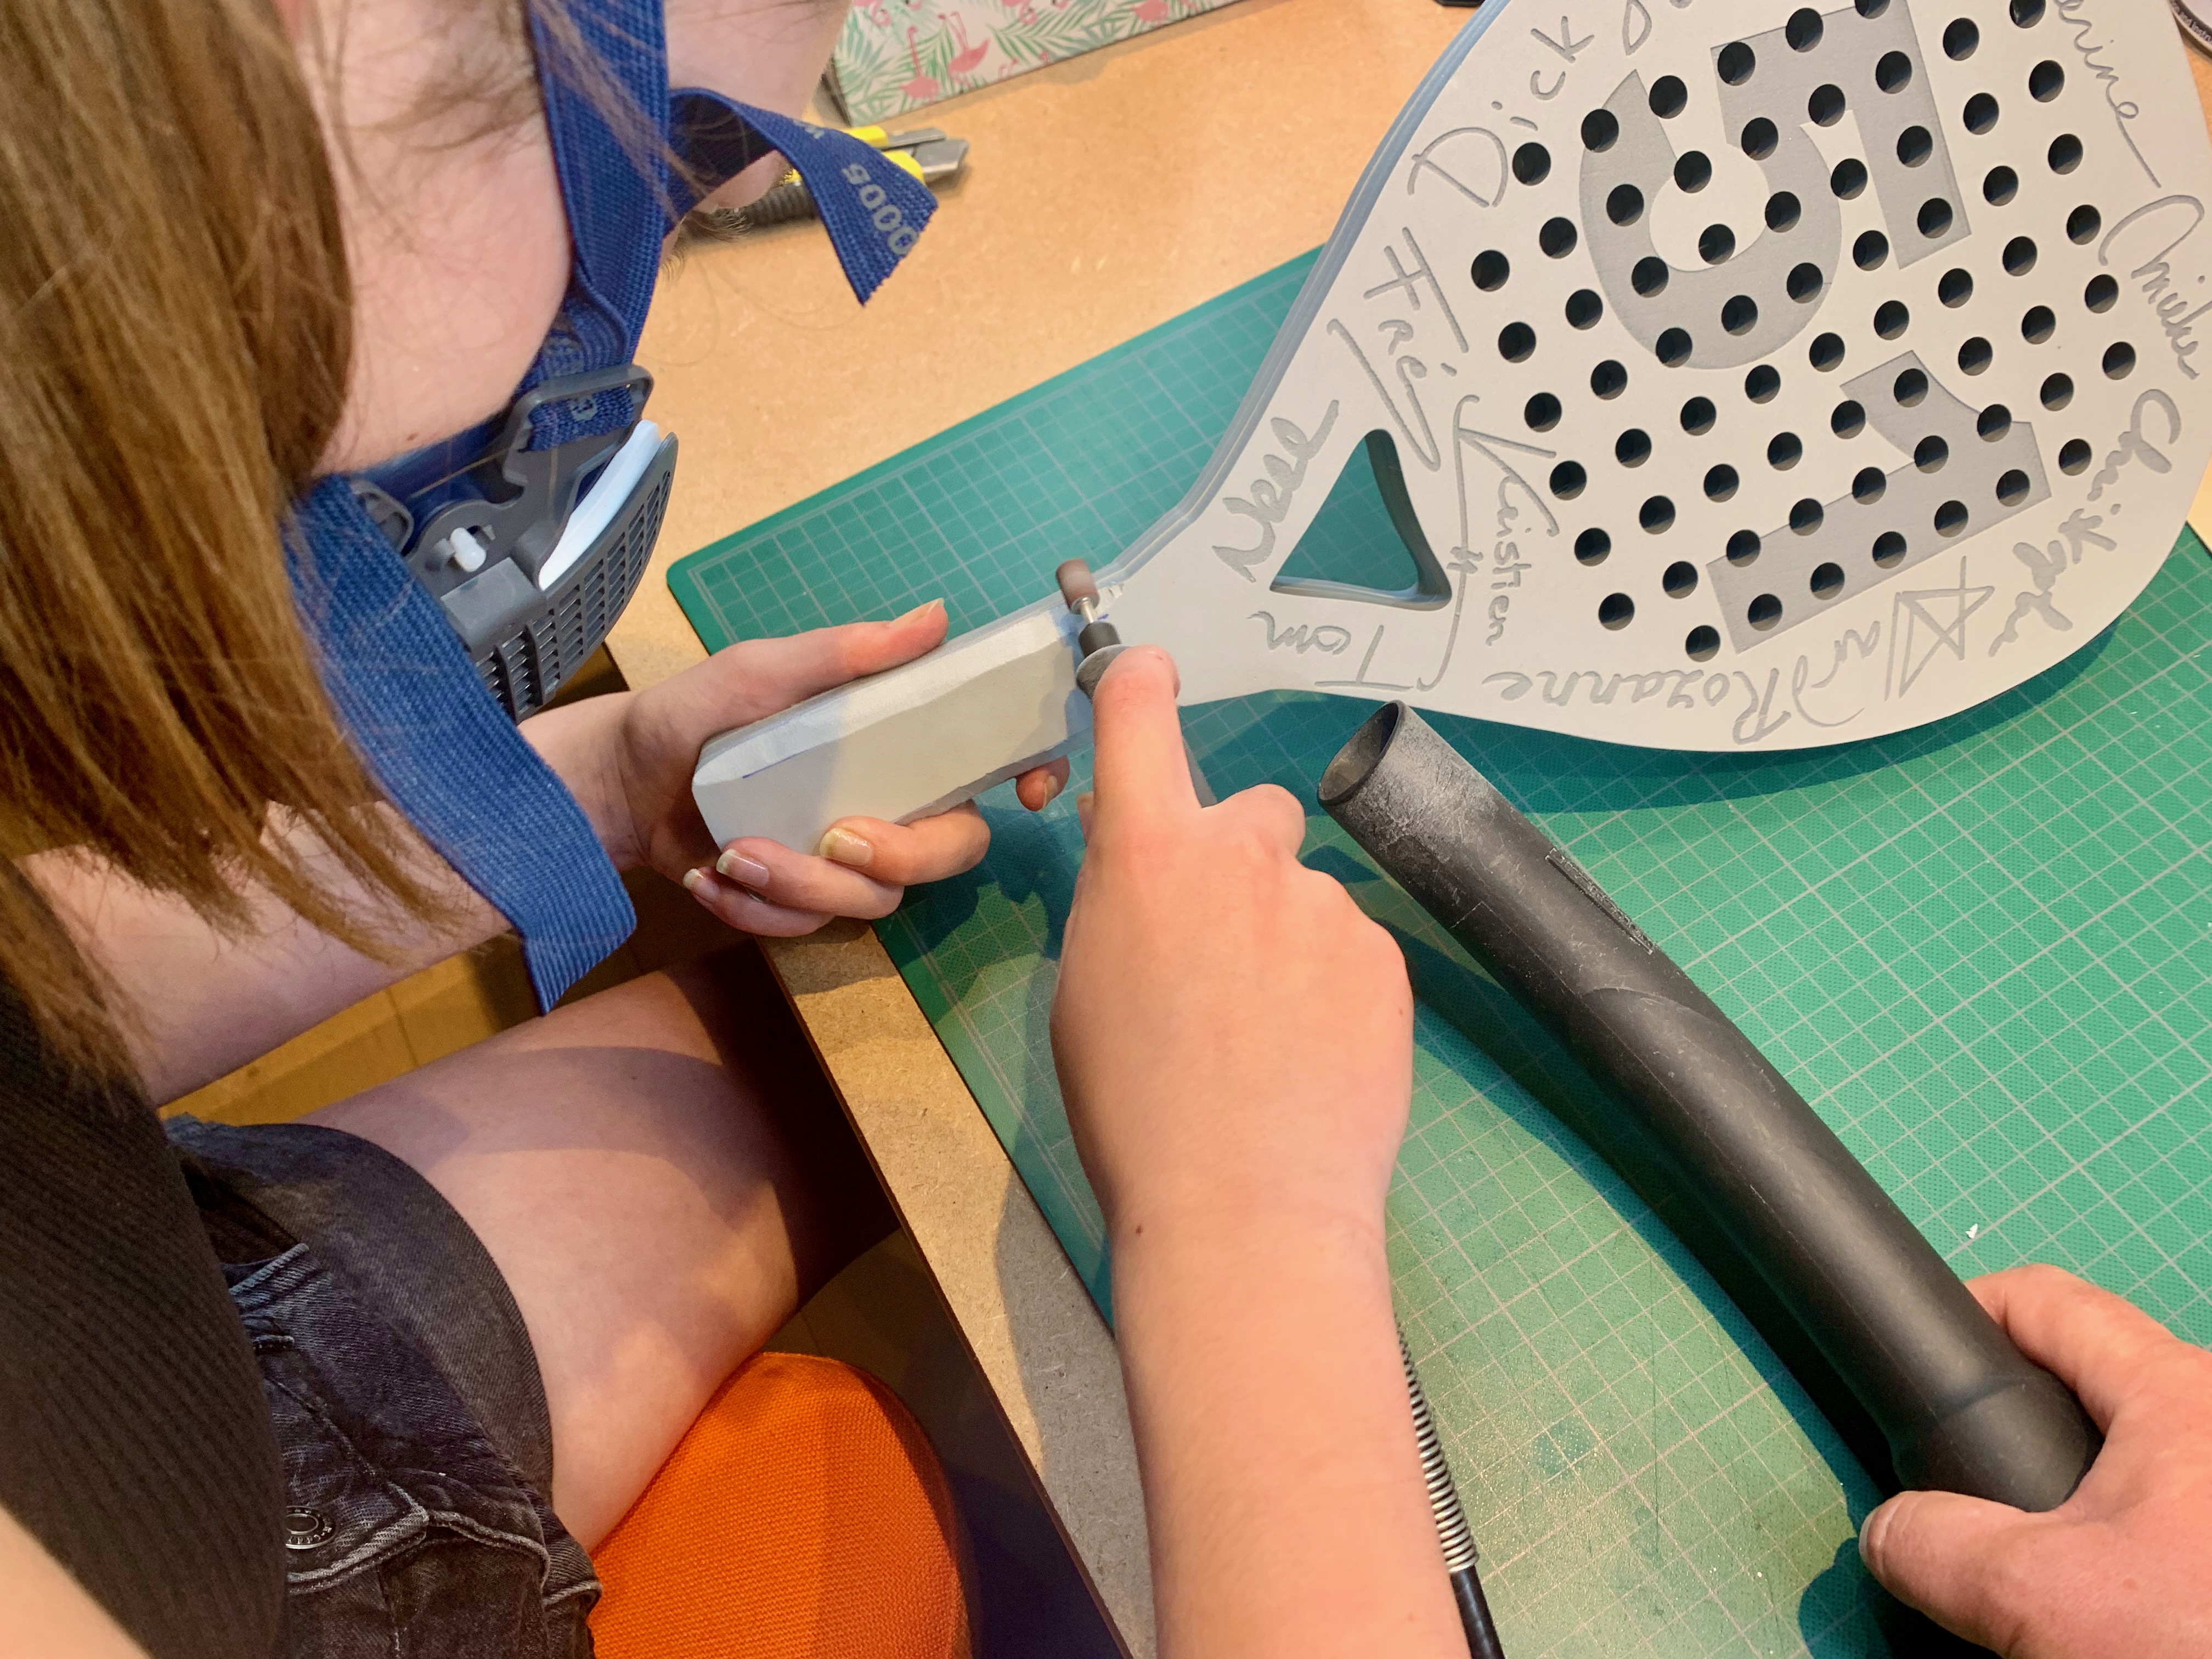
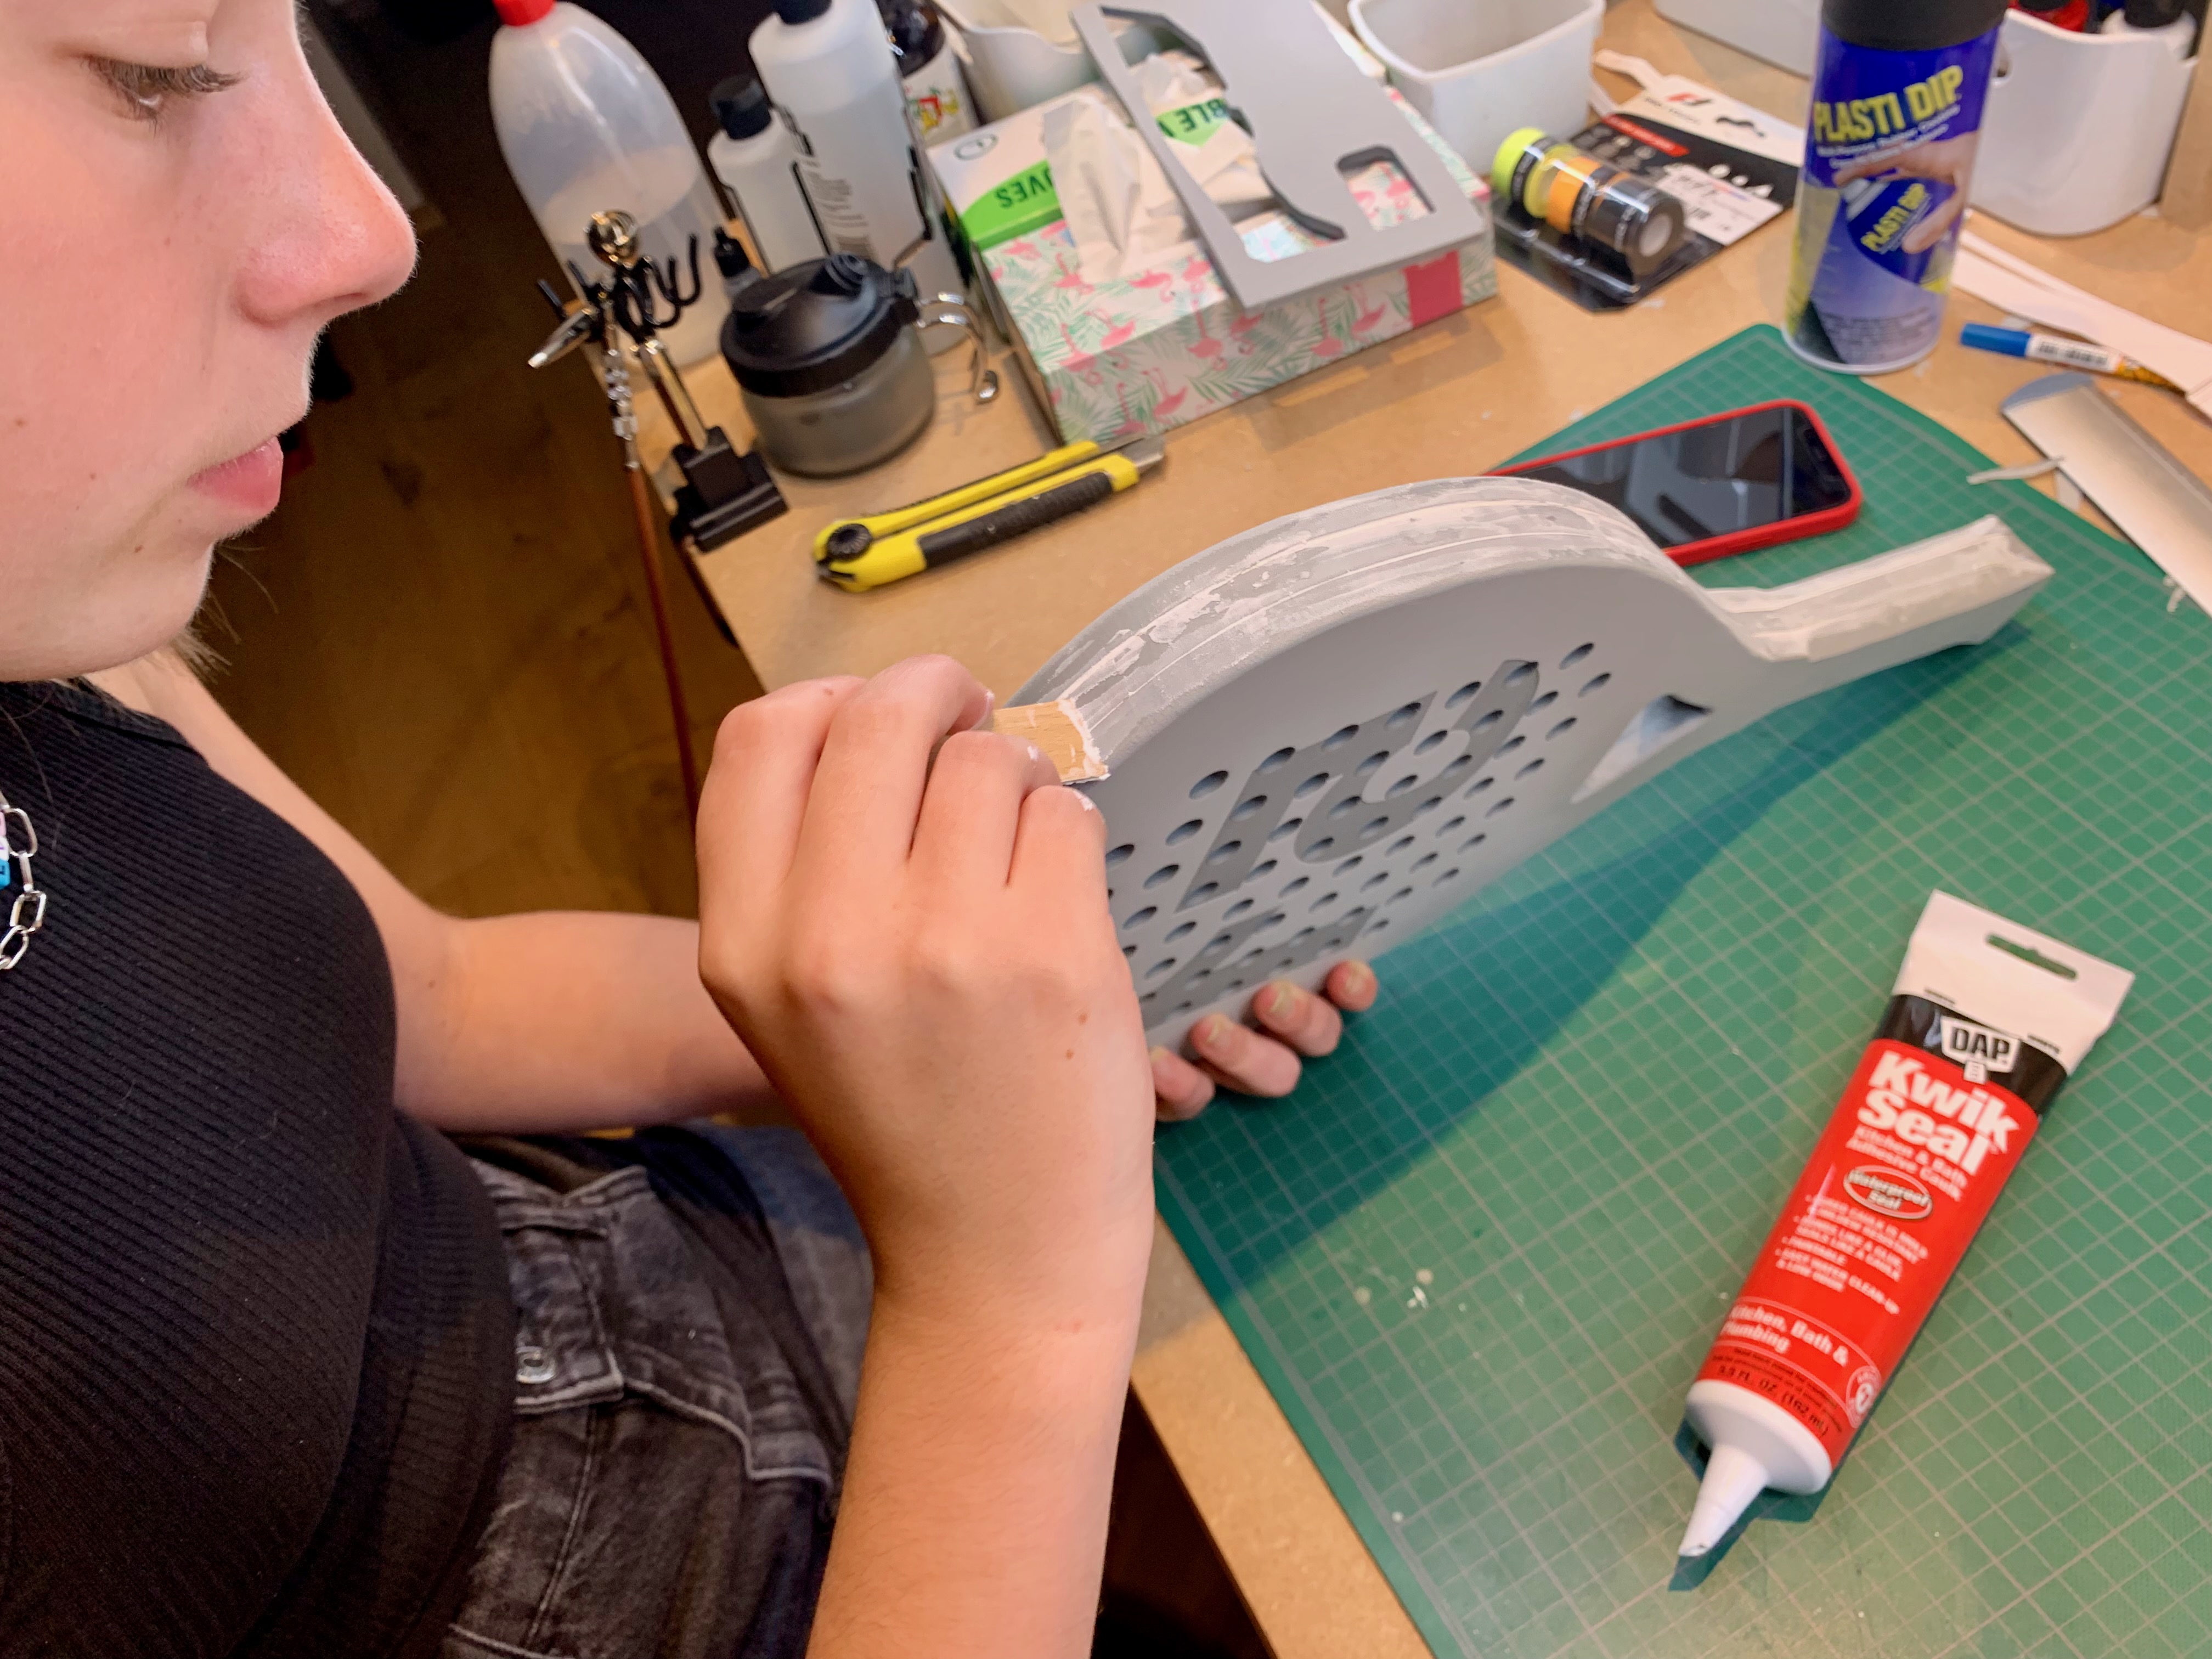
With some help from Eline, we started shaping the racket to a less “jaggy” feel. We shaped of course the handle and the overall look ‘n feel. After that we filled all gaps with Kwik Seal. All set for… !
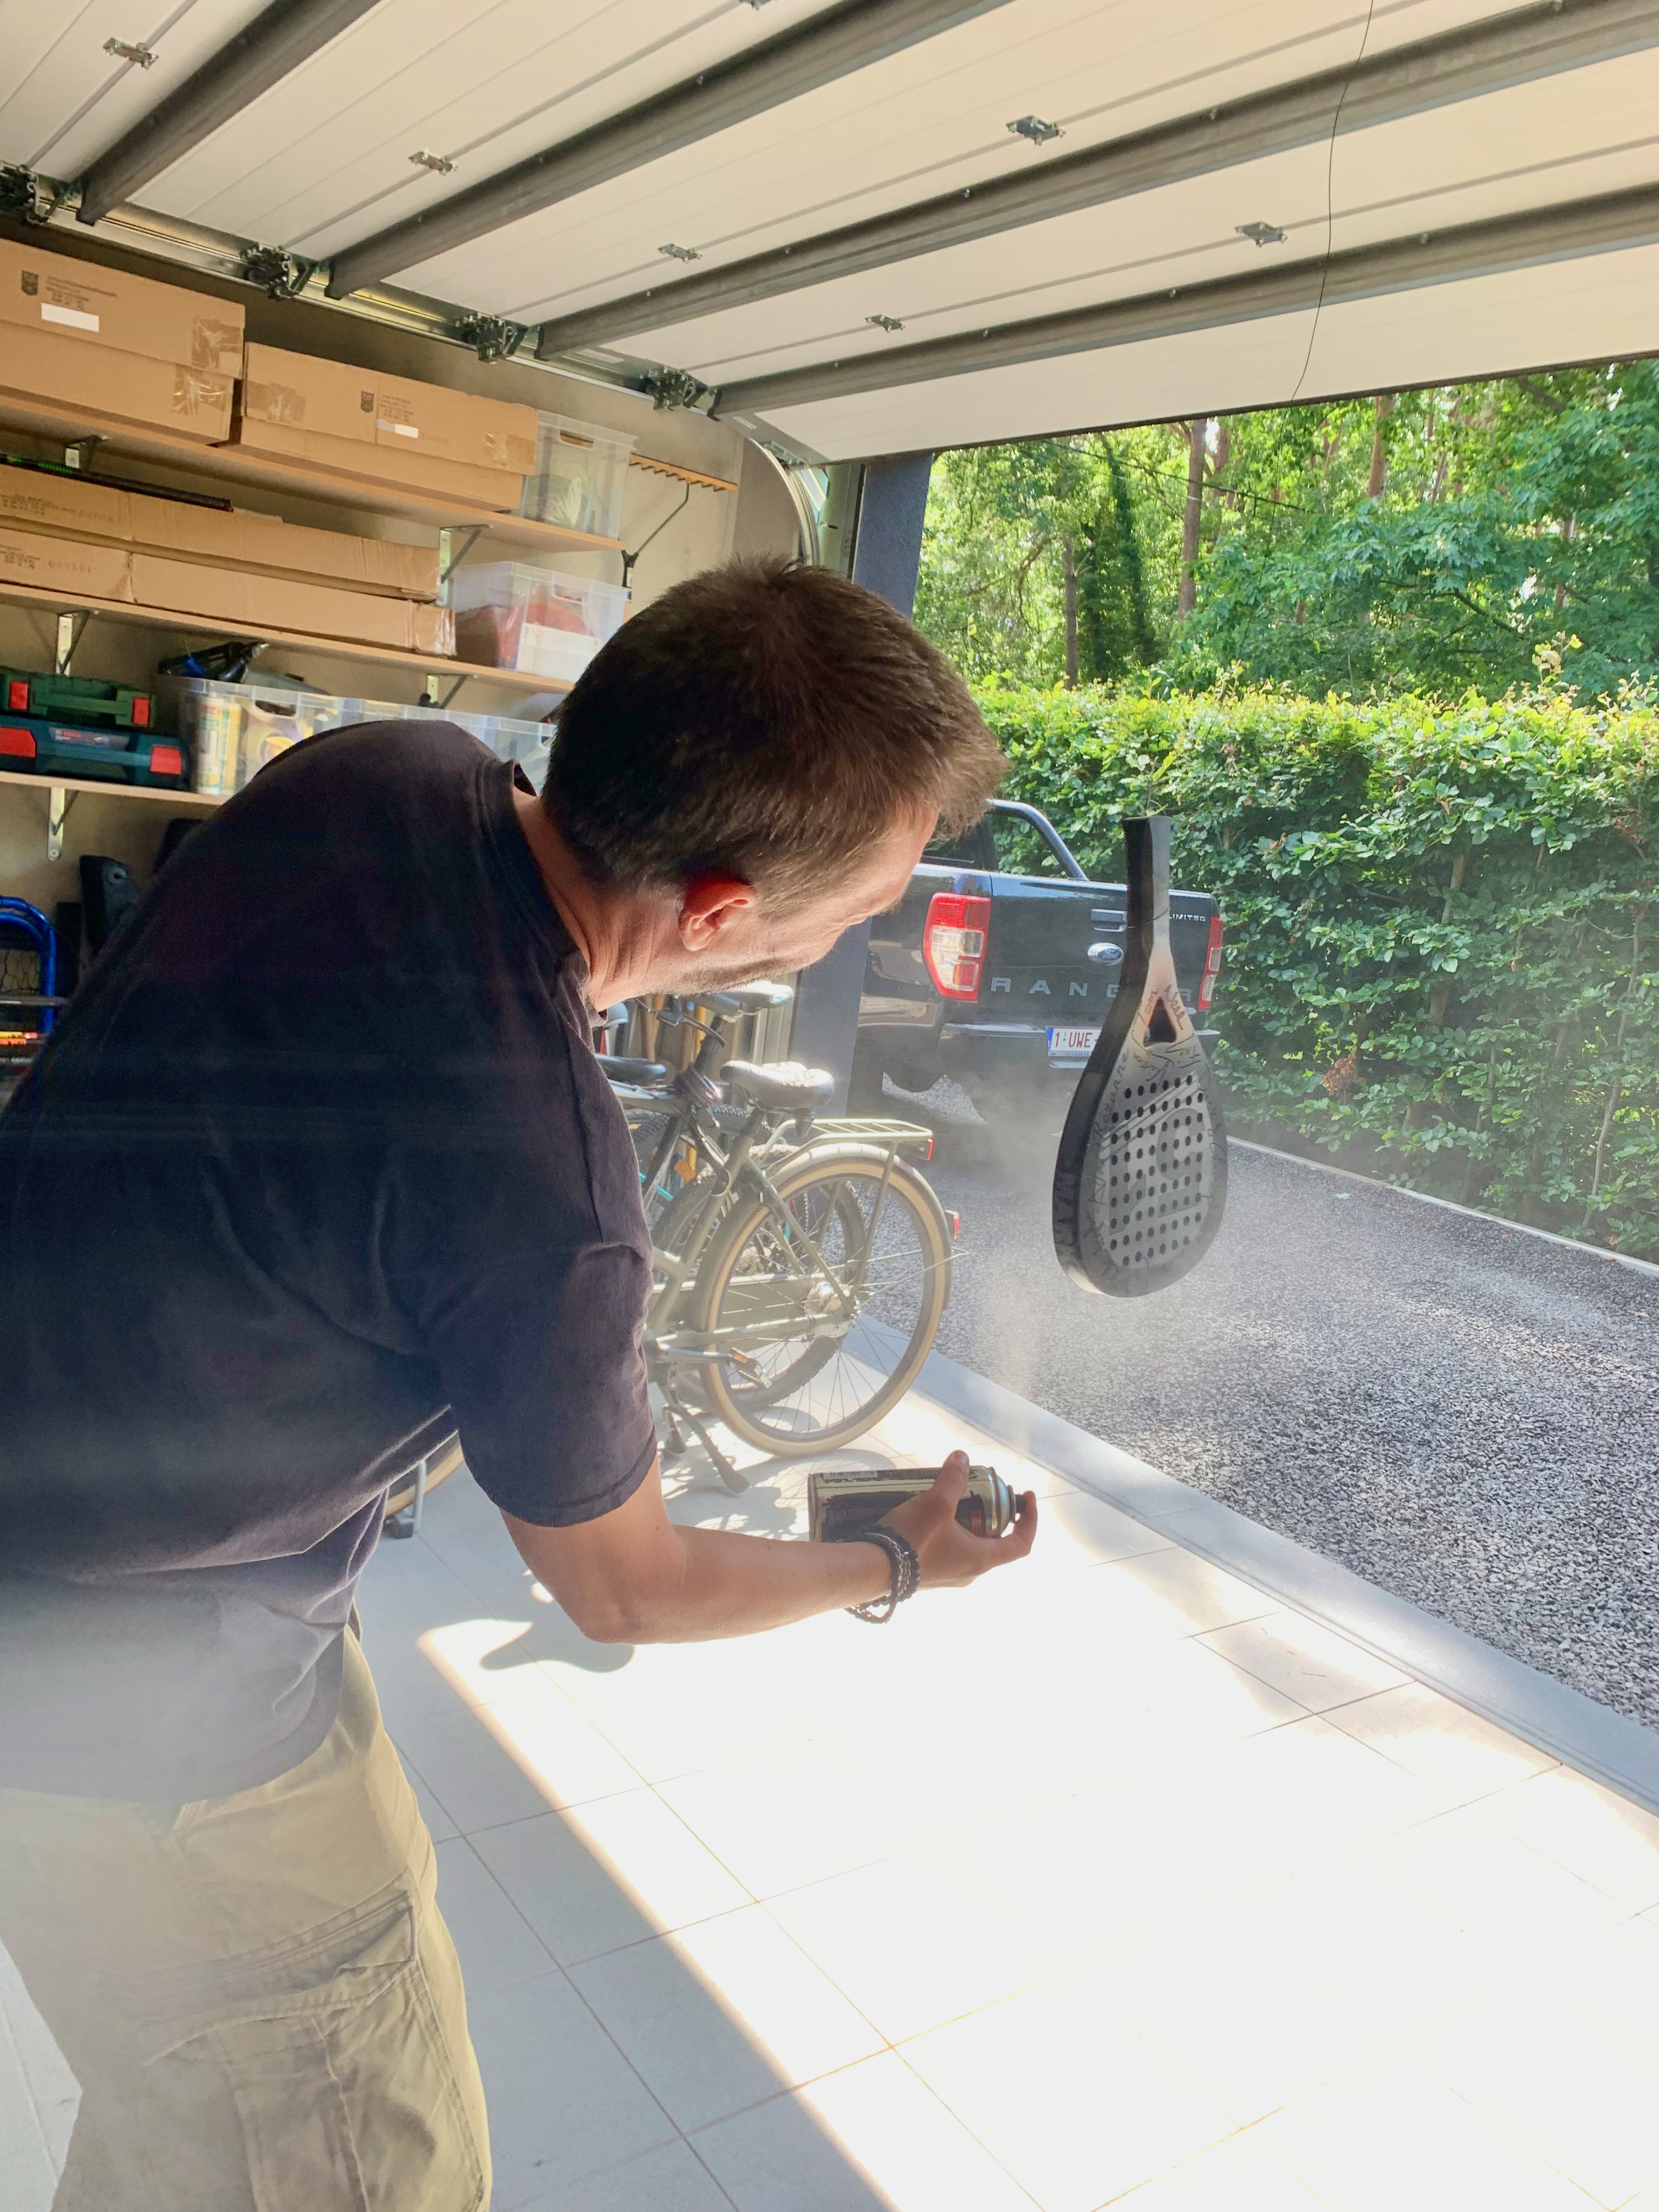
Painting
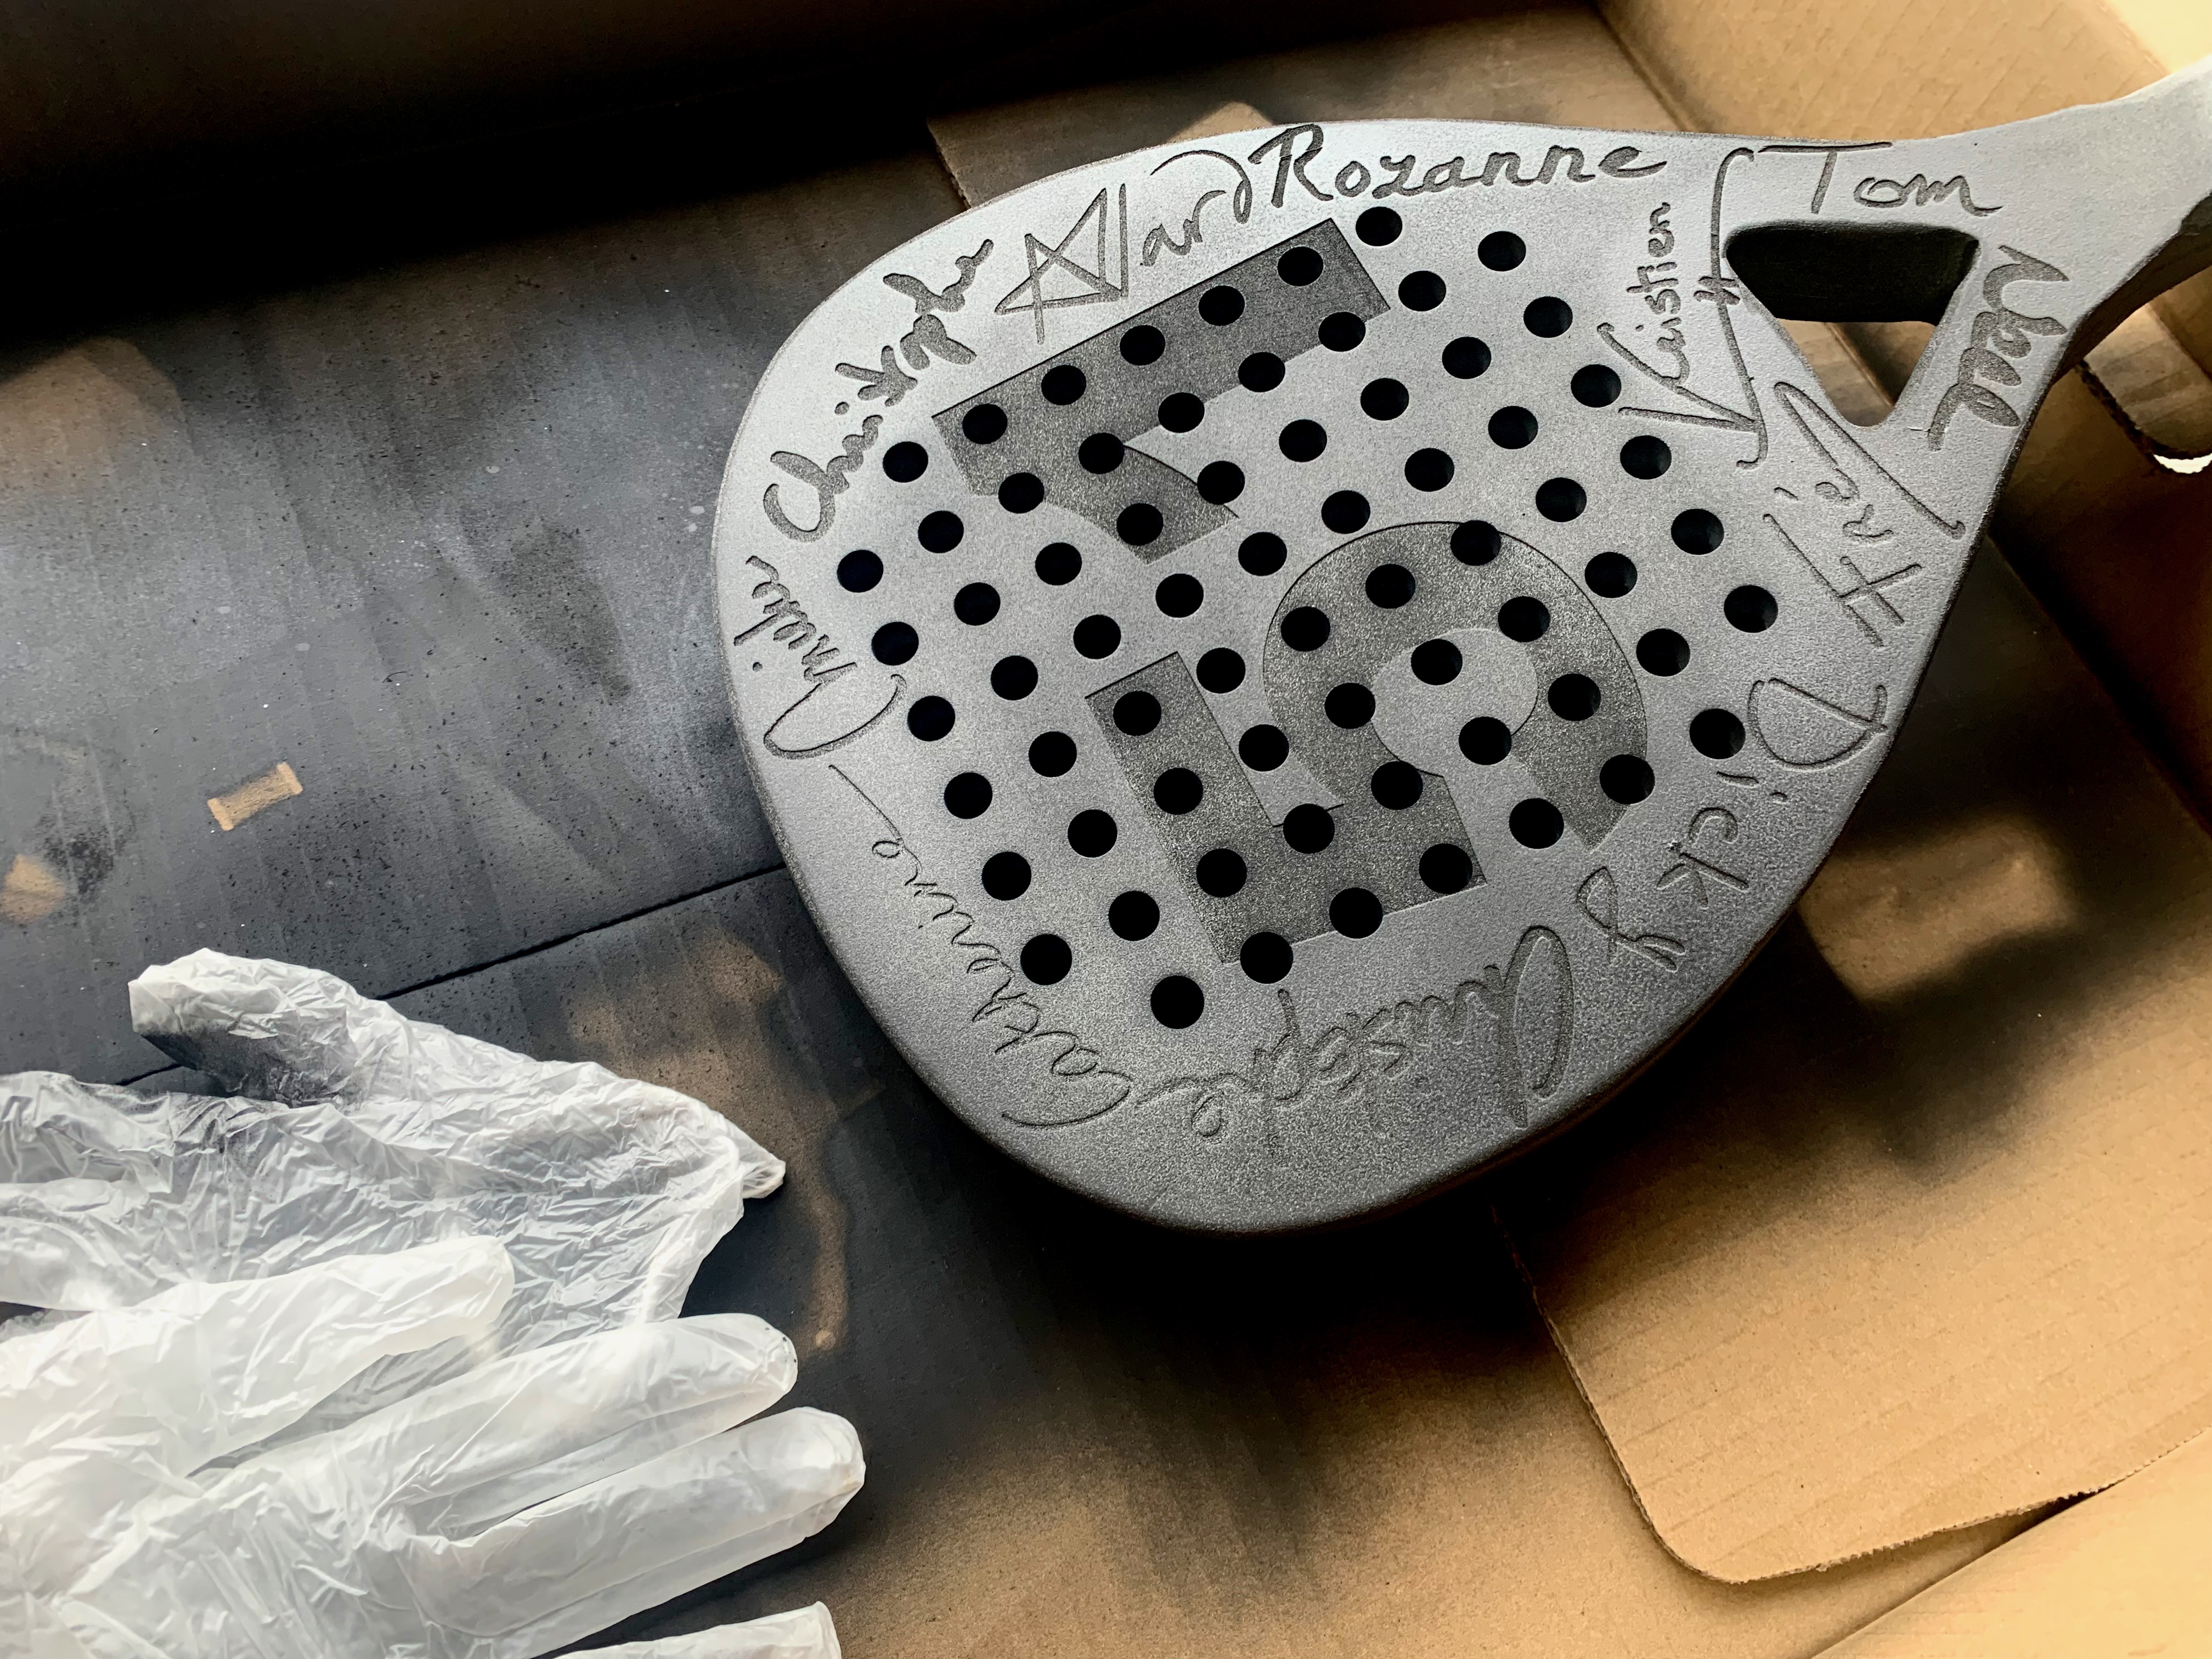
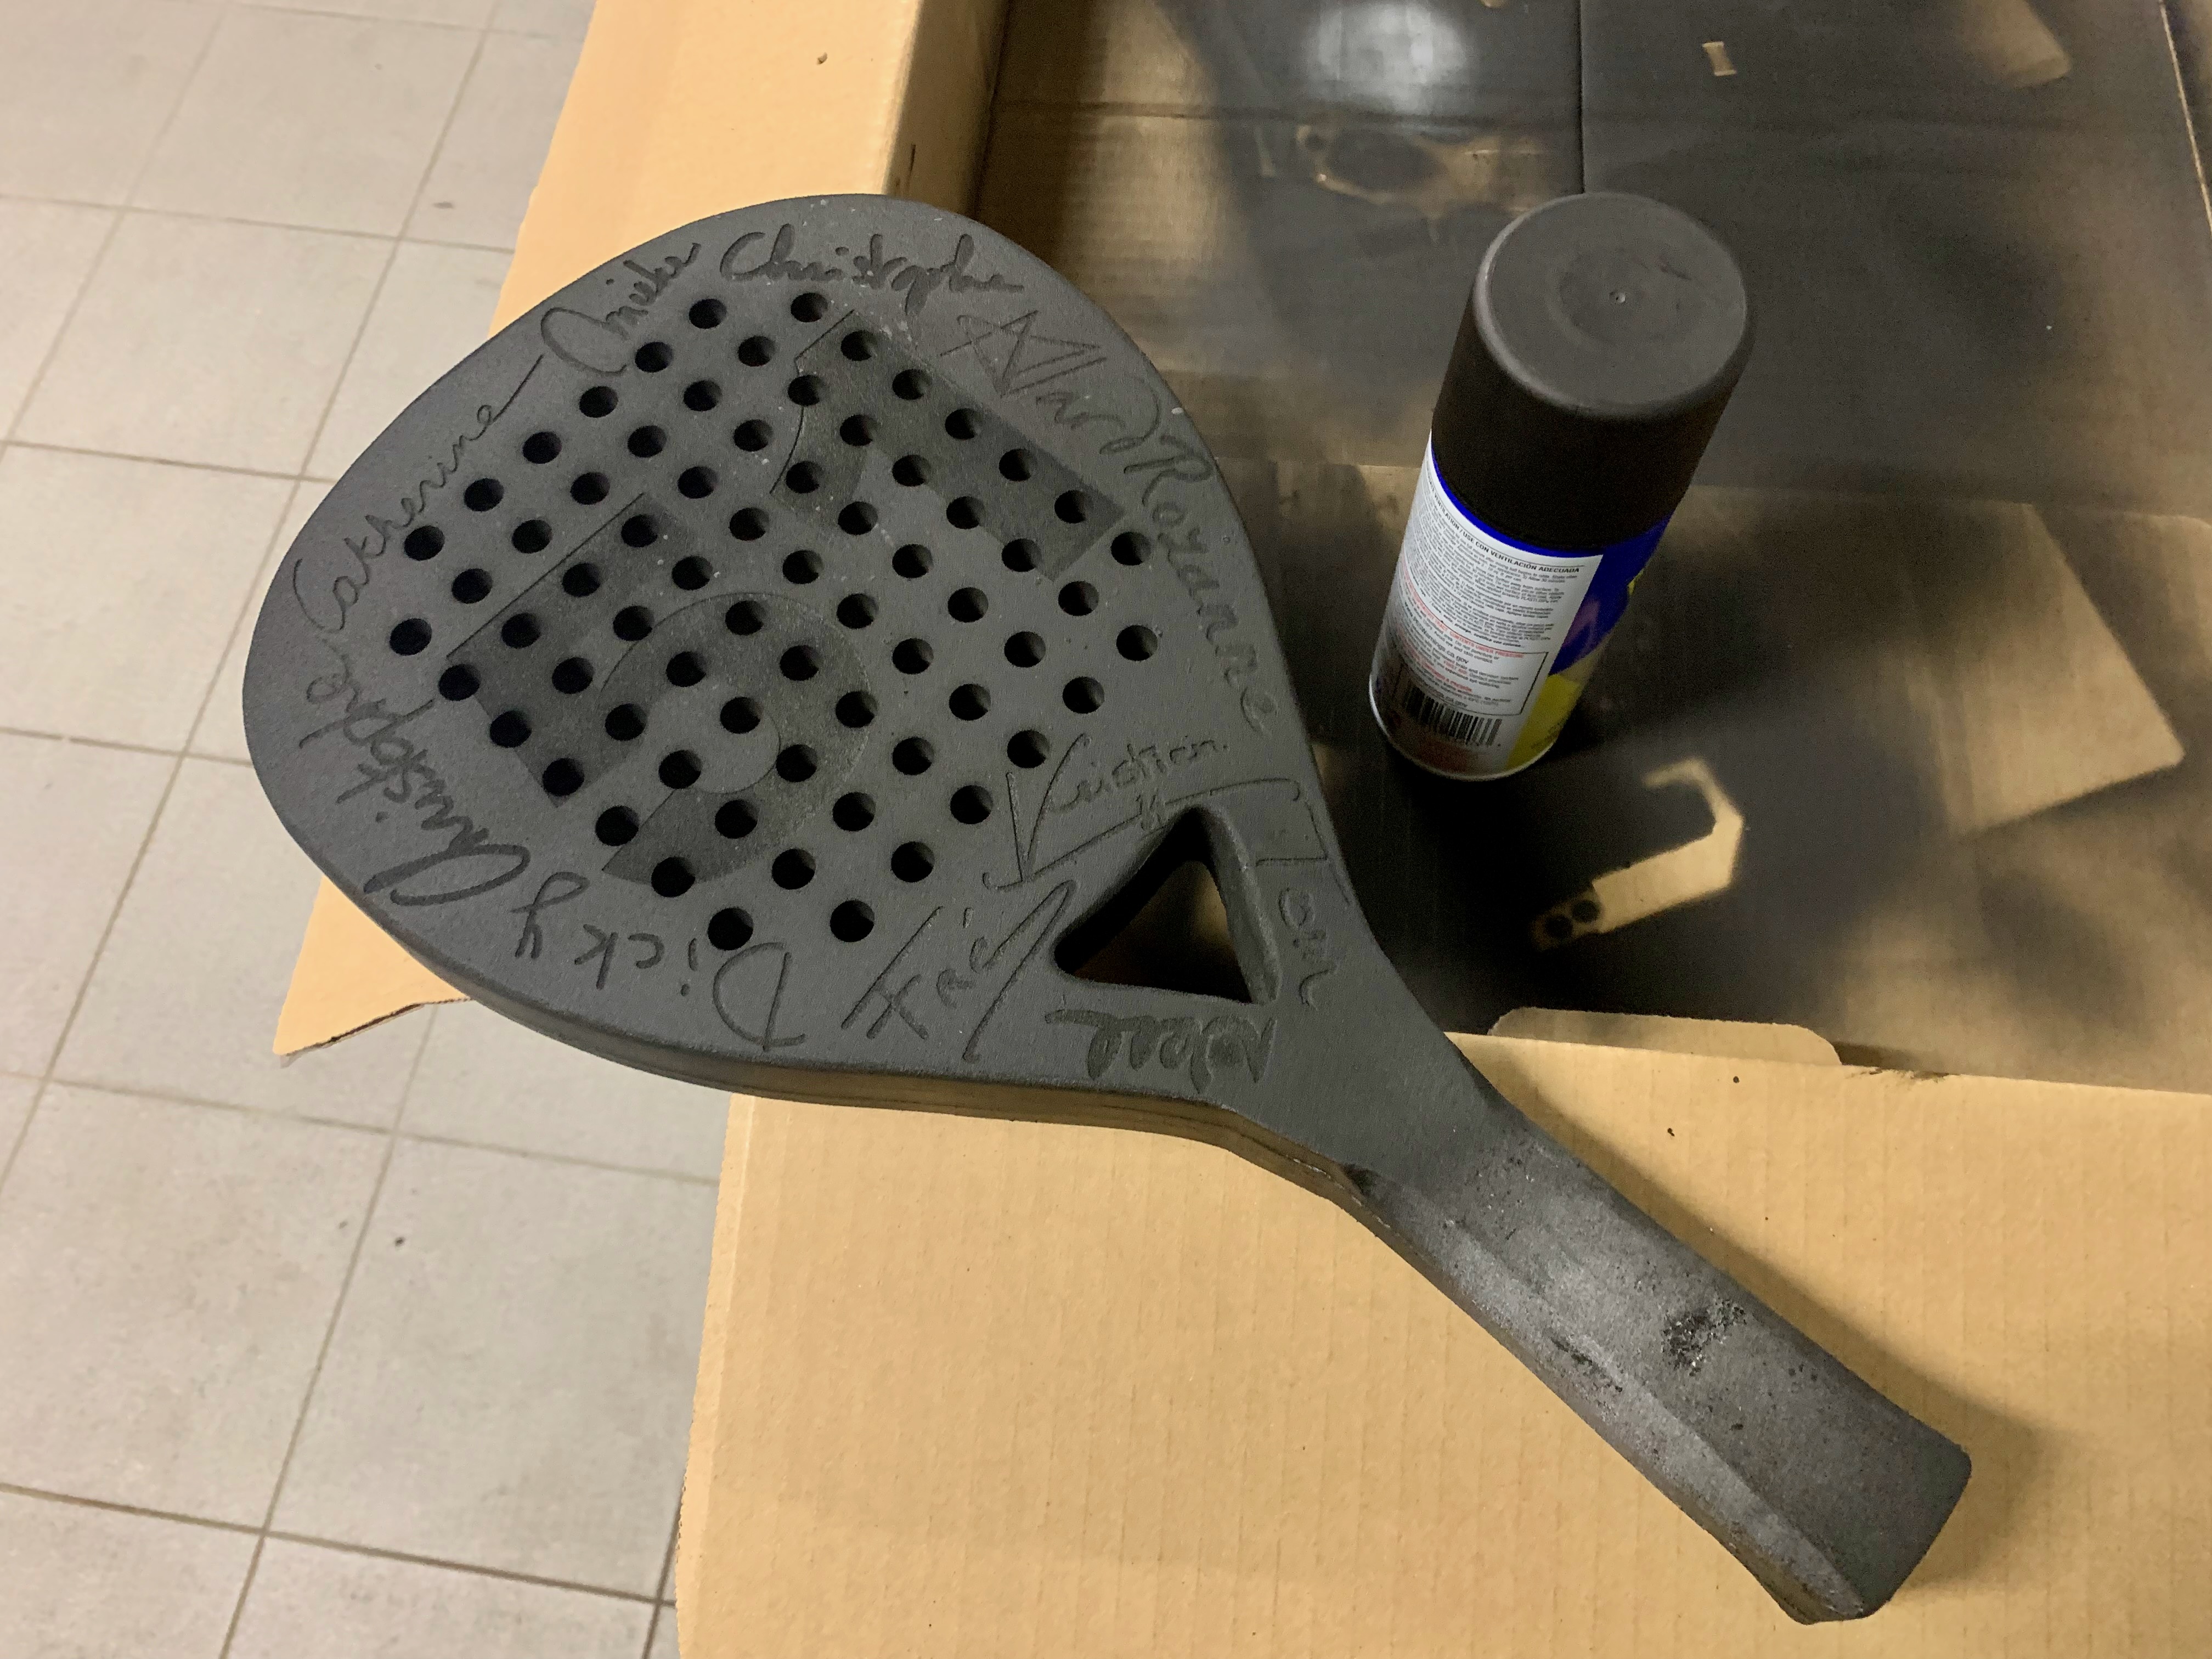
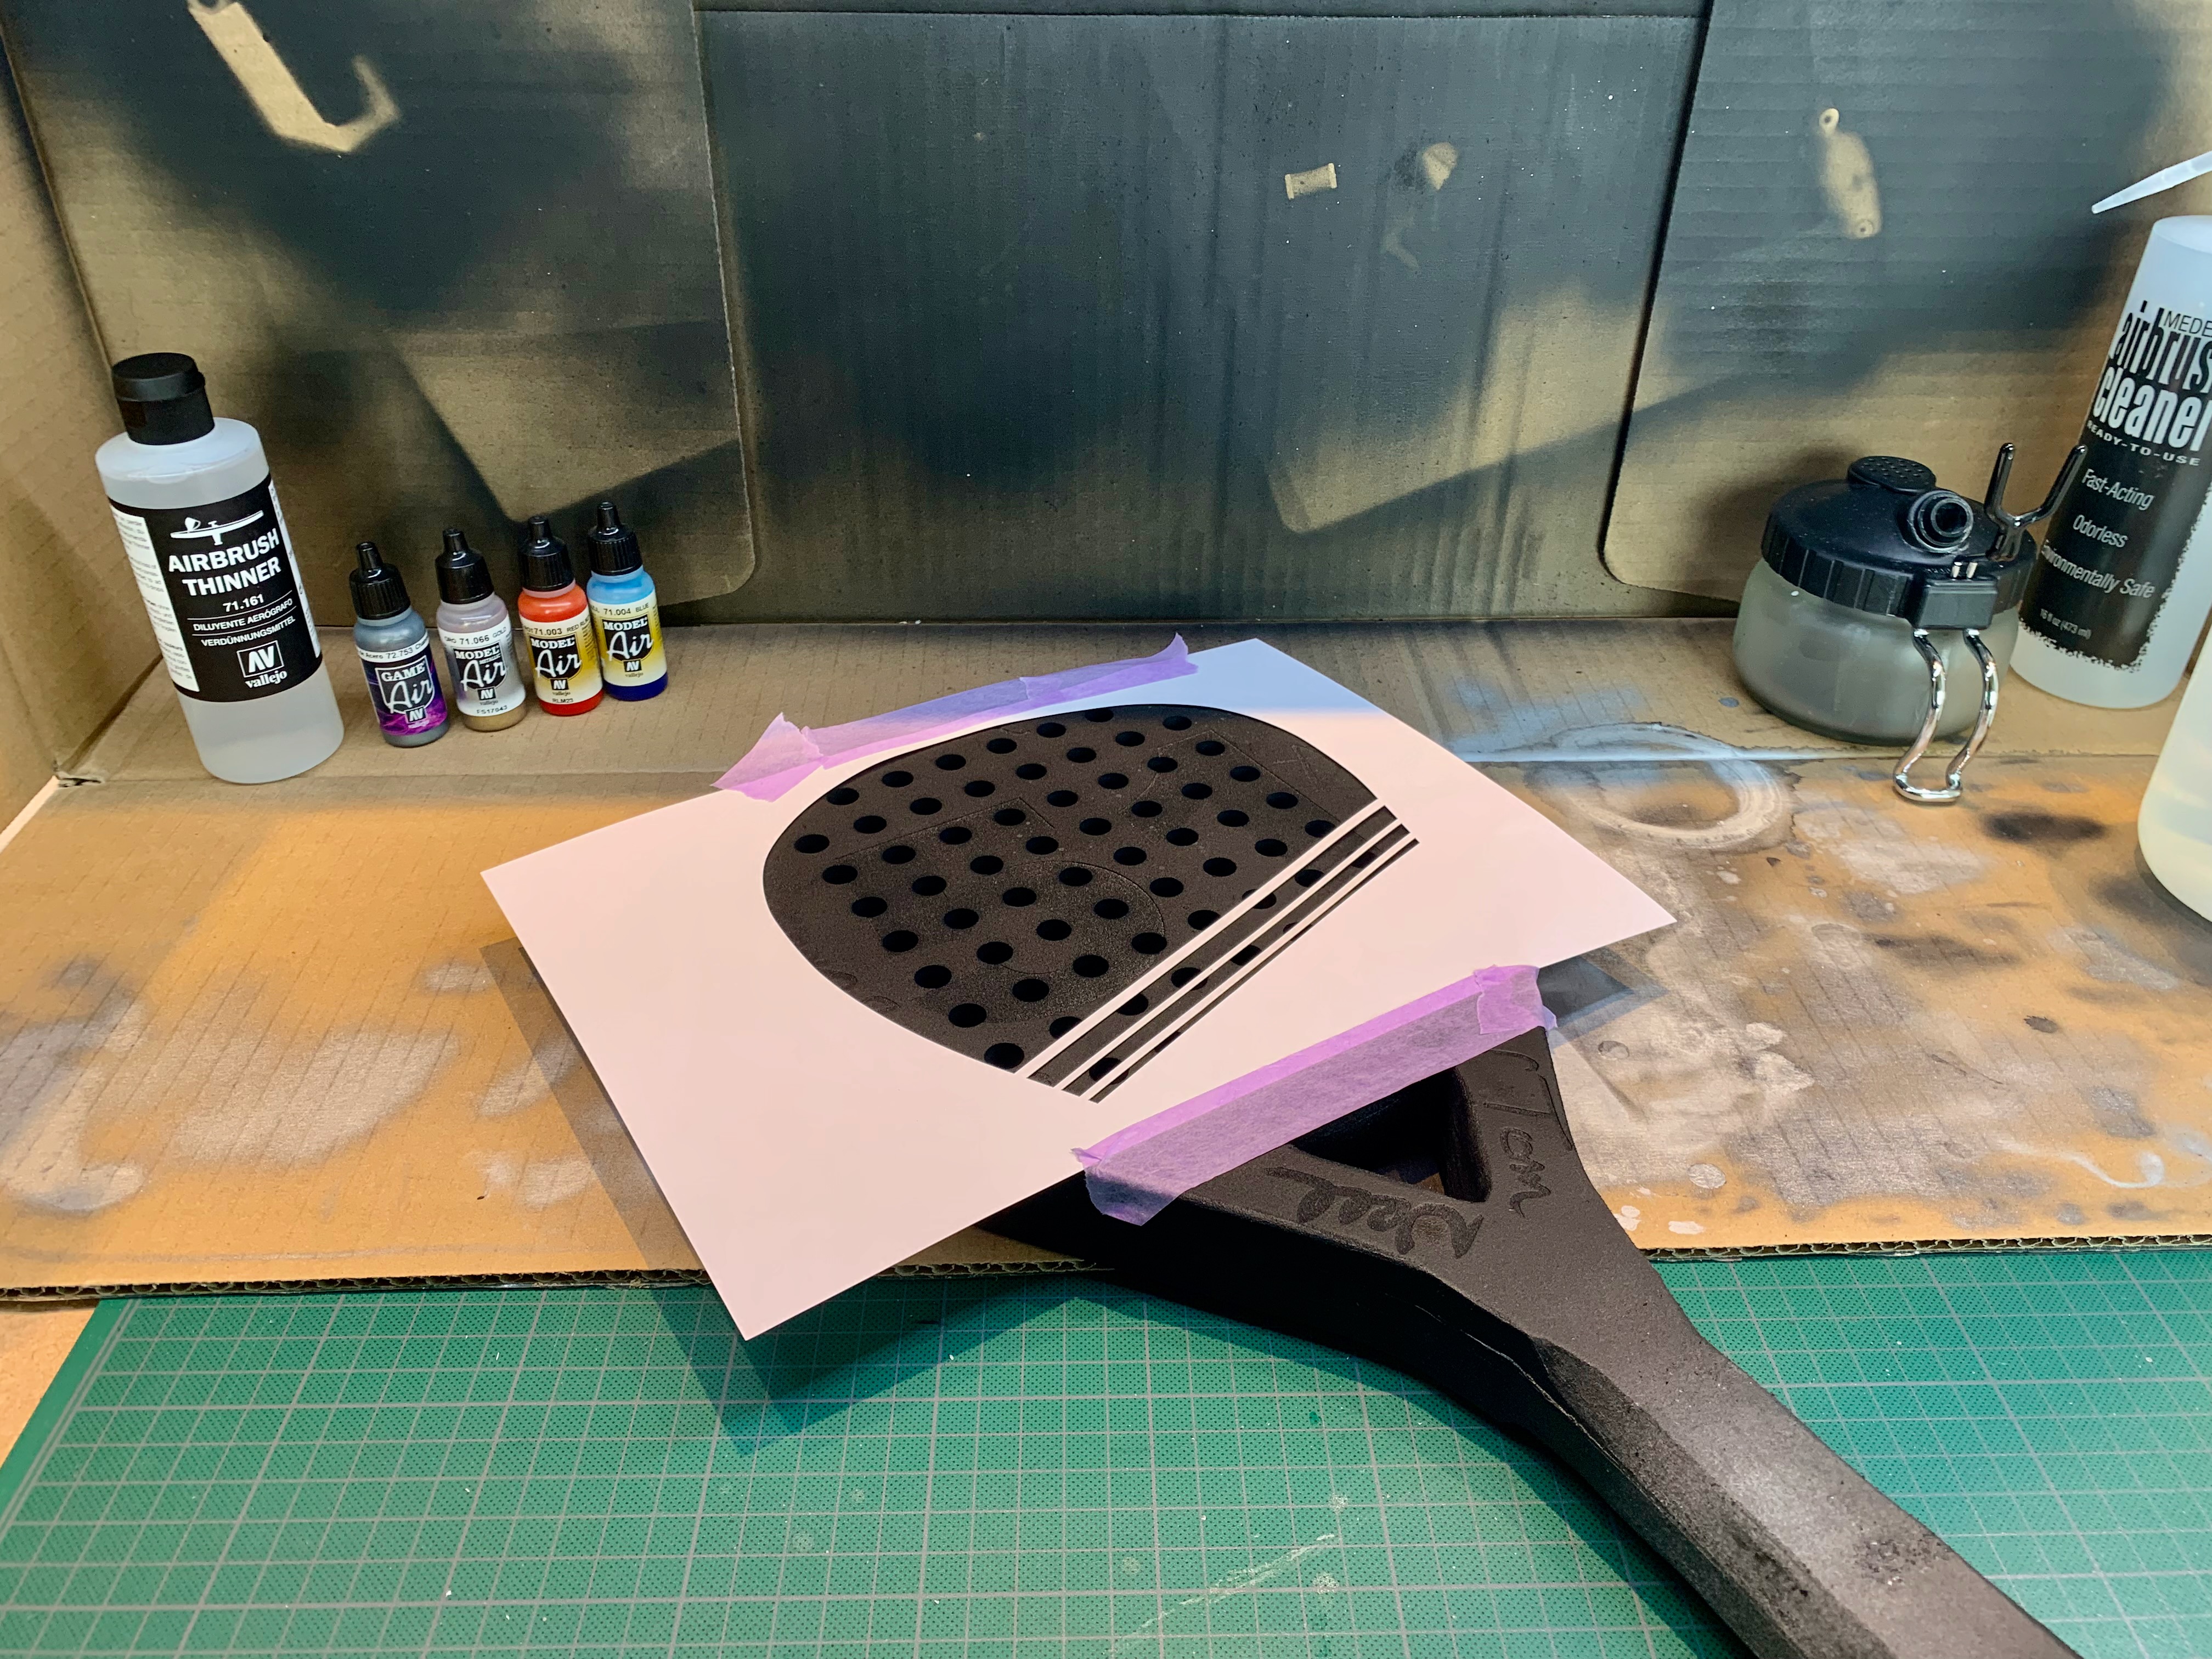
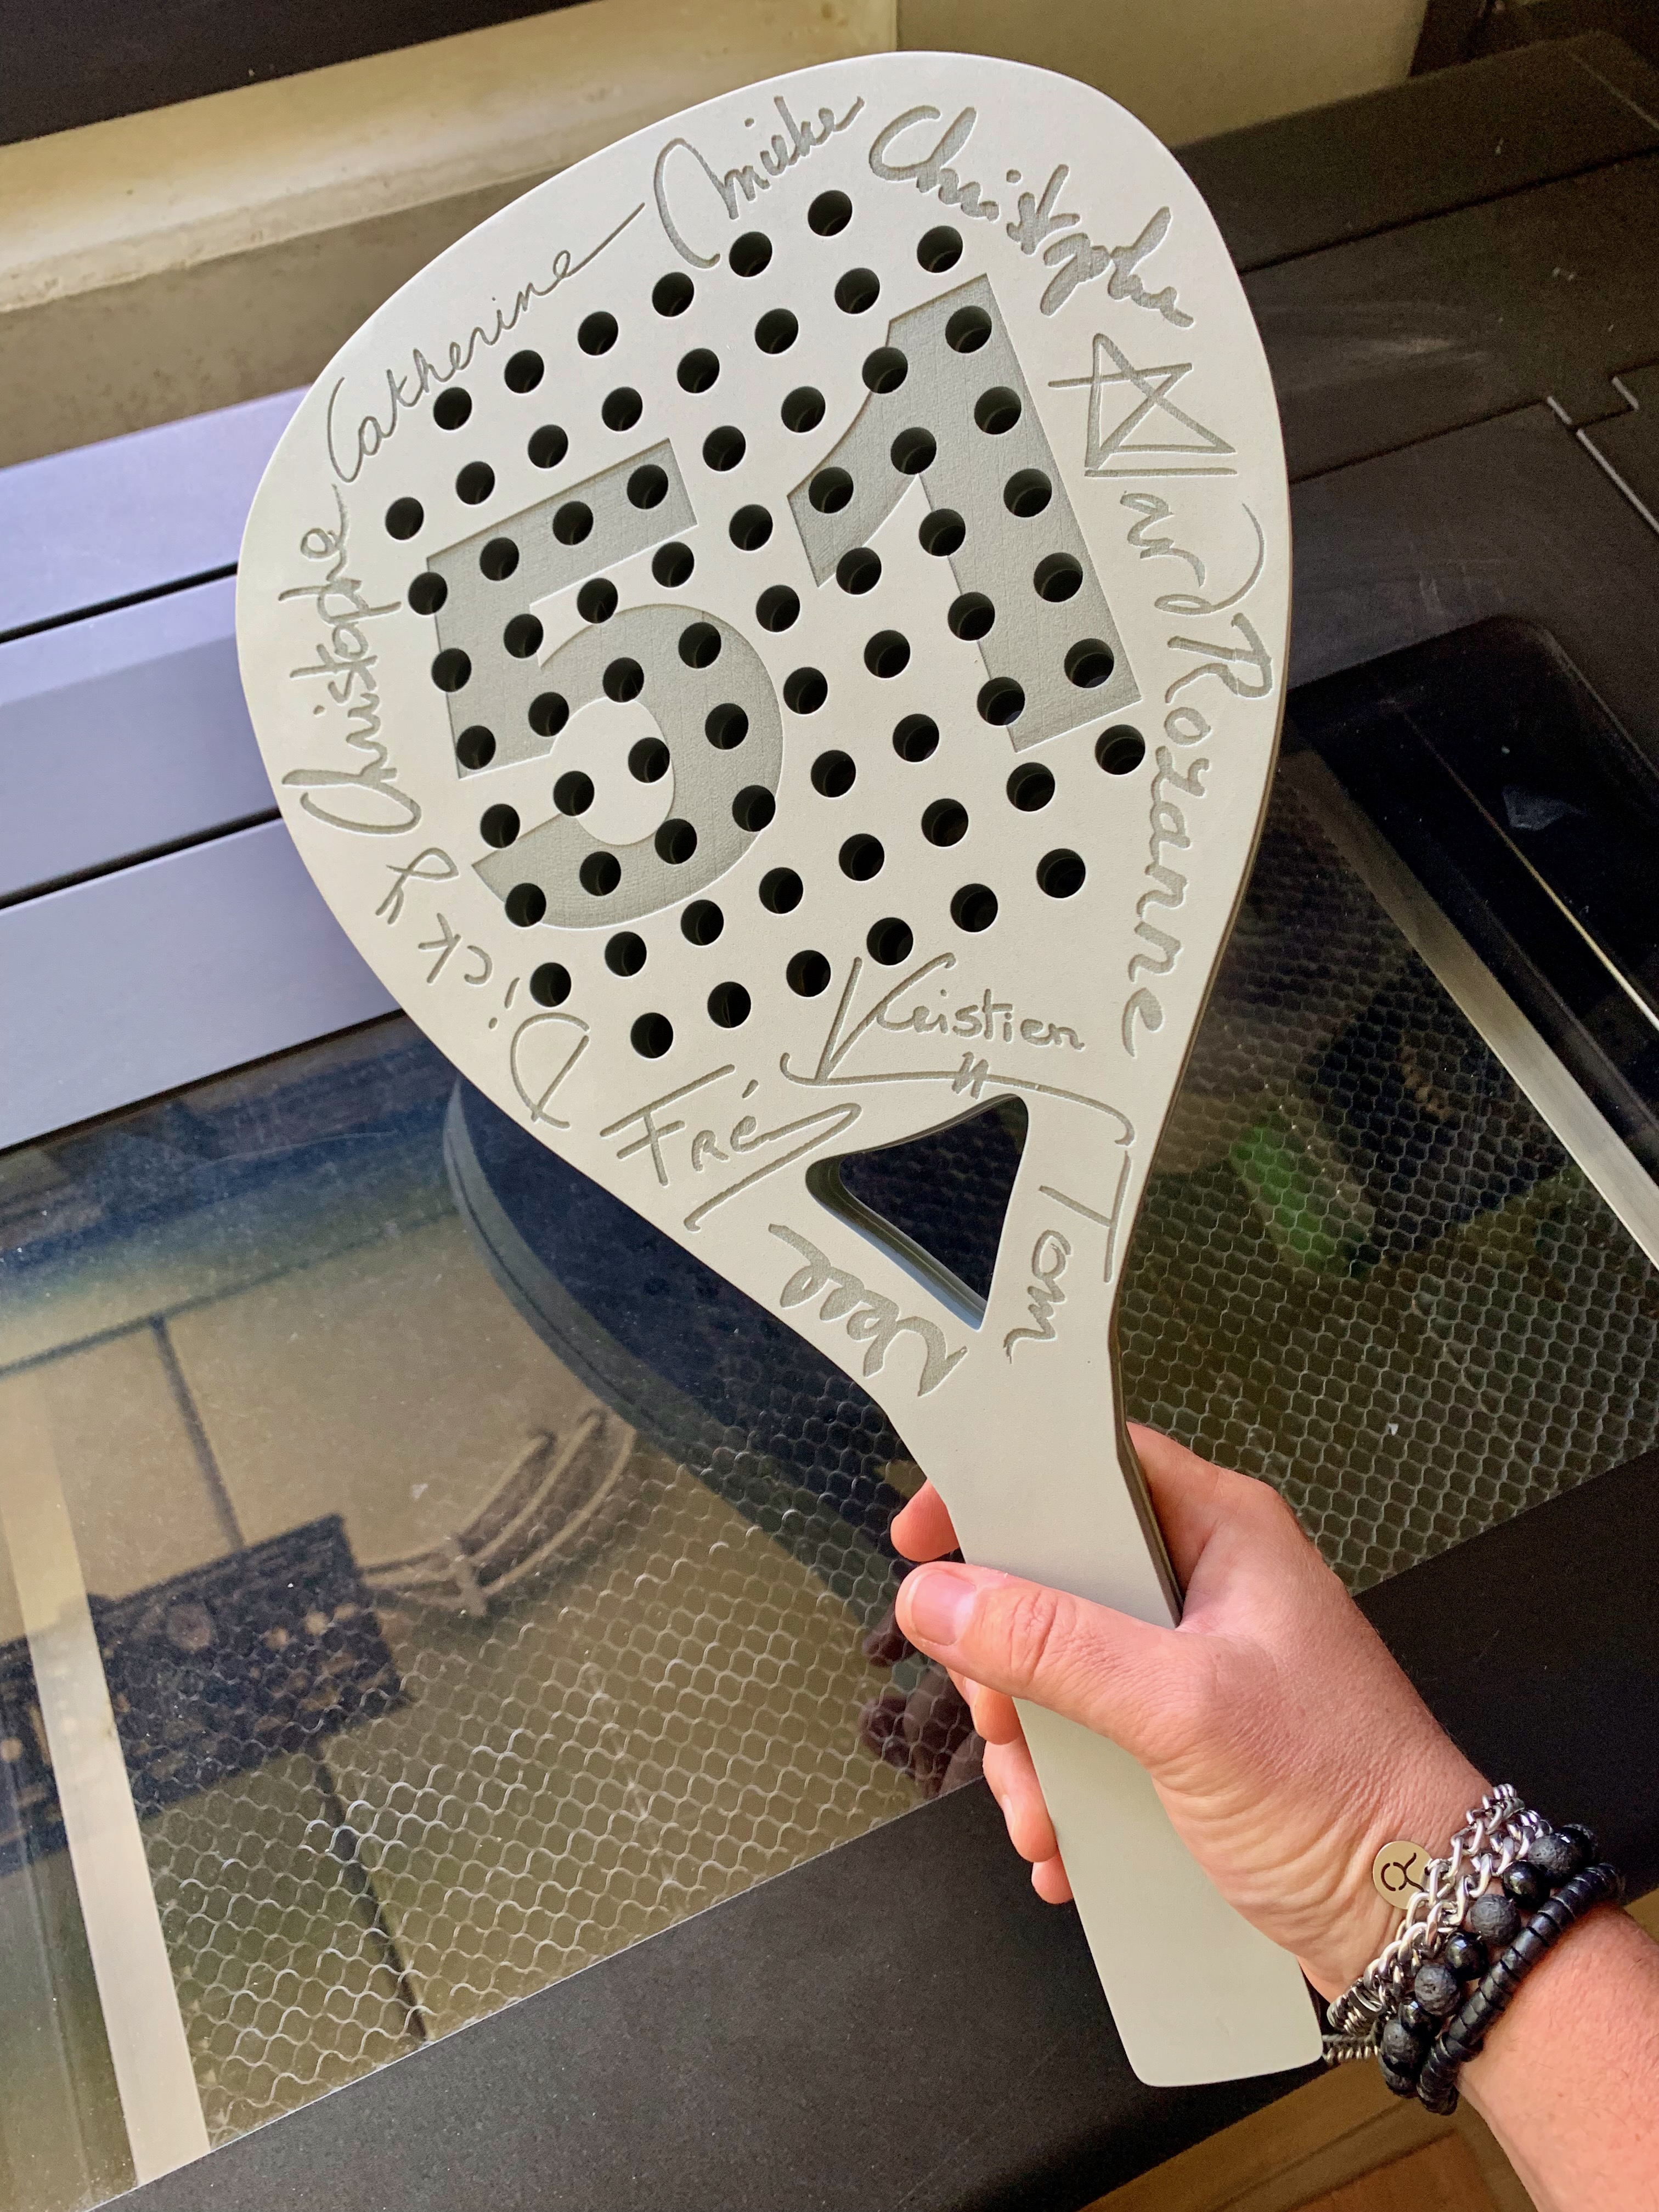
We first applied a base coat using Plasti Dip, which gives it a plastic touch. Next we laser cut some stencils to add the major silver design elements.
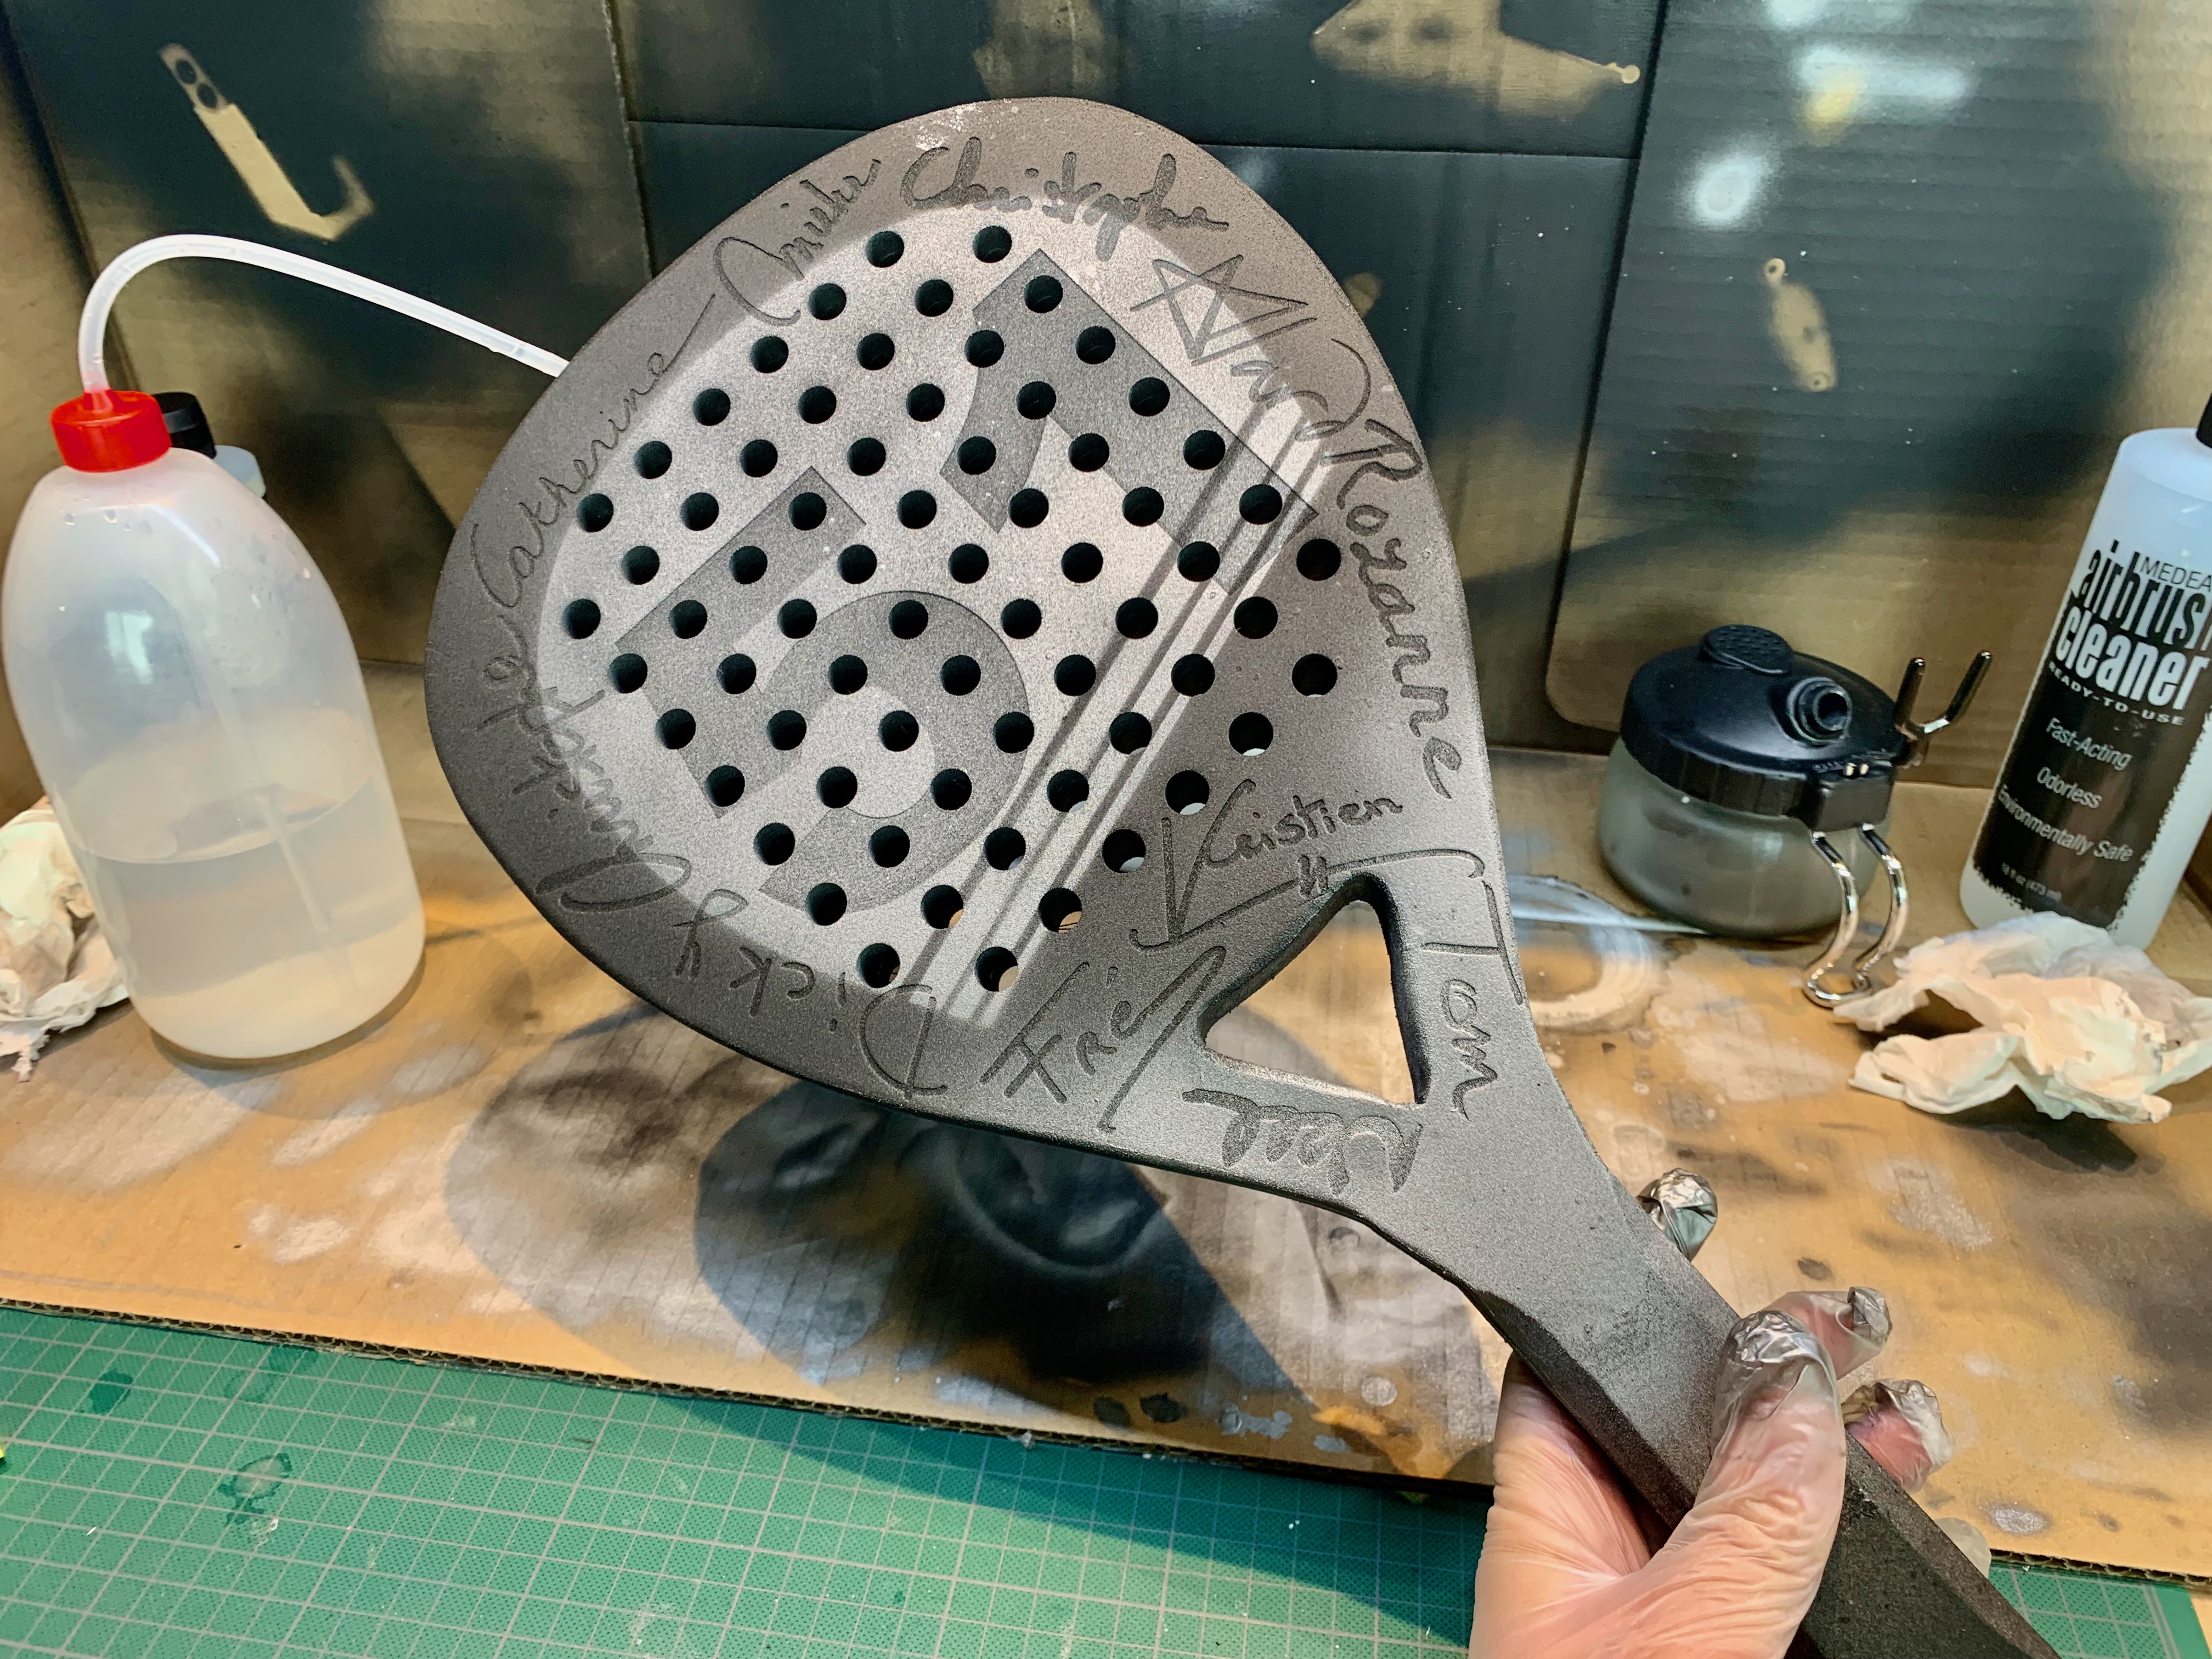
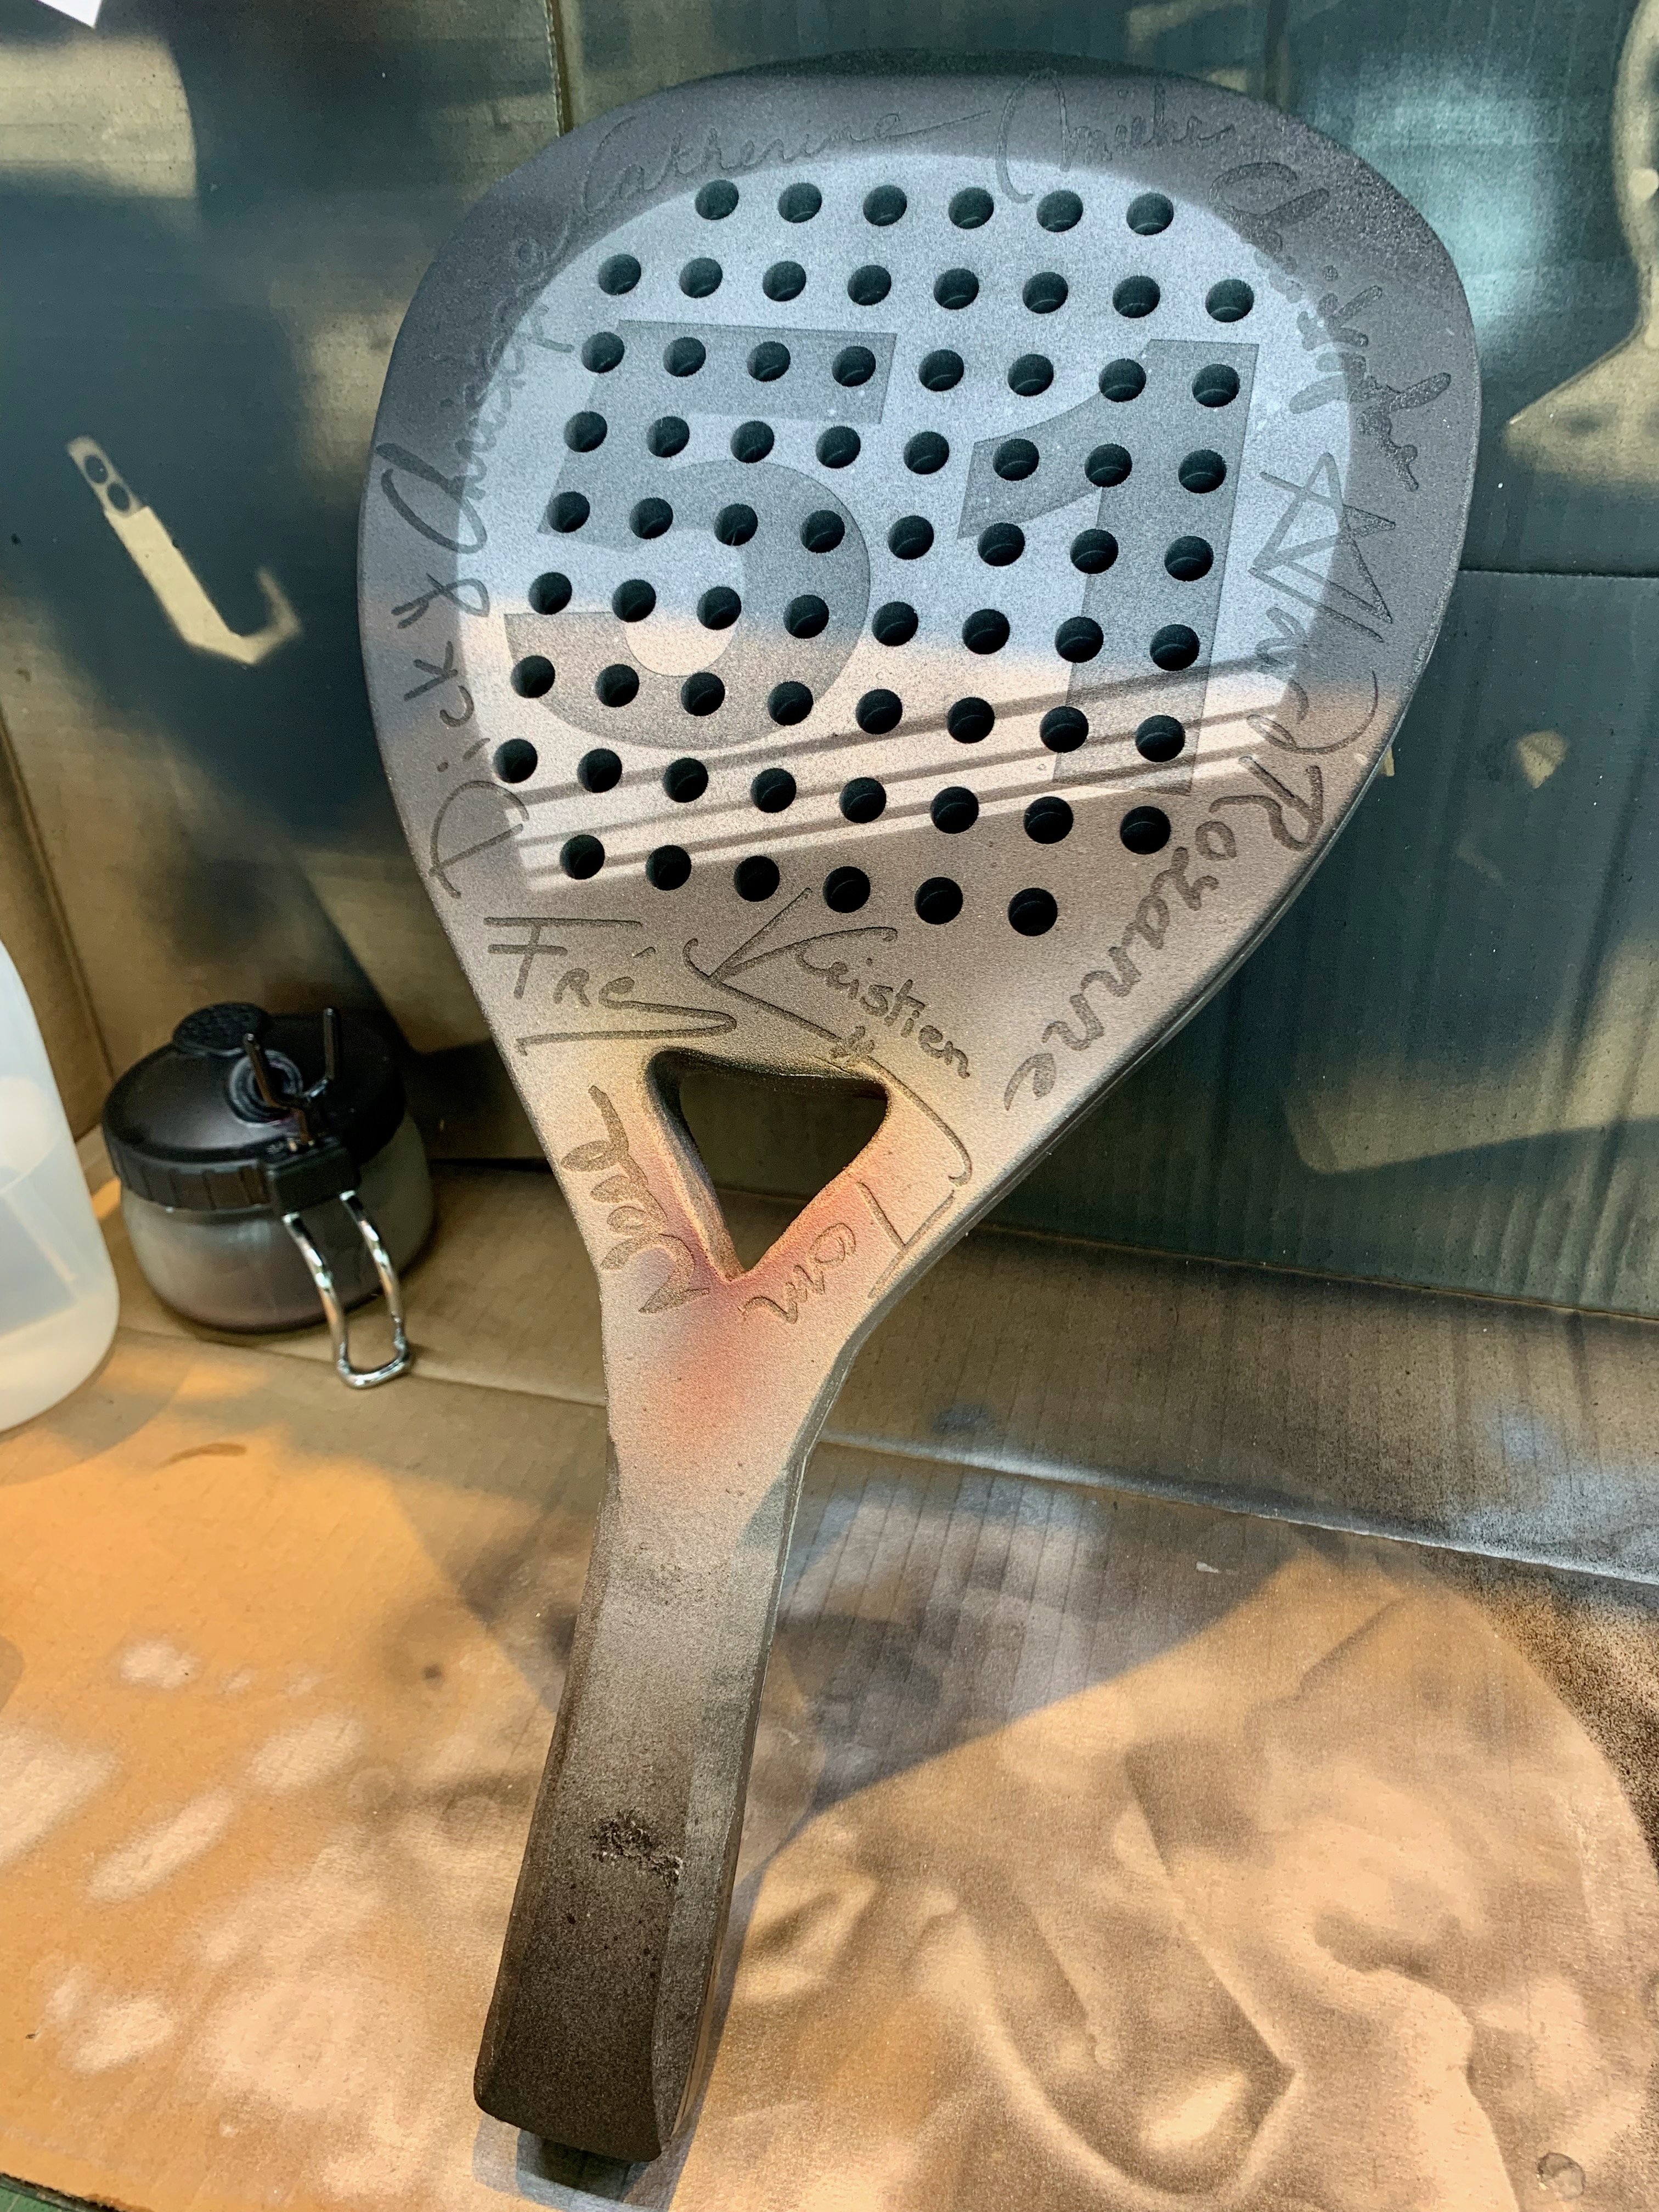
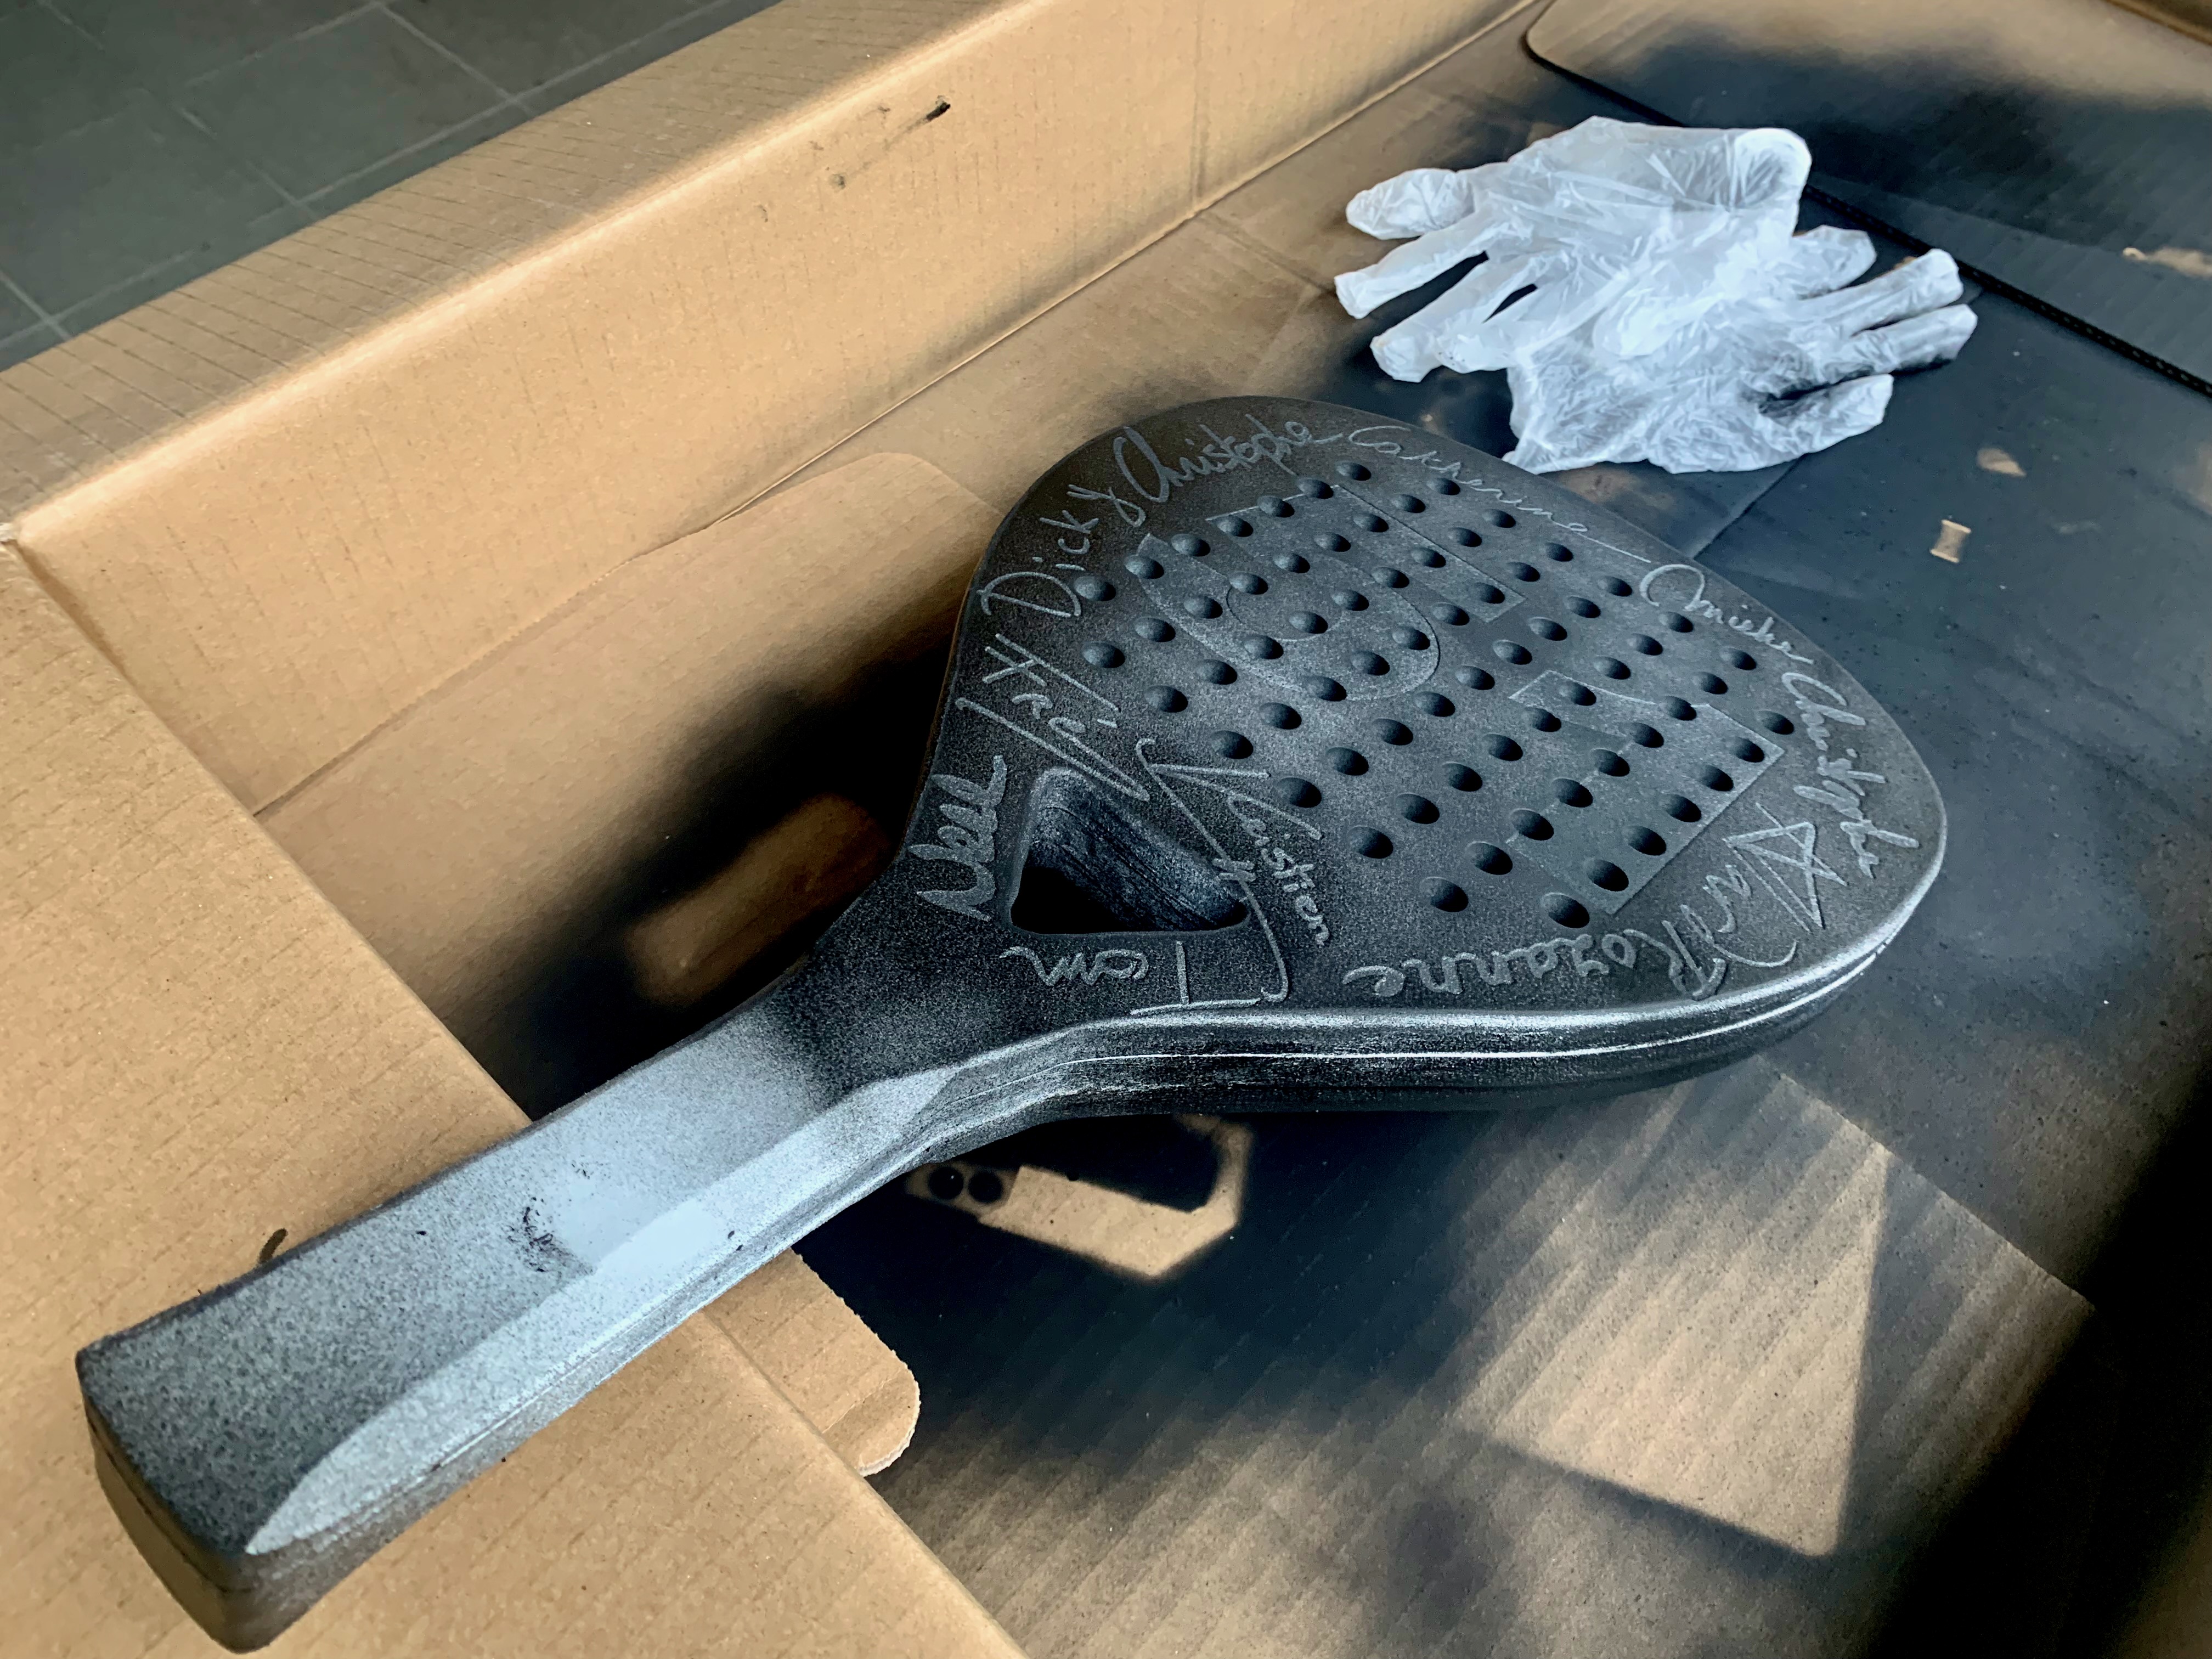
And although that already looked pretty nice for … “gift wrapping”, I wanted to experiment some more by adding a “scorched air brush” effect I’d seen somewhere. Yeah, I could have messed it up, still I think the final result was worth the gamble 😅
Finishing Touches
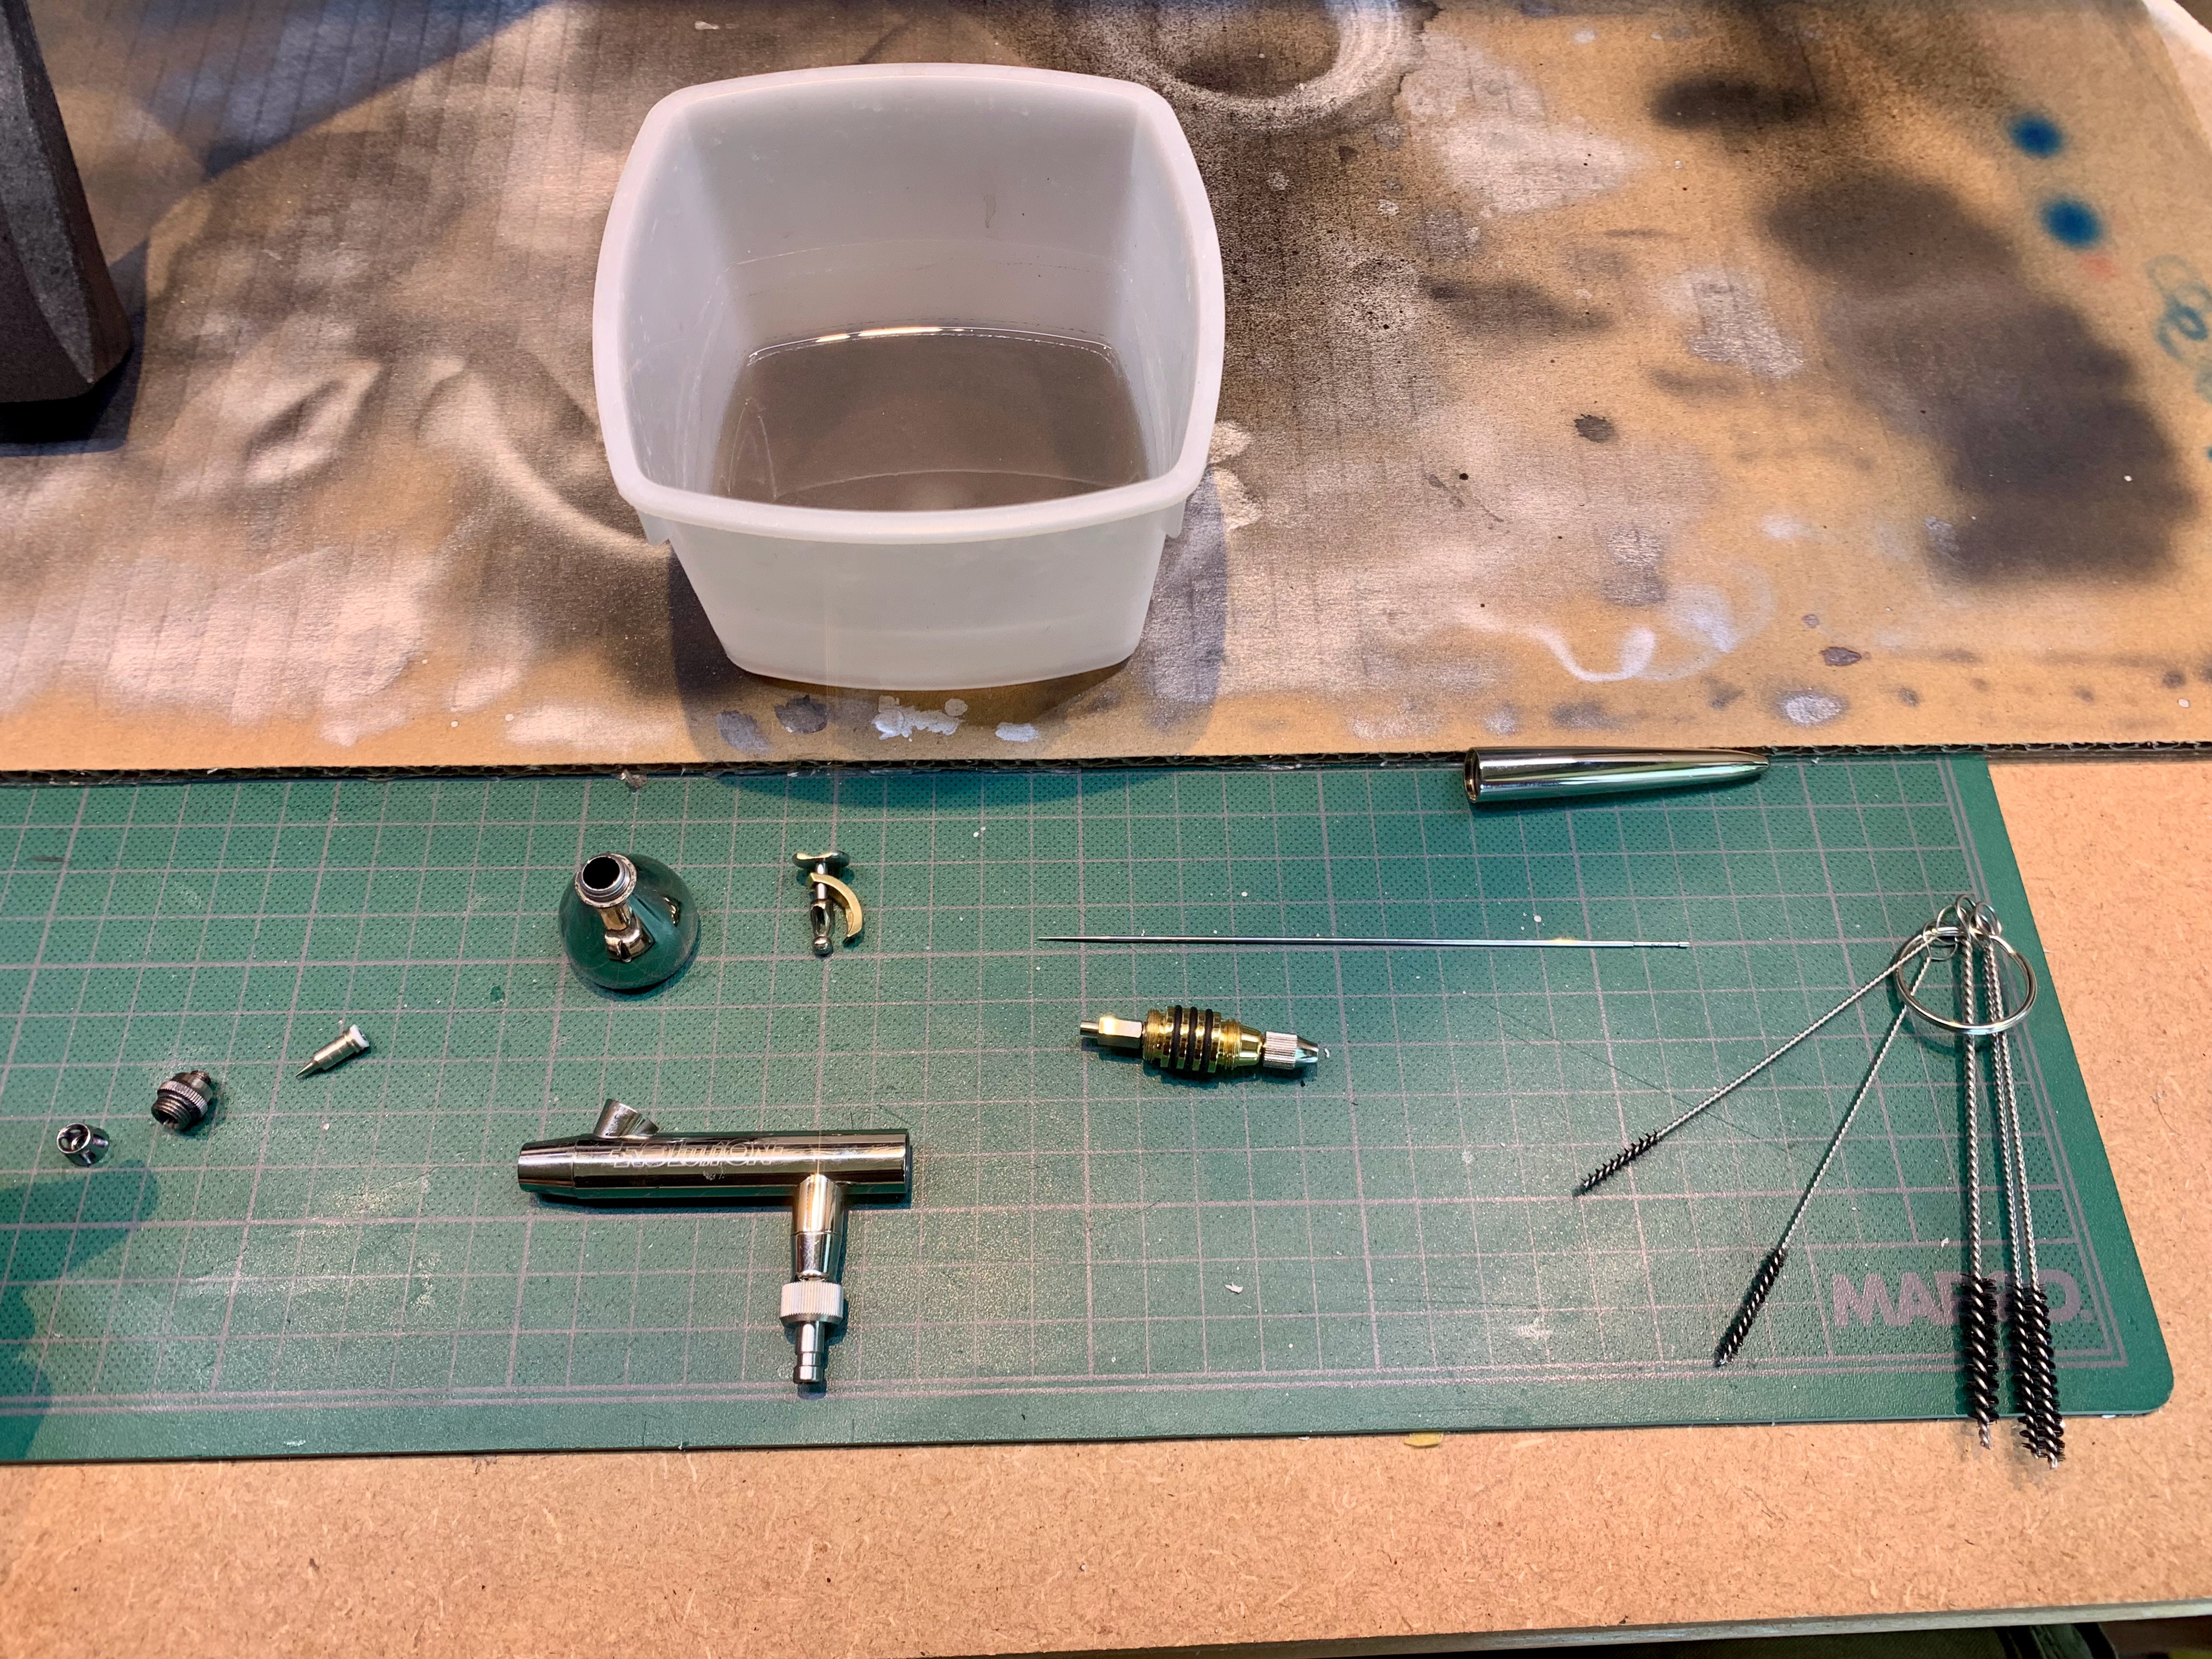
And after cleaning the air brush - very important job! - and applying a final coat of varnish…
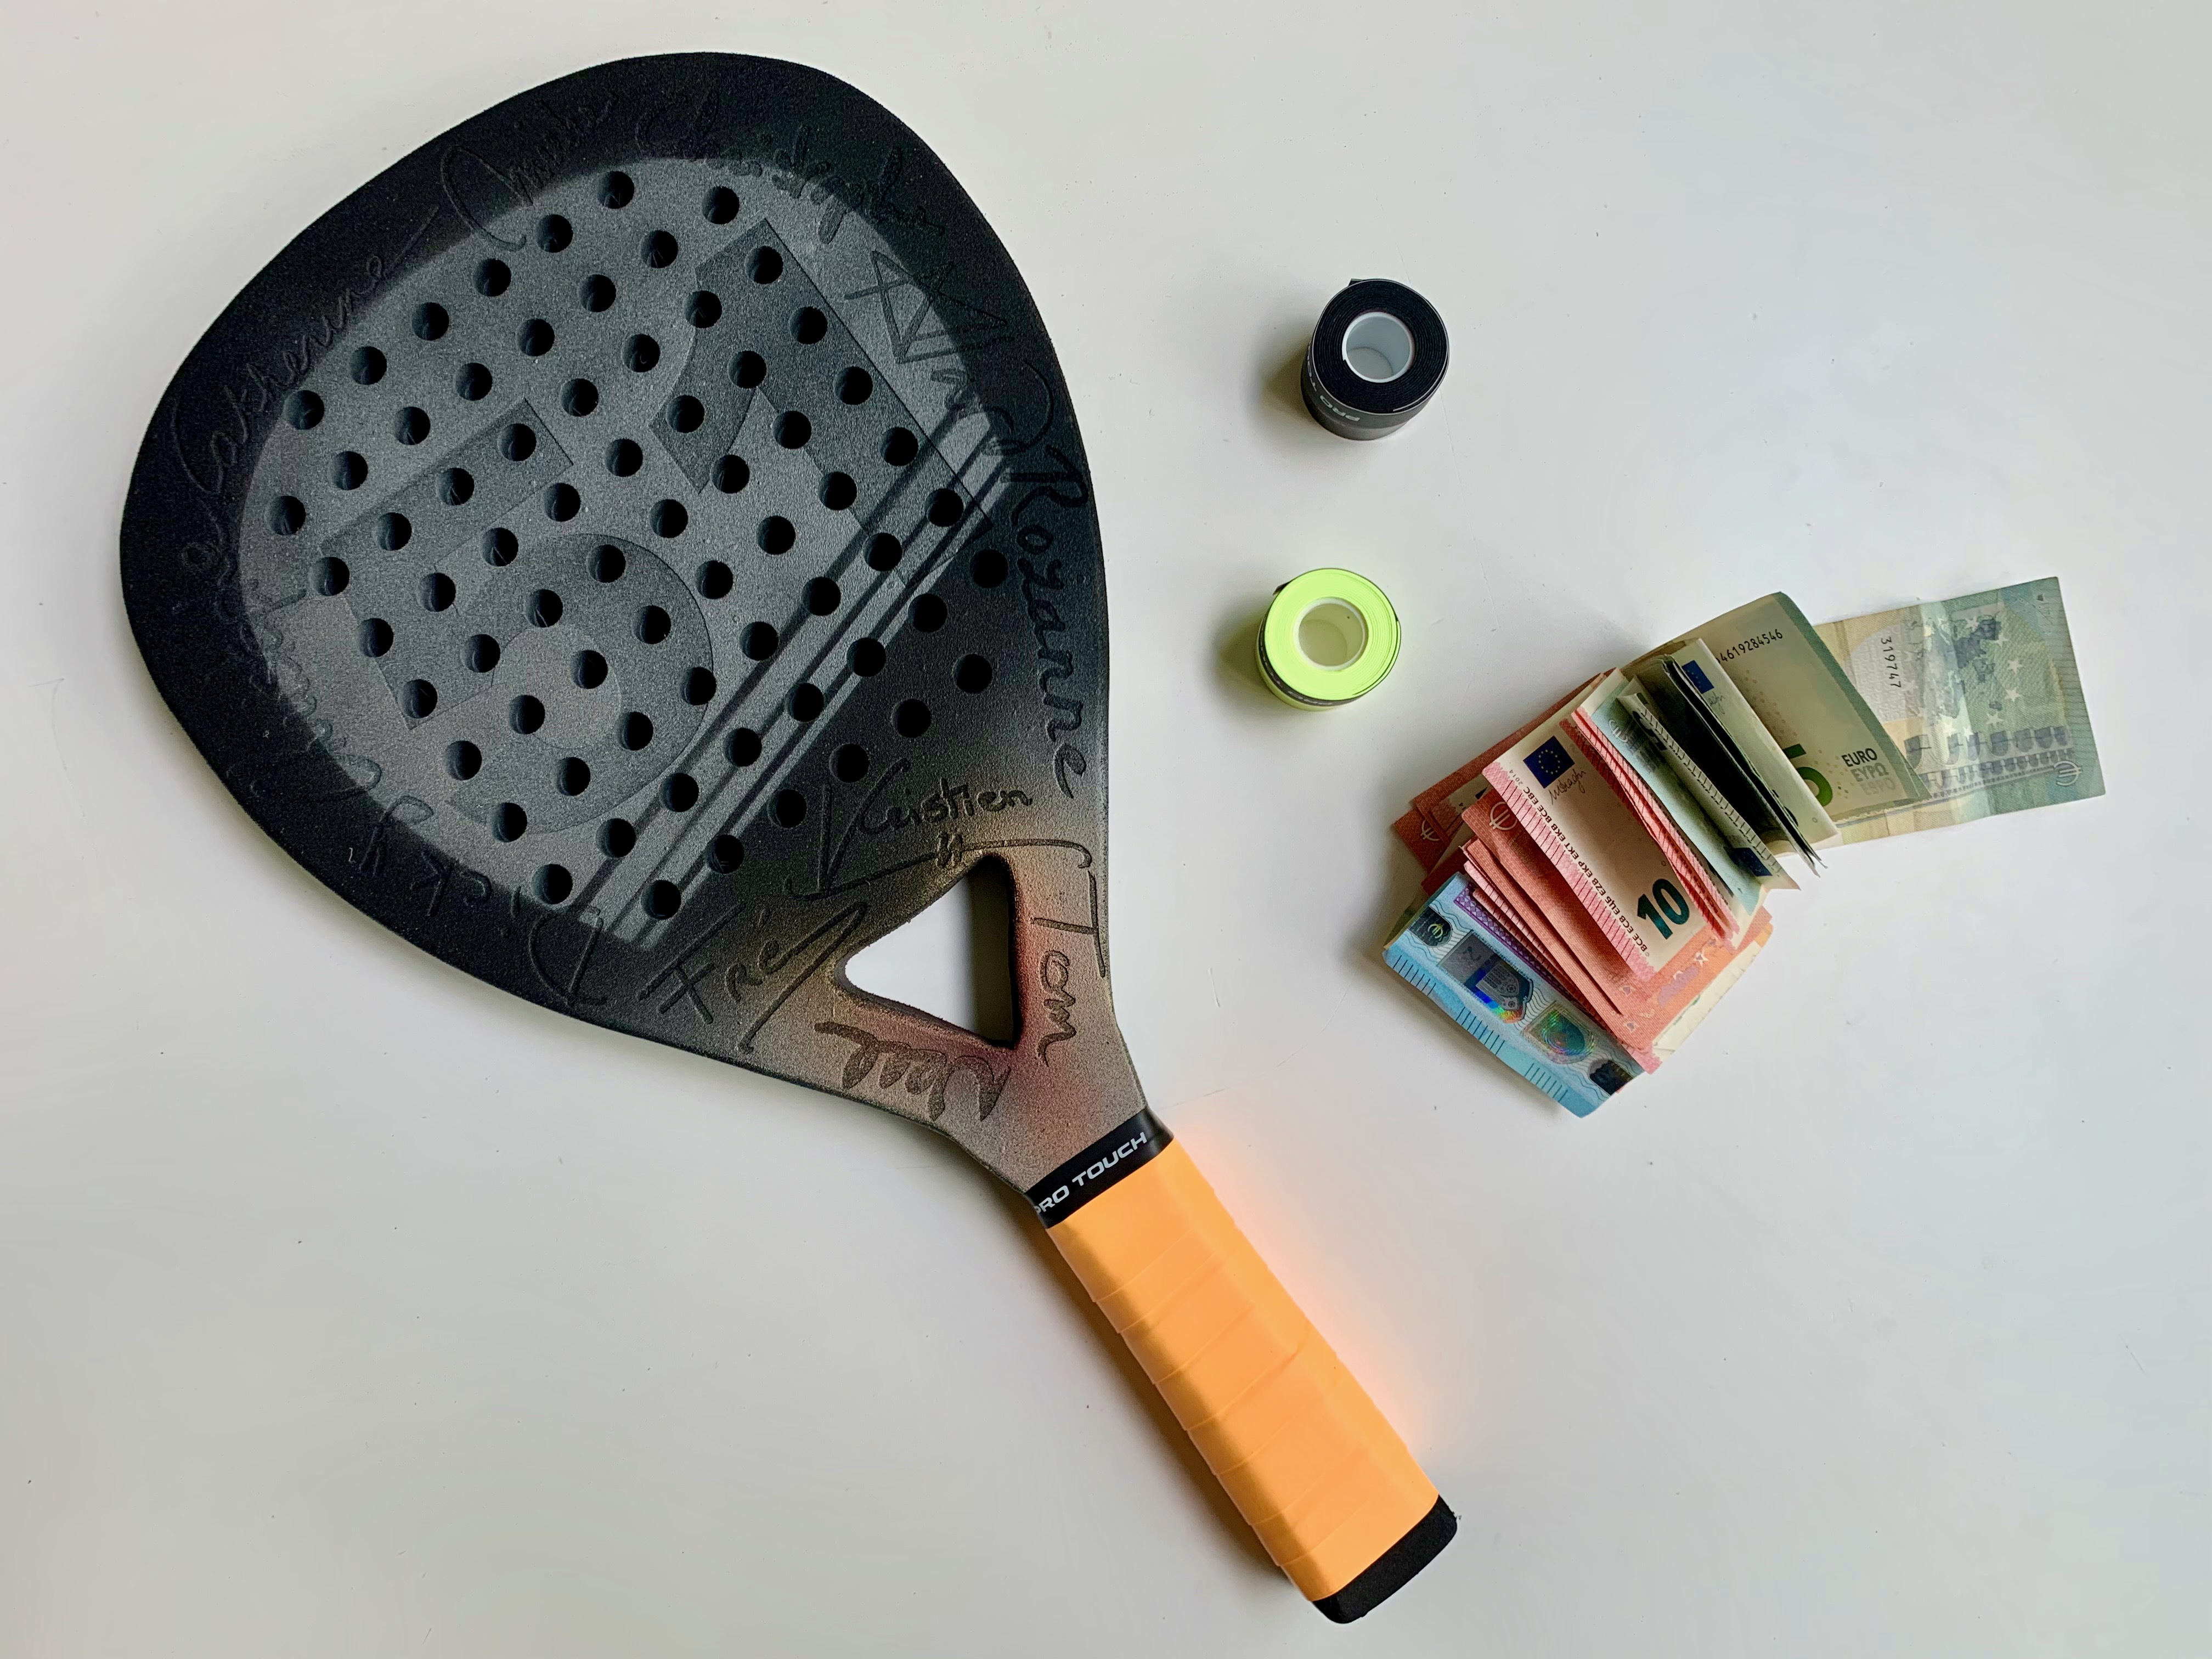
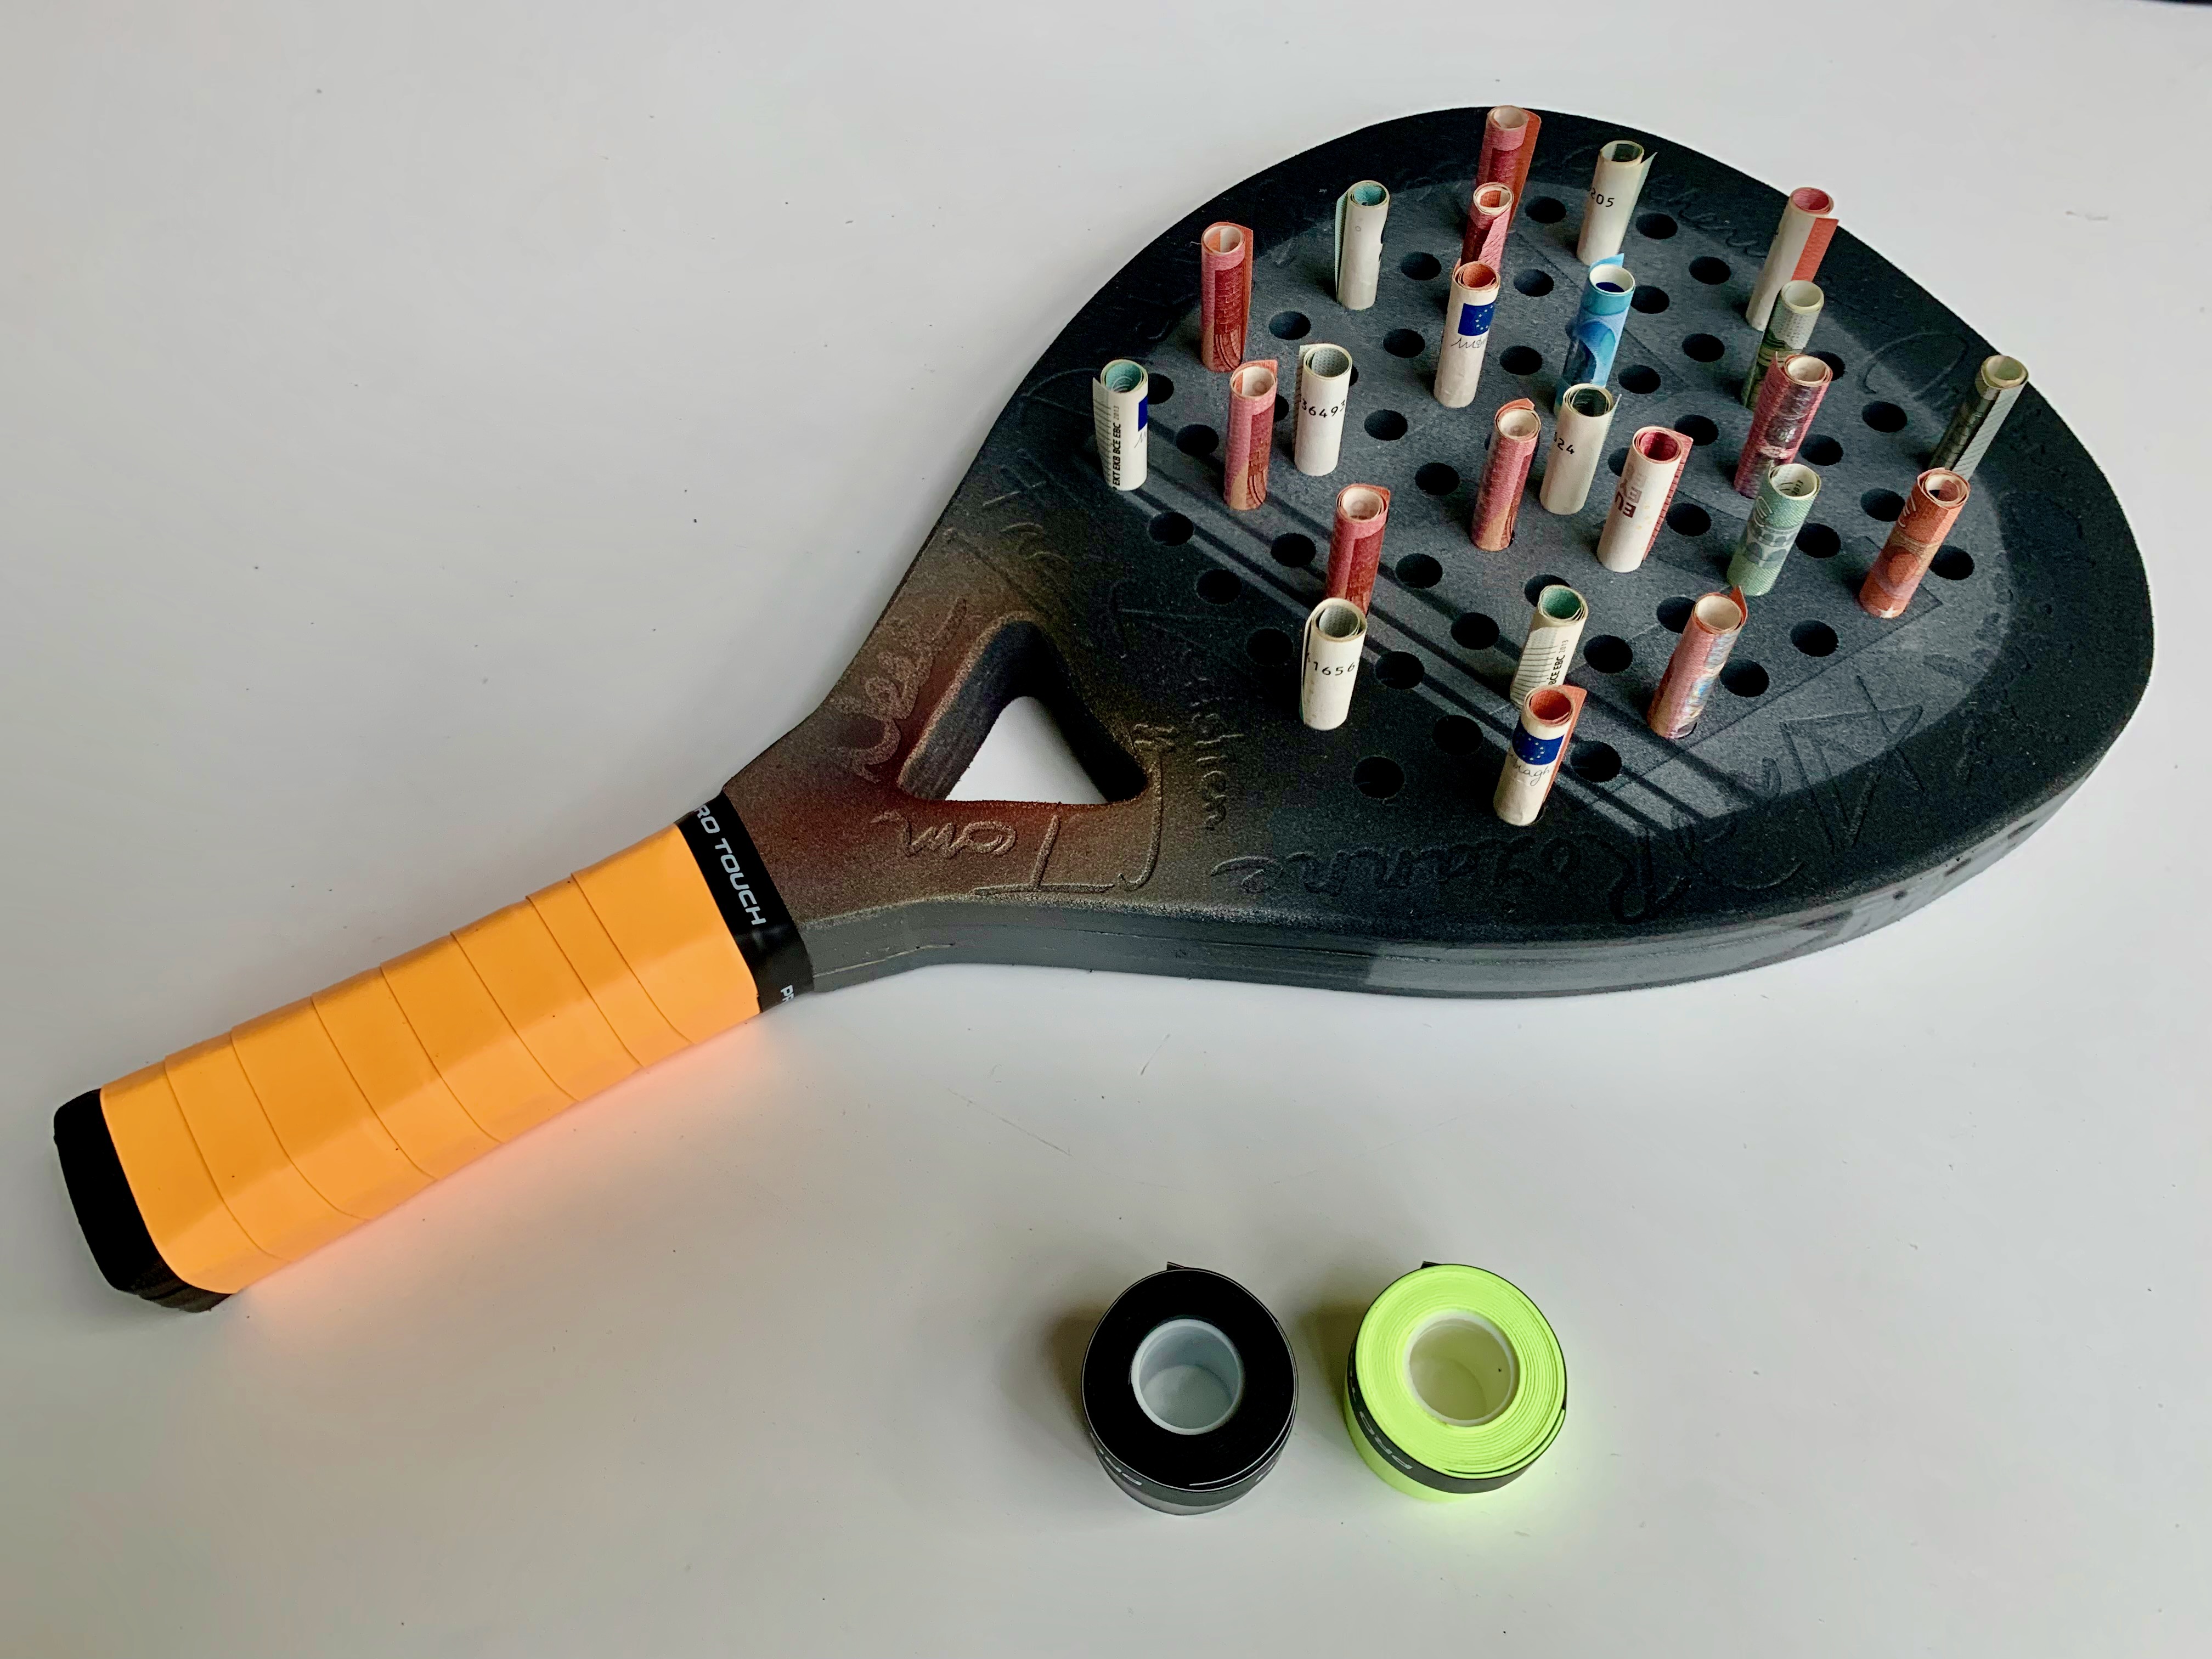
Our gift wrapping was ready to make its appearance at the party.
Oh, yeah, on my way home from work I decided that the handle needed a real handle finish, so I went to a sport shop and bought a real padel racket overgrip (three to be precise) - it’s all in the details 😇