vCard
vCard
 Homemade by CVG
 My Homemade Apps
 Thingiverse
 Strava
Resin in Wood Coasters
I’ve been wanting to play with combining wood and resin for some time, yet never found the time to do so, until Veronique’s birthday came up and what do you give someone who can buy anything? Right, the one thing no one can buy: my (creative) time 😉
The Concept
Look up resin in wood ↗ and you’ll find thousands of video’s and webpages describing and offering the beautiful combination of resin and wood. I definitly would love (to make) a table like that ↗ one day, yet let’s start with something a little smaller… like resin in wood coasters ↗ anyone?
This is one of those makes that by itself doesn’t require a lot of actual work time, yet does require a lot of waiting time. So it’s a multi-day make with short daily sessions… It is also fun to combine very technology-driven techniques with good old hand-work, each day has its own theme/focus/technique.
Inspiration / Credits

A few years ago I came across Kendra’s video on how to create a laser engraved epoxy fill. And it went straight on my bucket-list of makes that someday needed some time and love… until now!
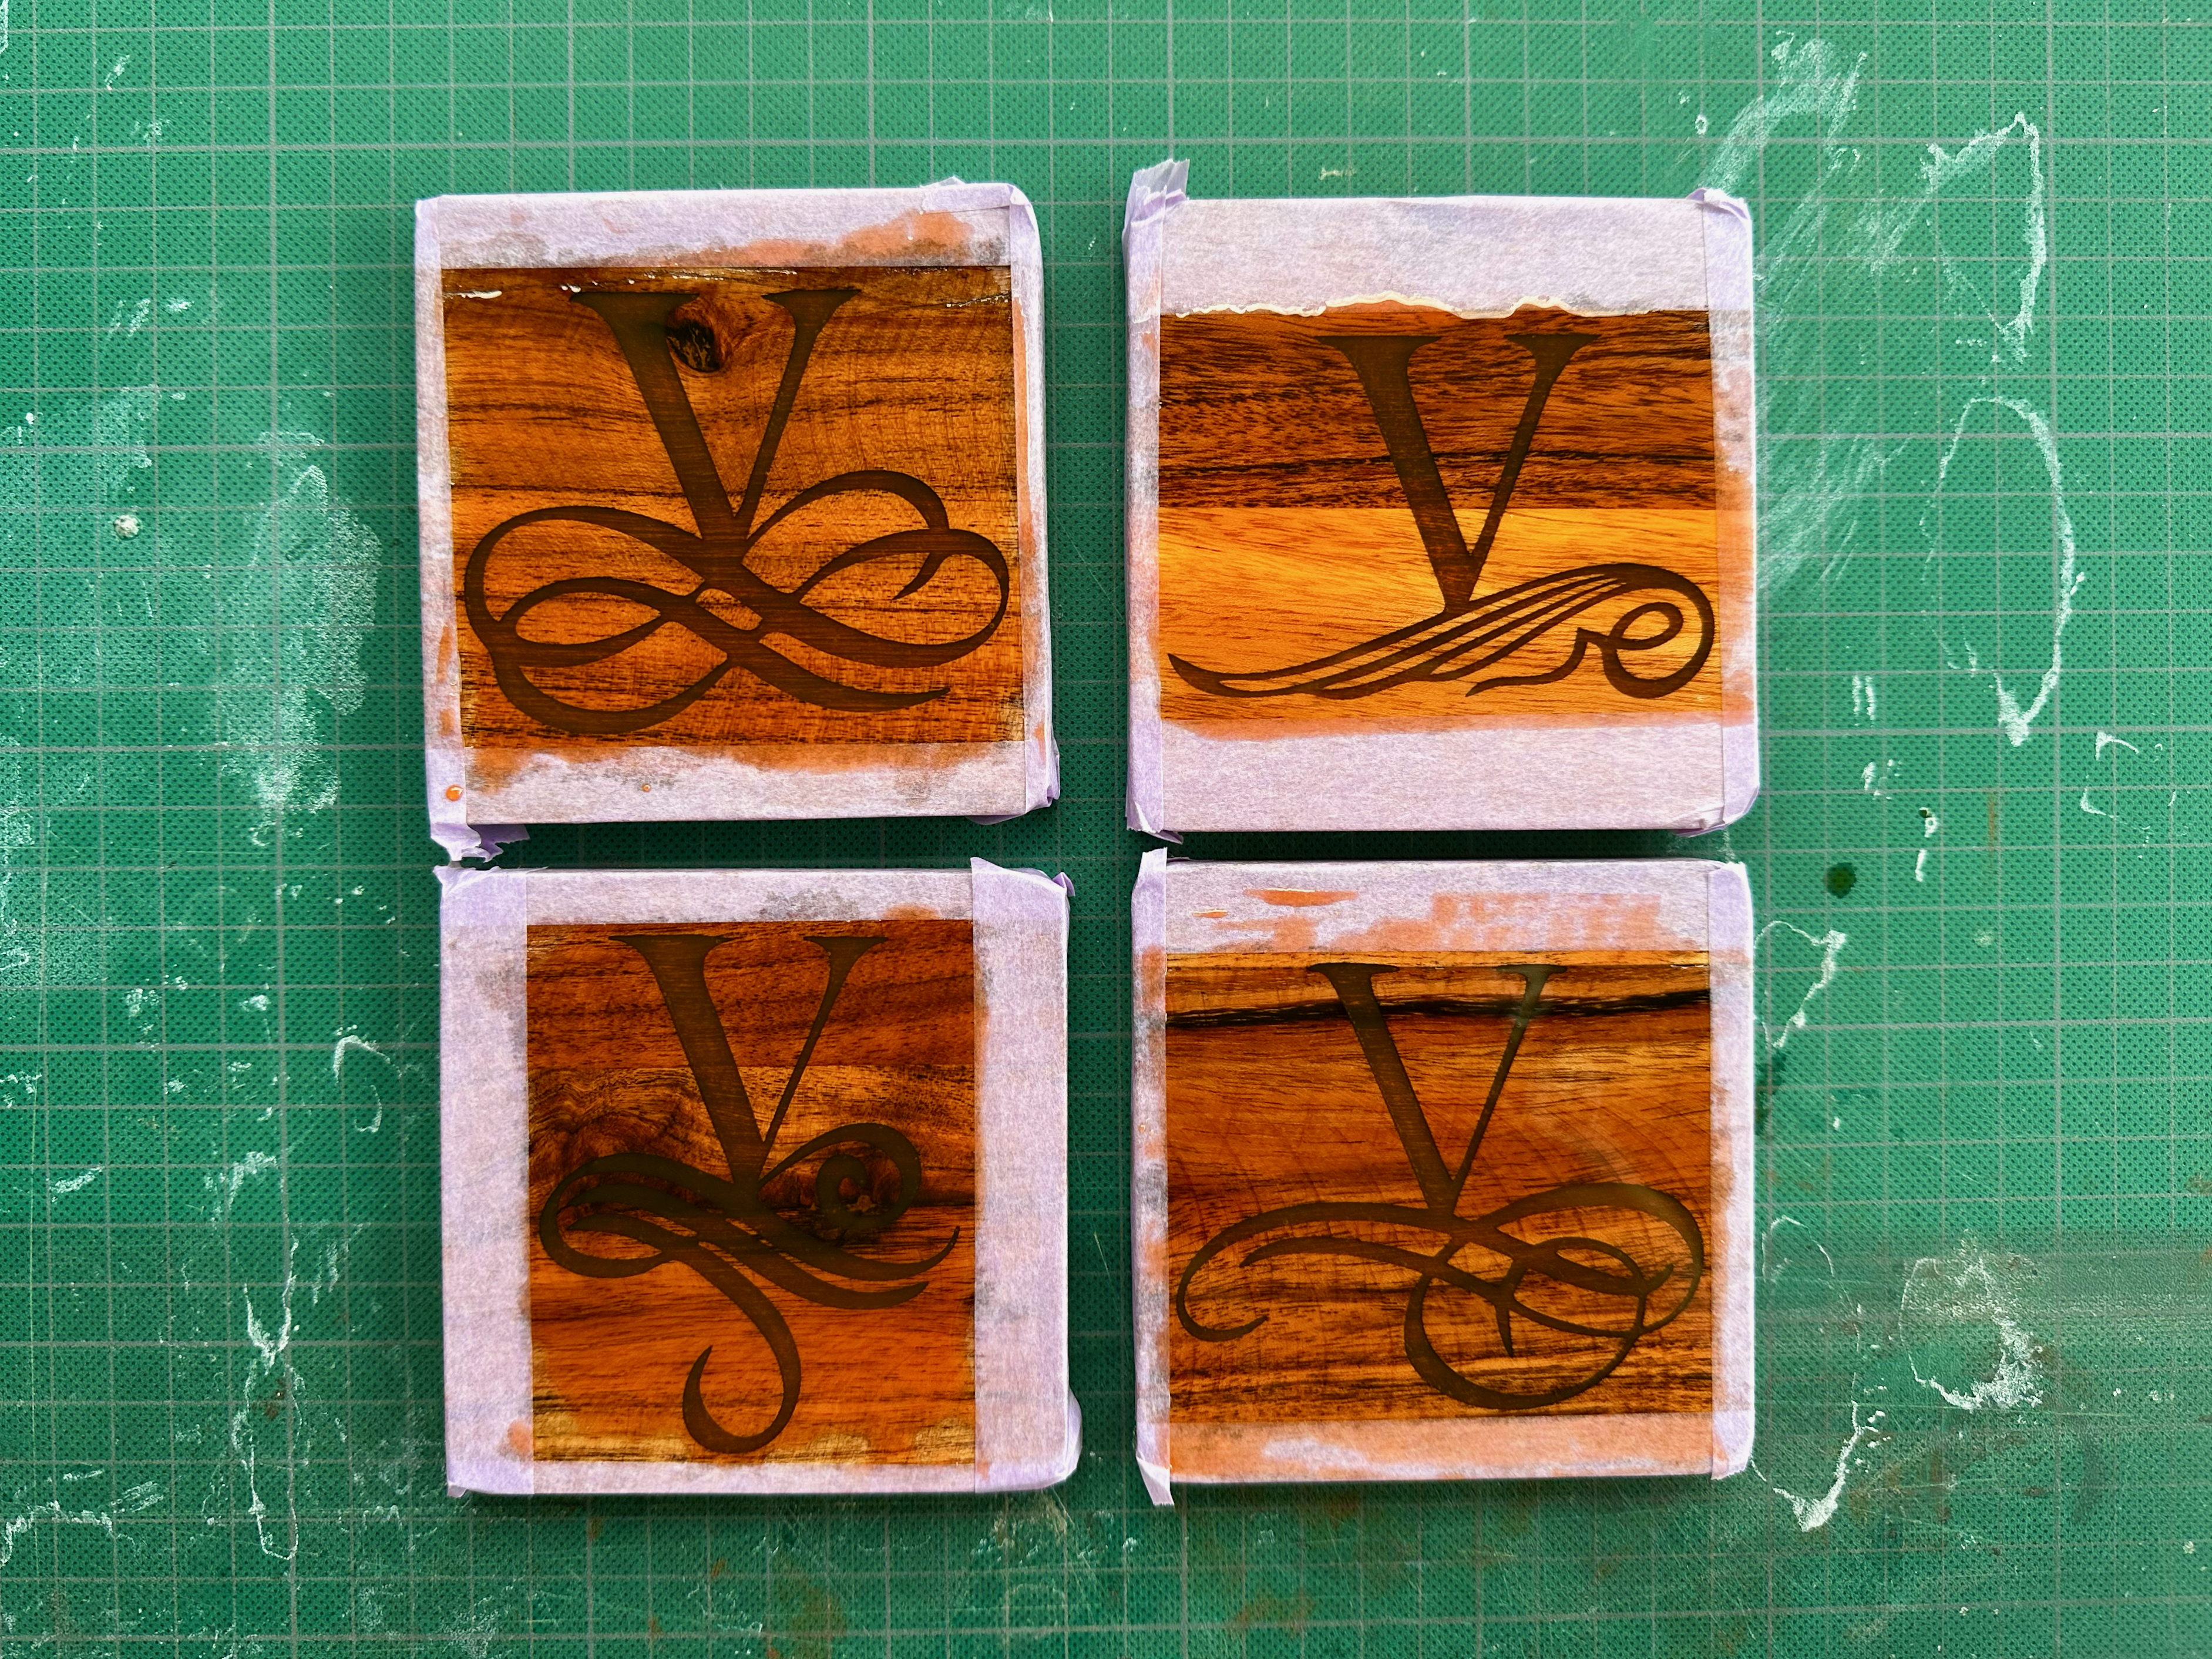
Day 1: Engraving the Design
I’ve said it before and I’ll say it again: “Action ↗ is a maker’s wet dream when it comes to scoring raw materials.” 😇 So some time ago I found some nice acasia wood coasters ↗, just waiting to be transformed in something more.
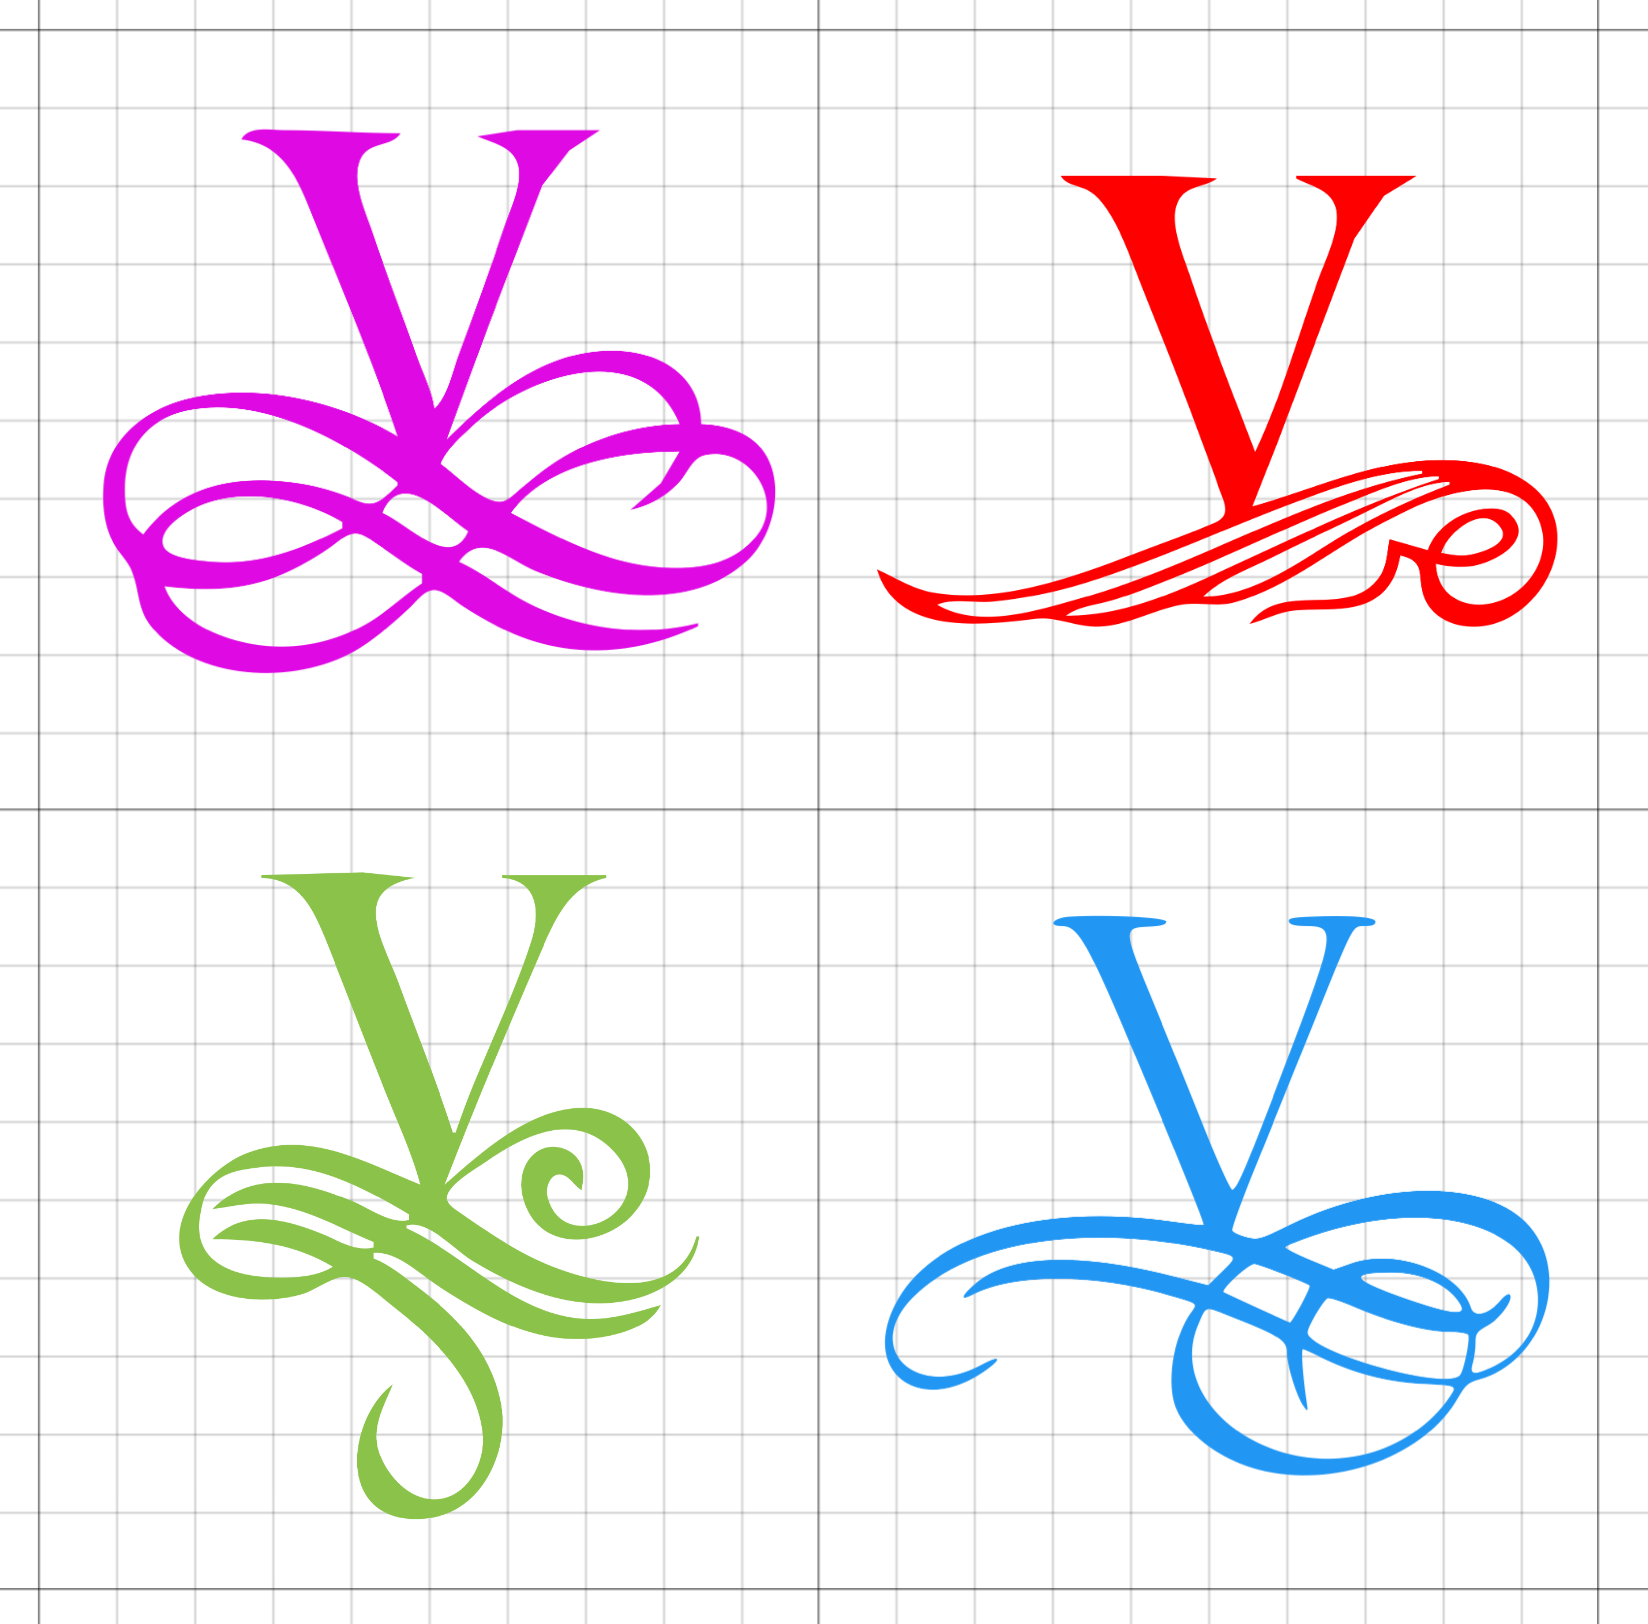
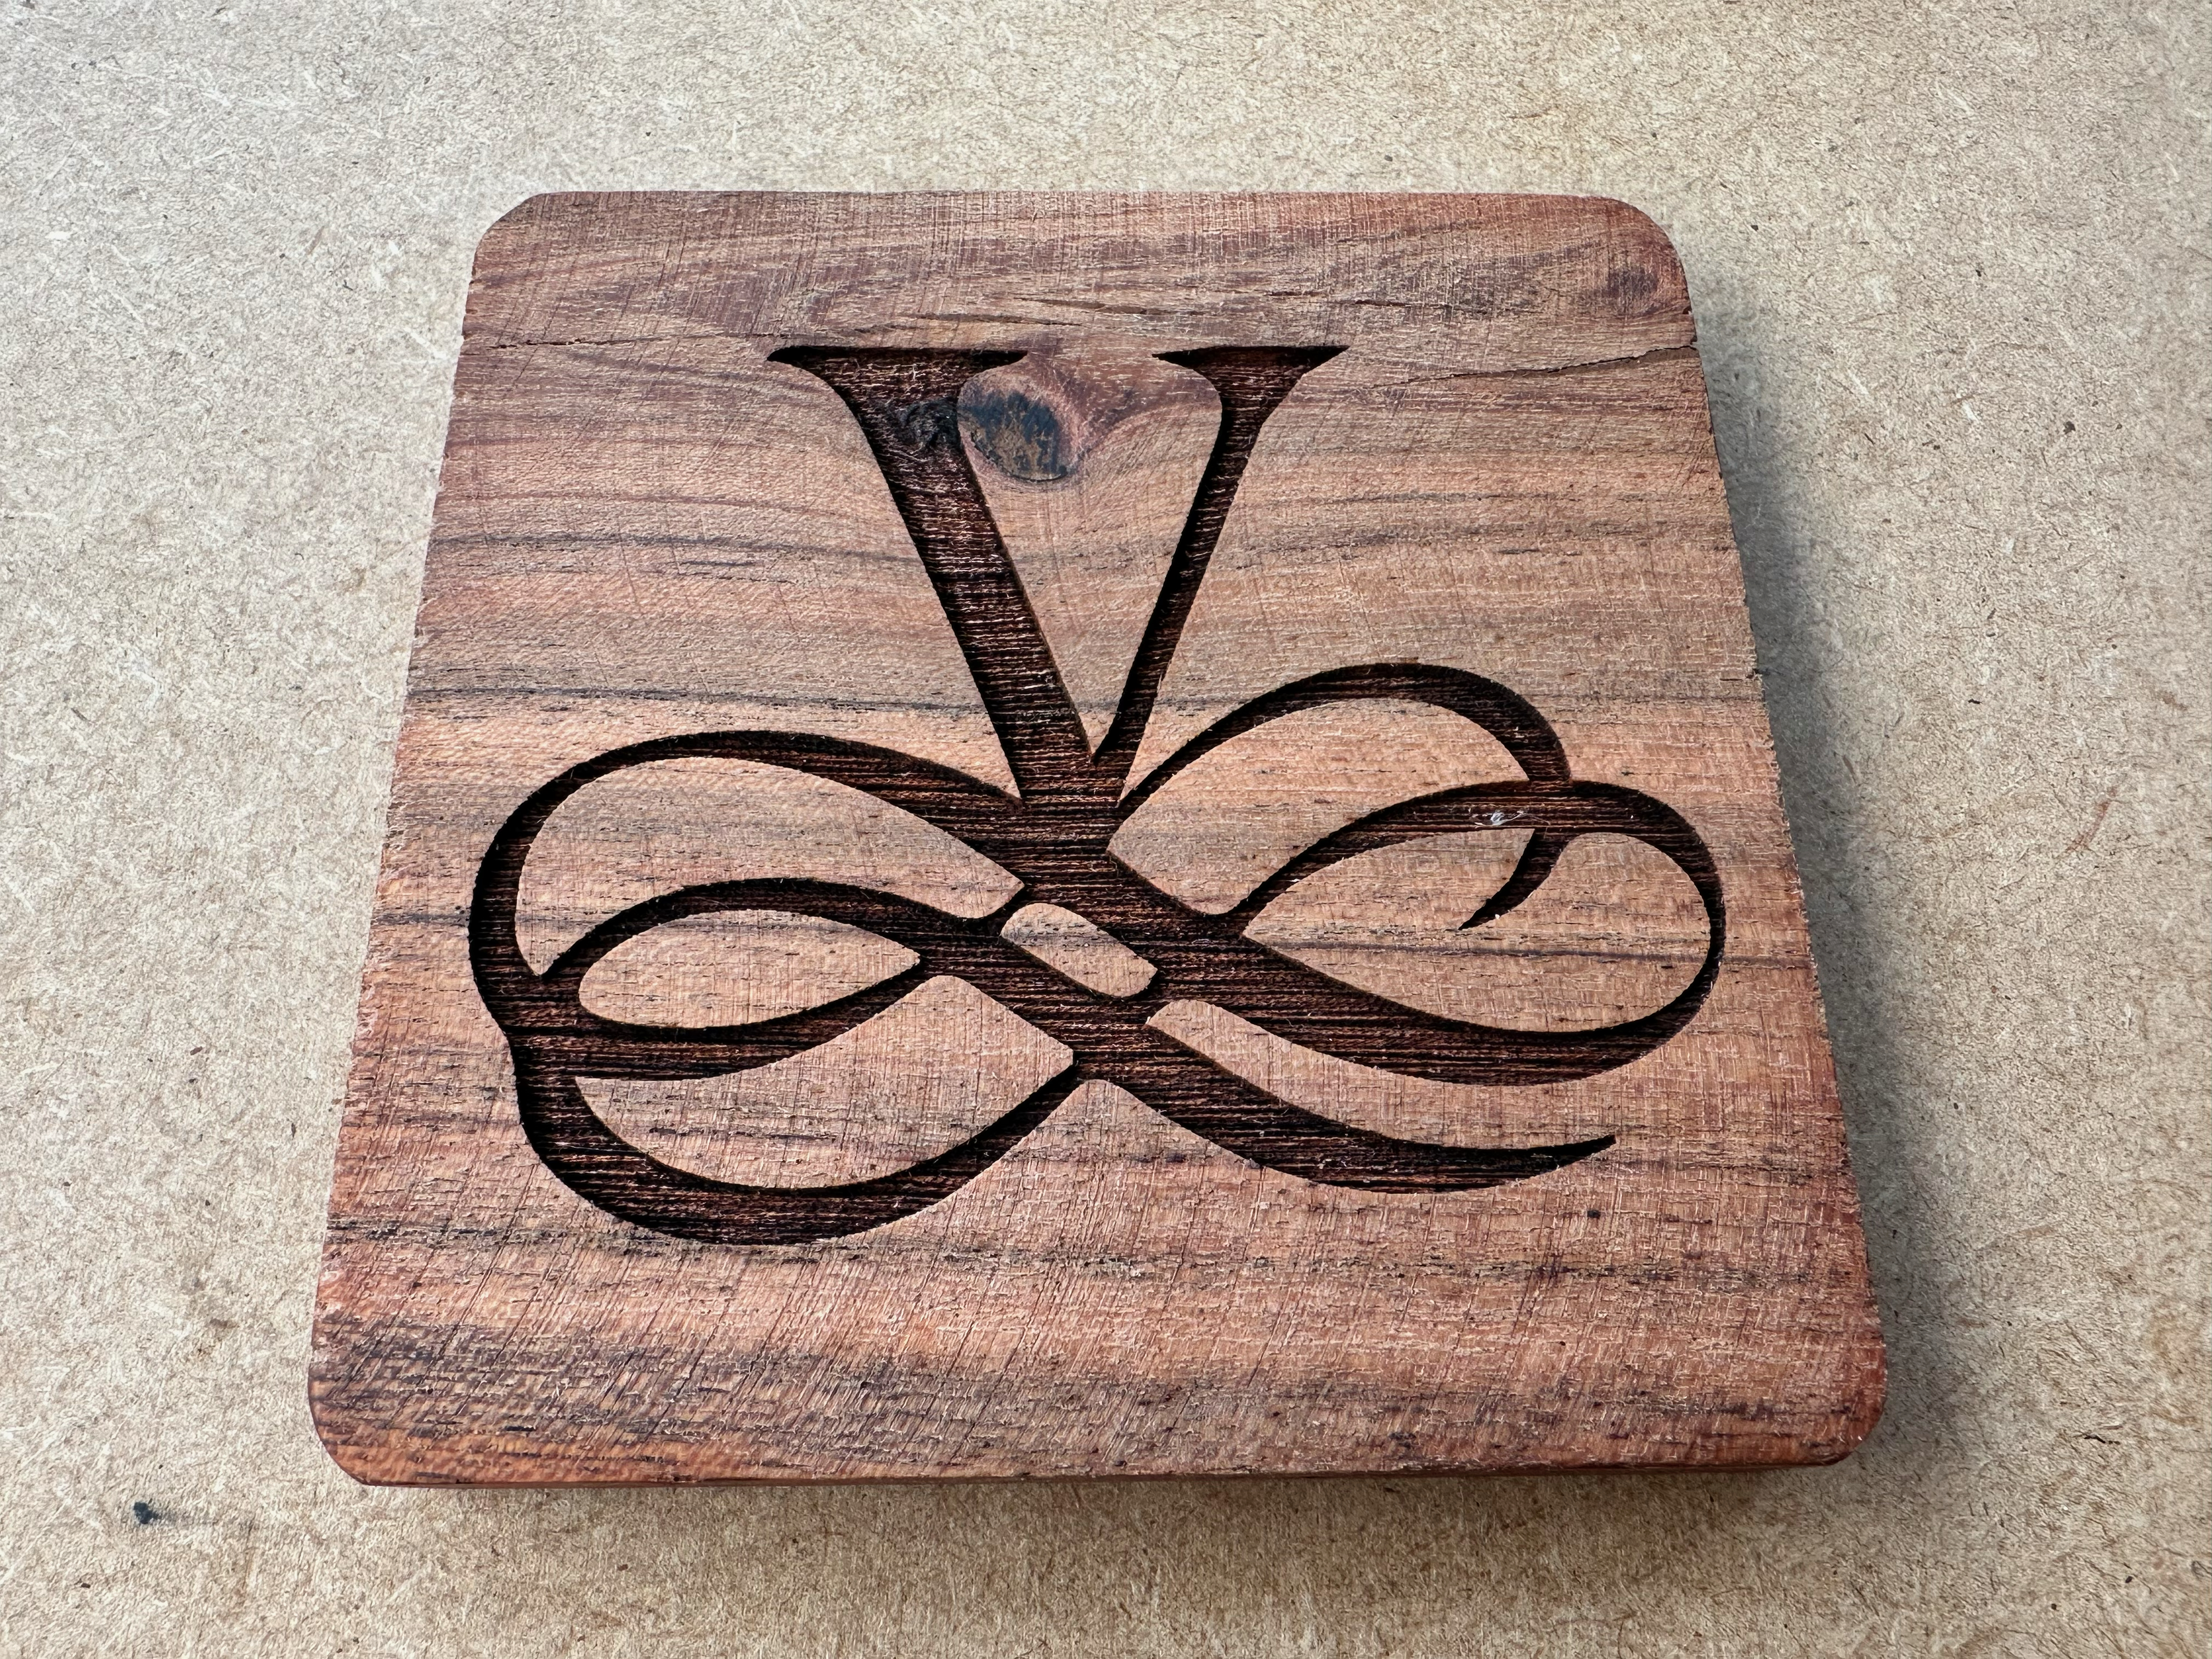
The design I went for was four variations of a letter V monogram ↗. Starting from a bitmap image I found online, I traced it to a vector-version in Inkscape, to avoid pixel-artefacts.
In hindsight I should have replaced the letter “V” with a fresh one, although in the final result that little detail didn’t strike me so much as a problem as now on screen. Yet time was an important factor 😓
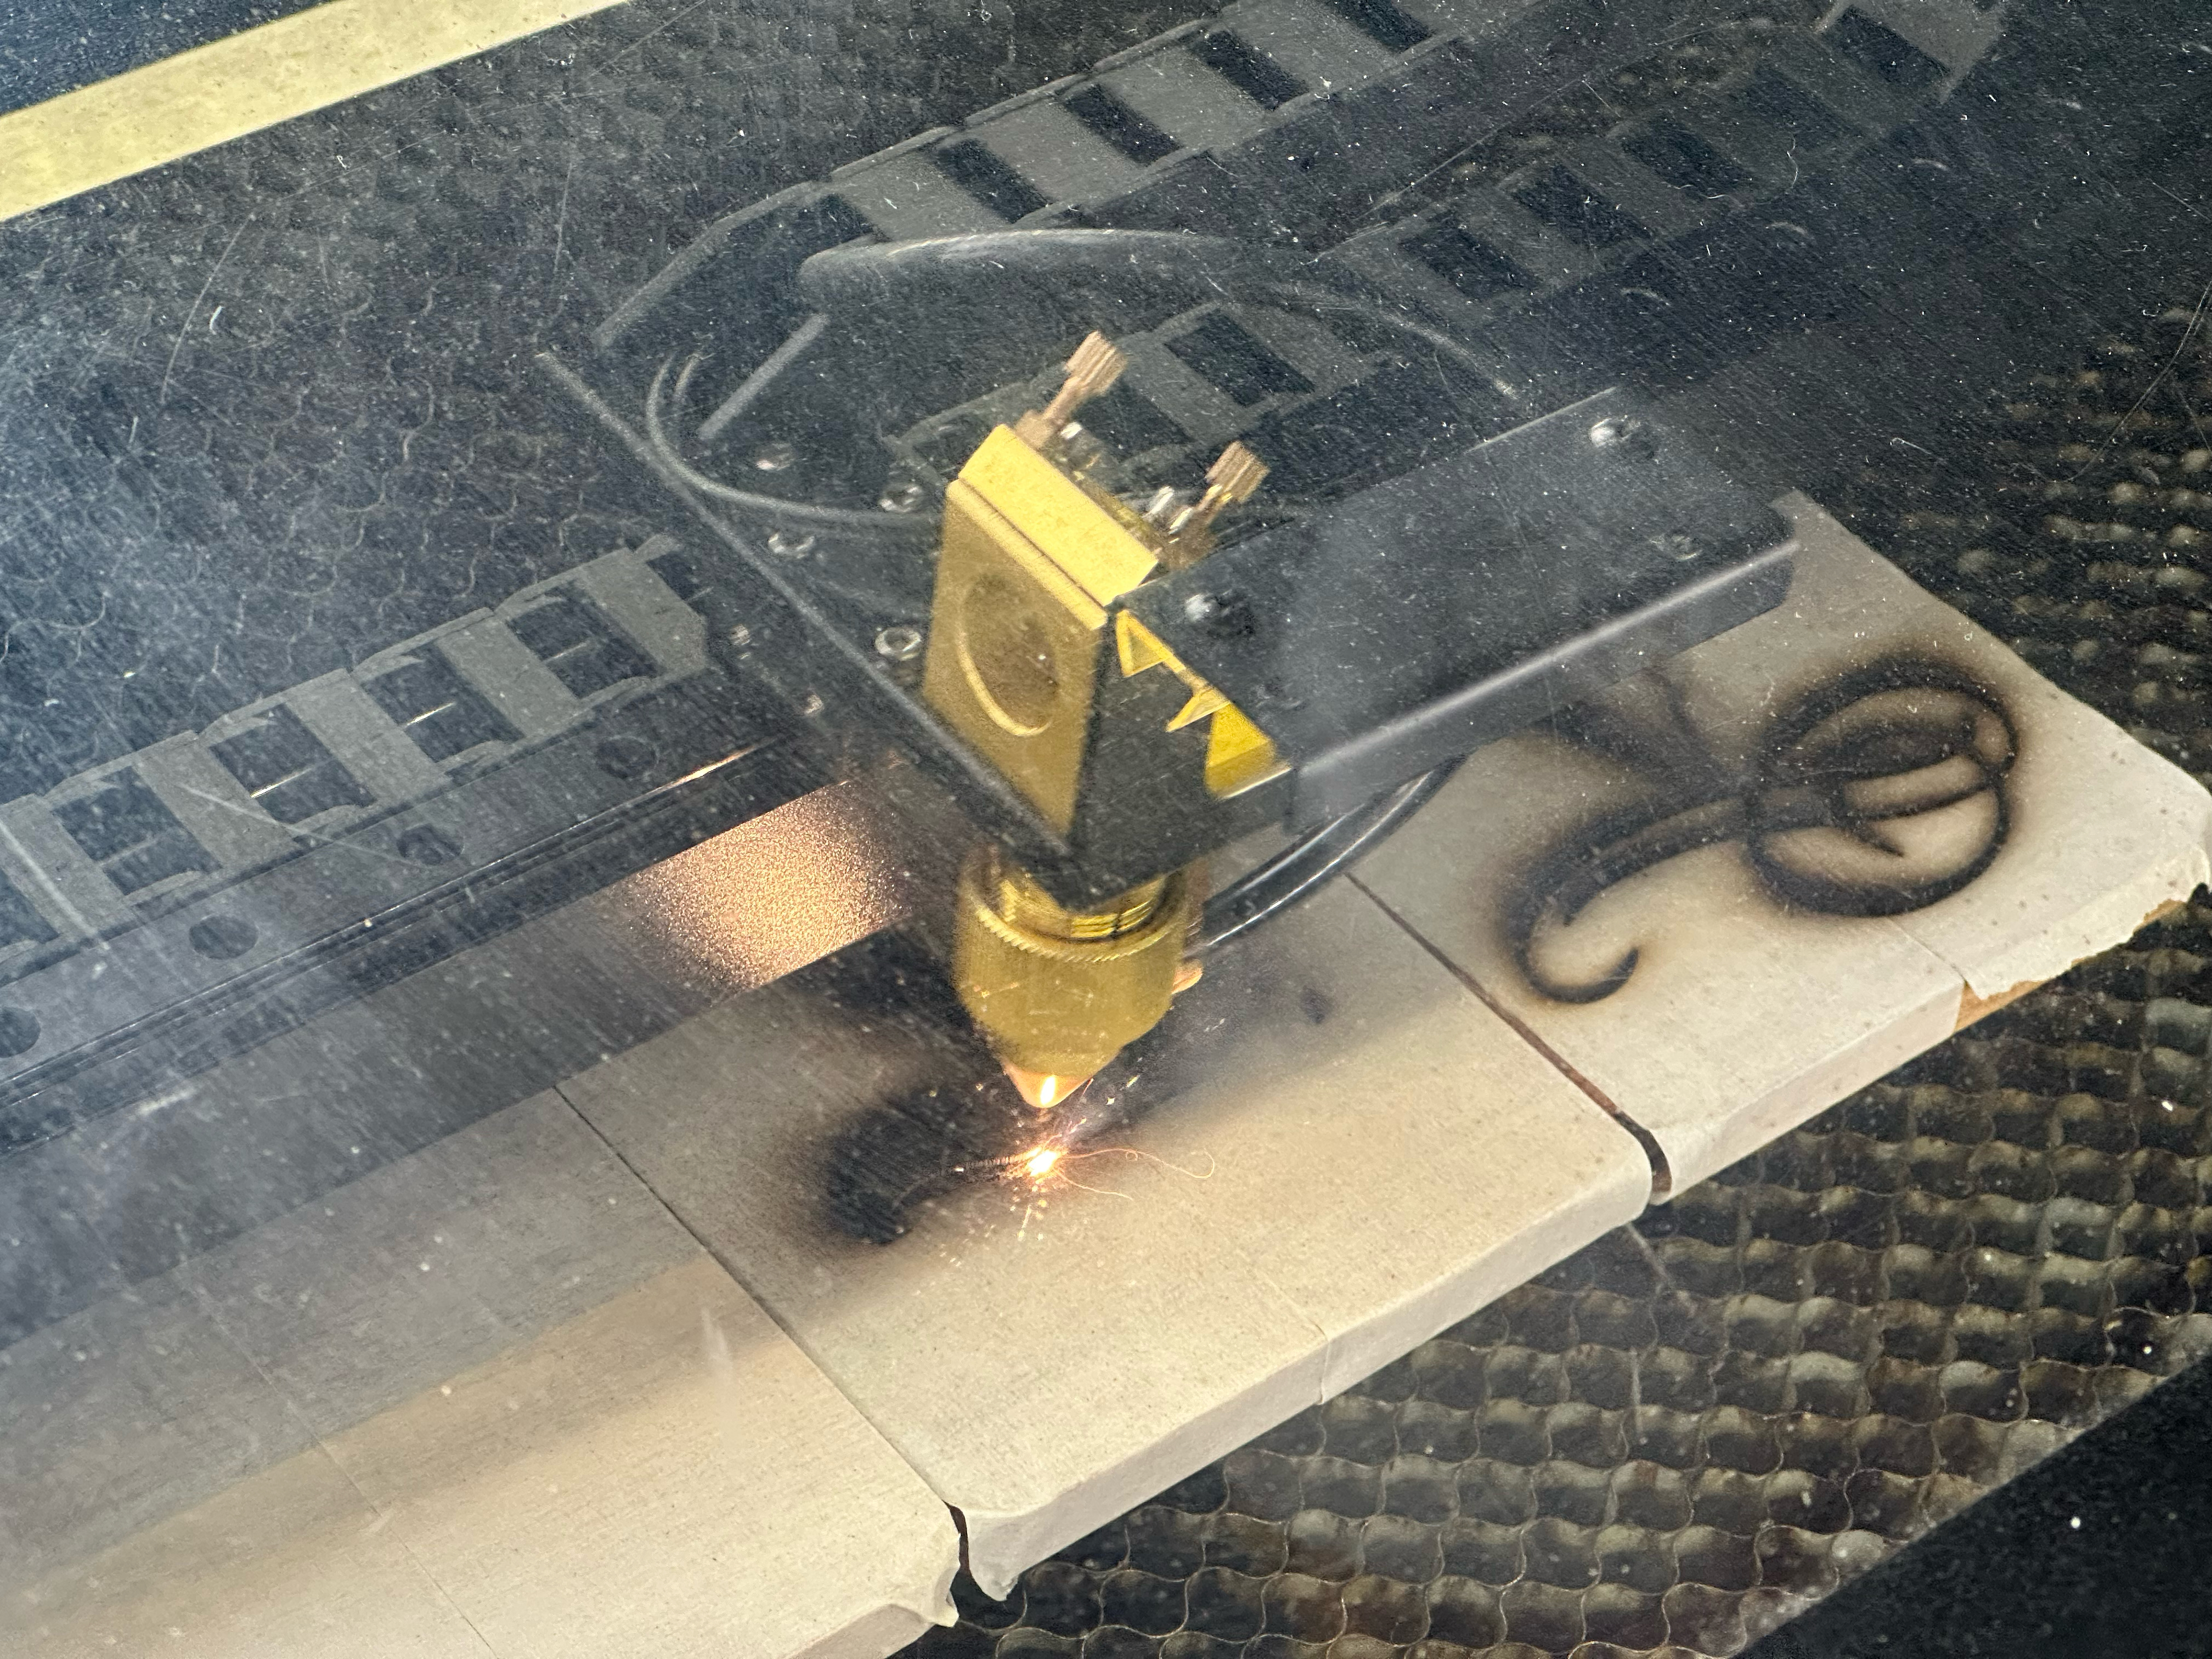
From there on it was basic engraving with my sturdy Beambox Pro. Power 55%, speed 70mm/s to have a nive deep engraving that enables filling it up with epoxy soon.
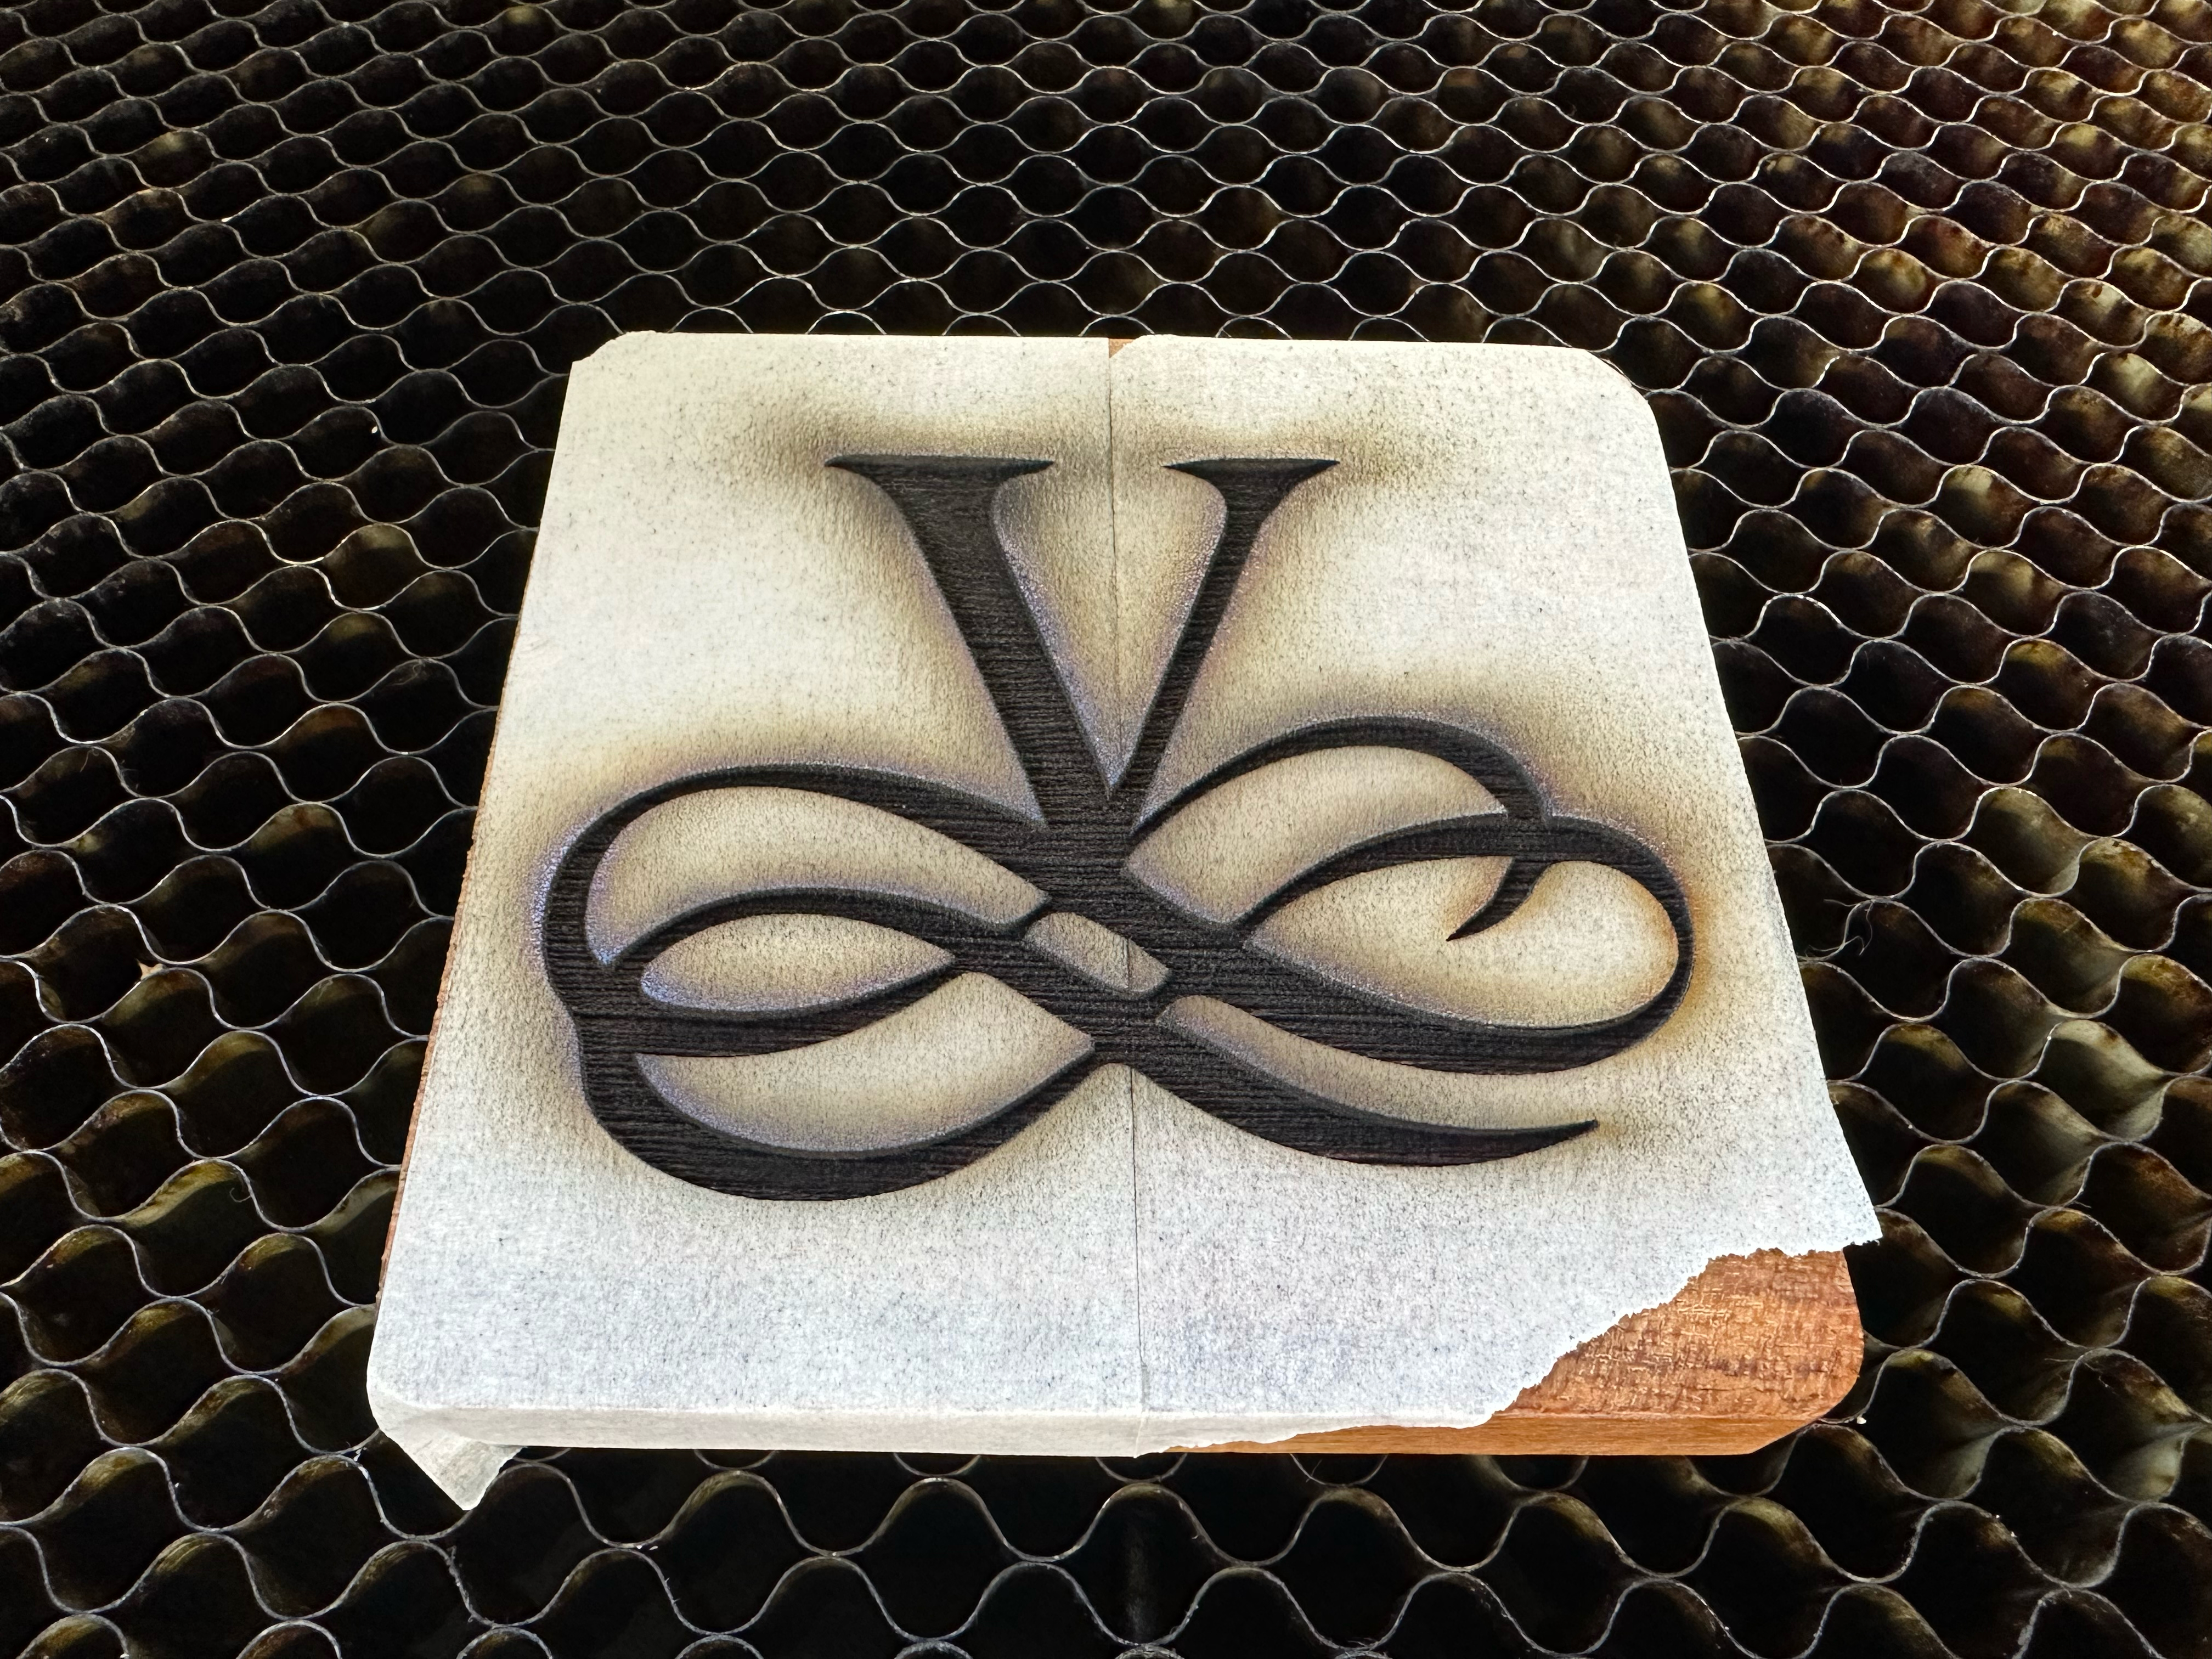
The result just needed a bit of cleaning, with household alcohol and water to remove the soot.
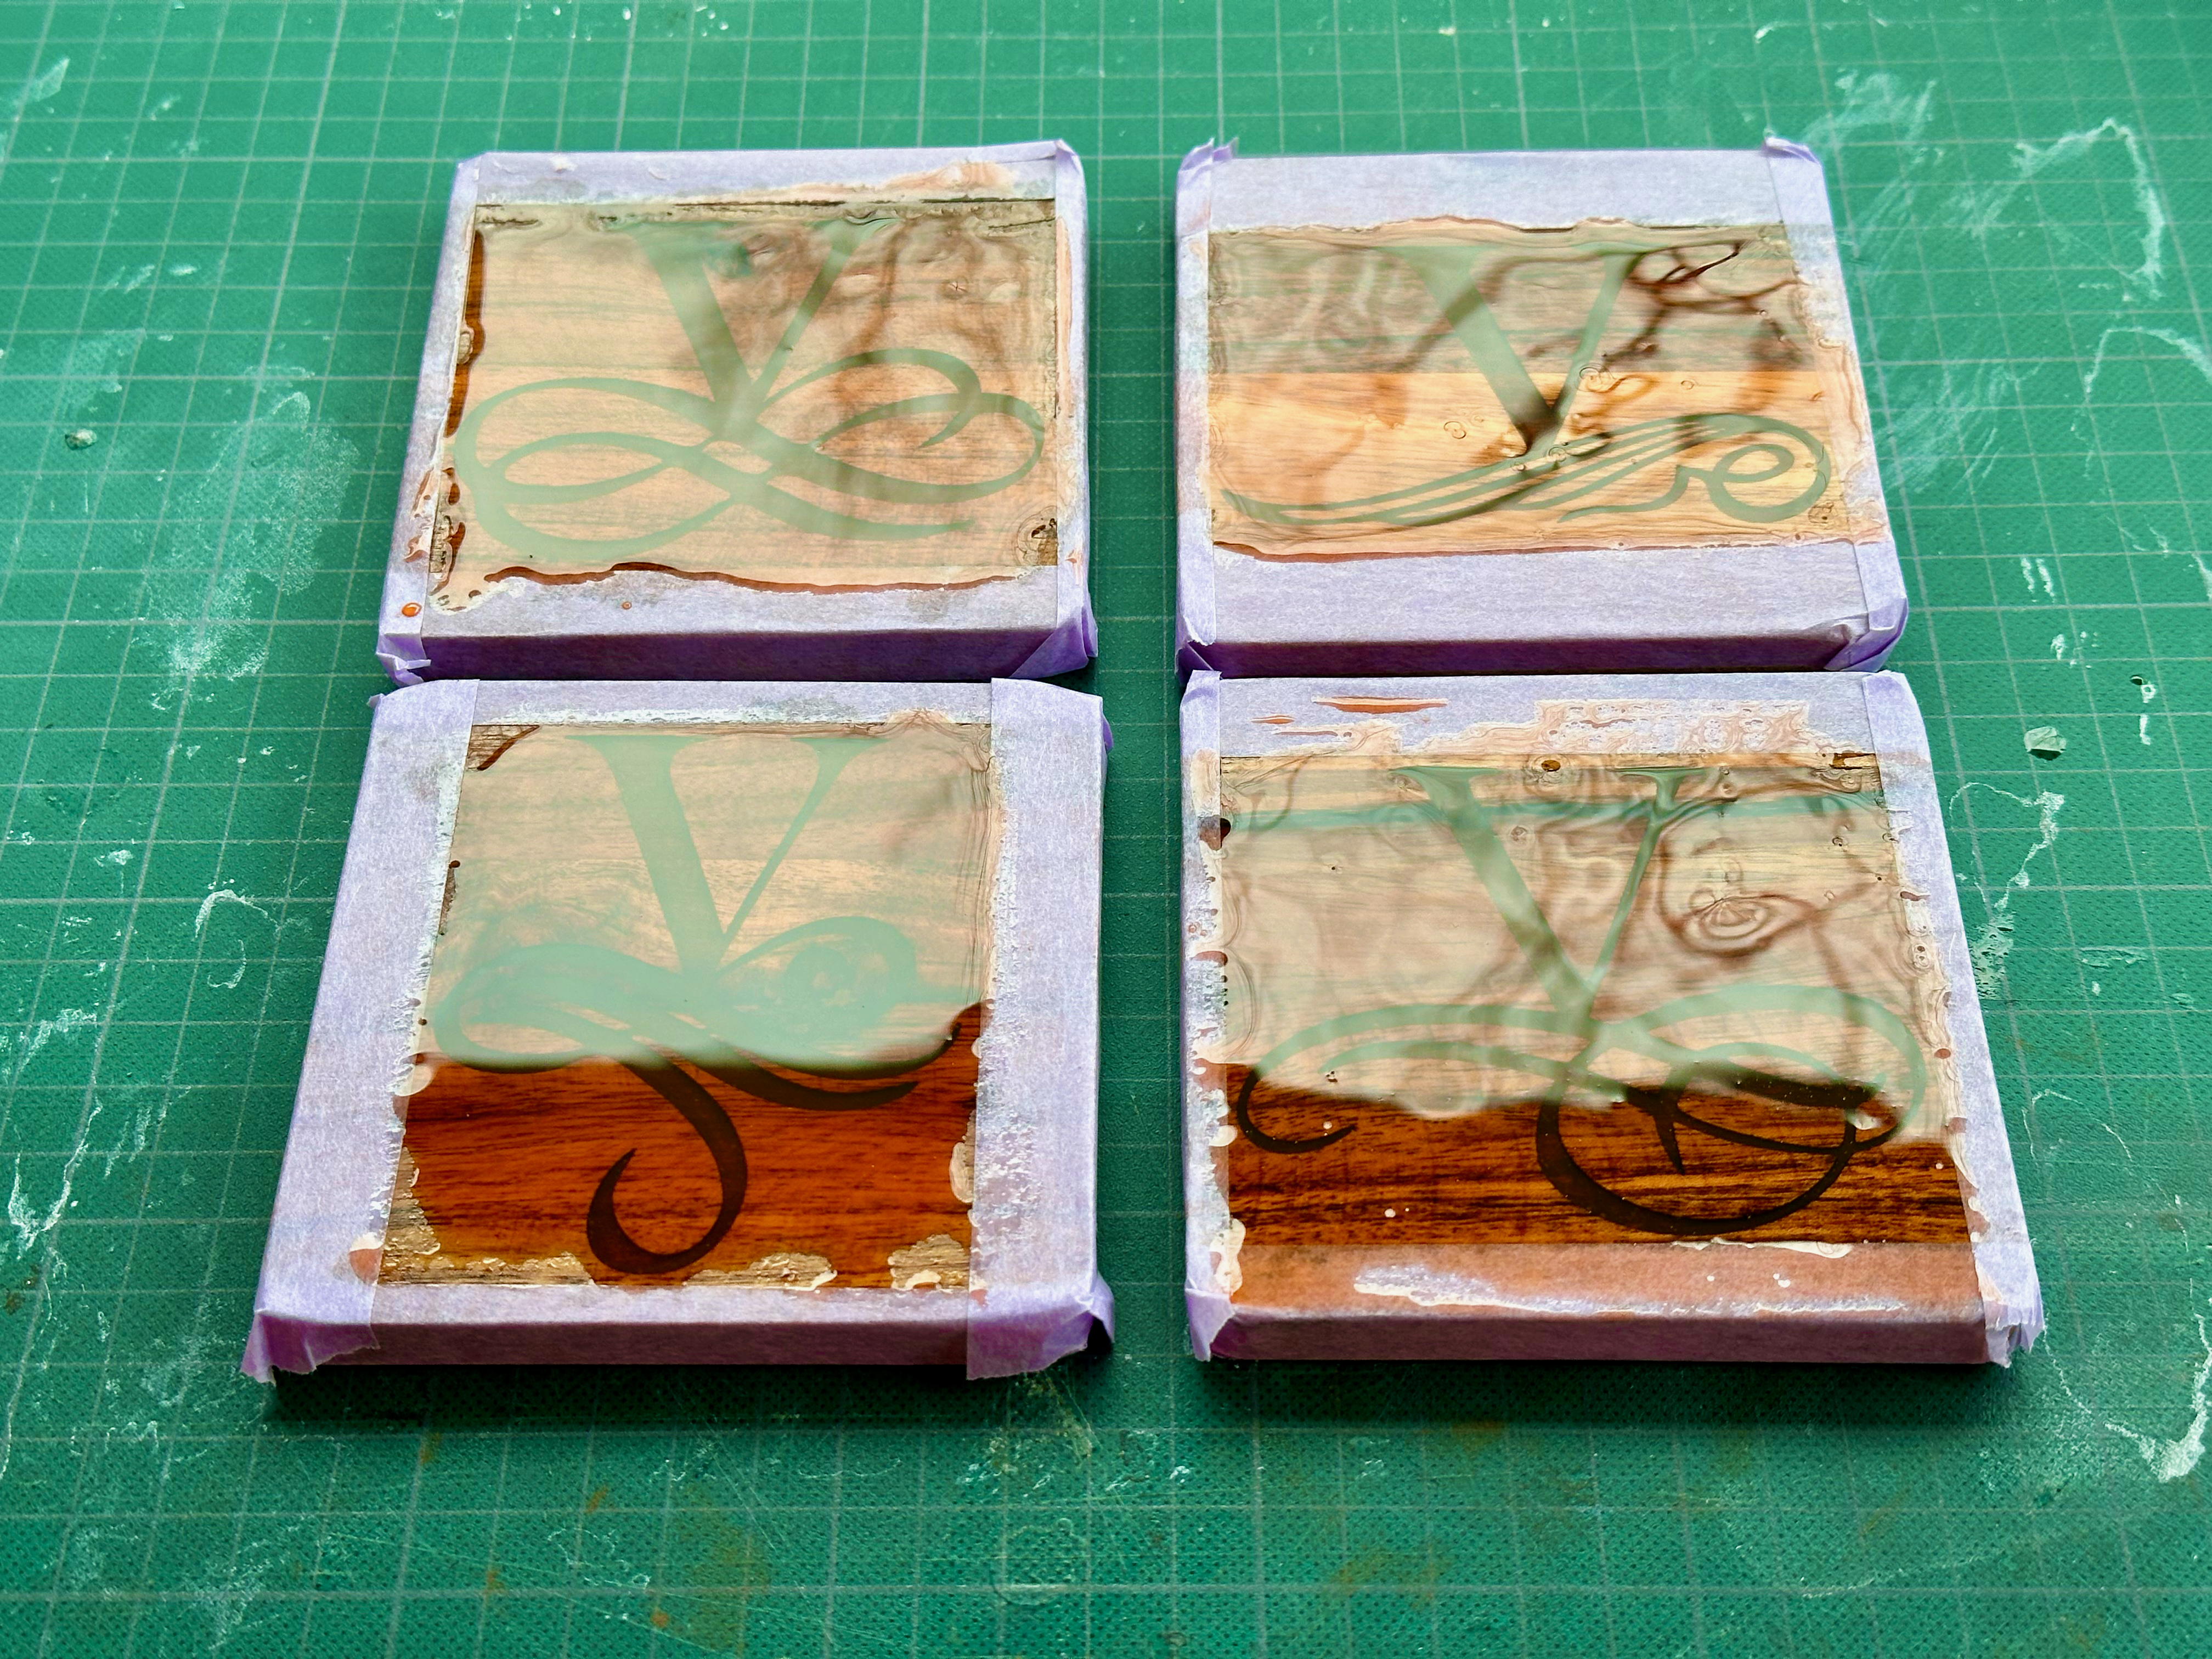
Day 2: Adding a Transparant Layer
👆 I could have done this second phase on the same day as the engraving, yet, I only had small bits of time in between a lot of other work, so one step at a time/day.
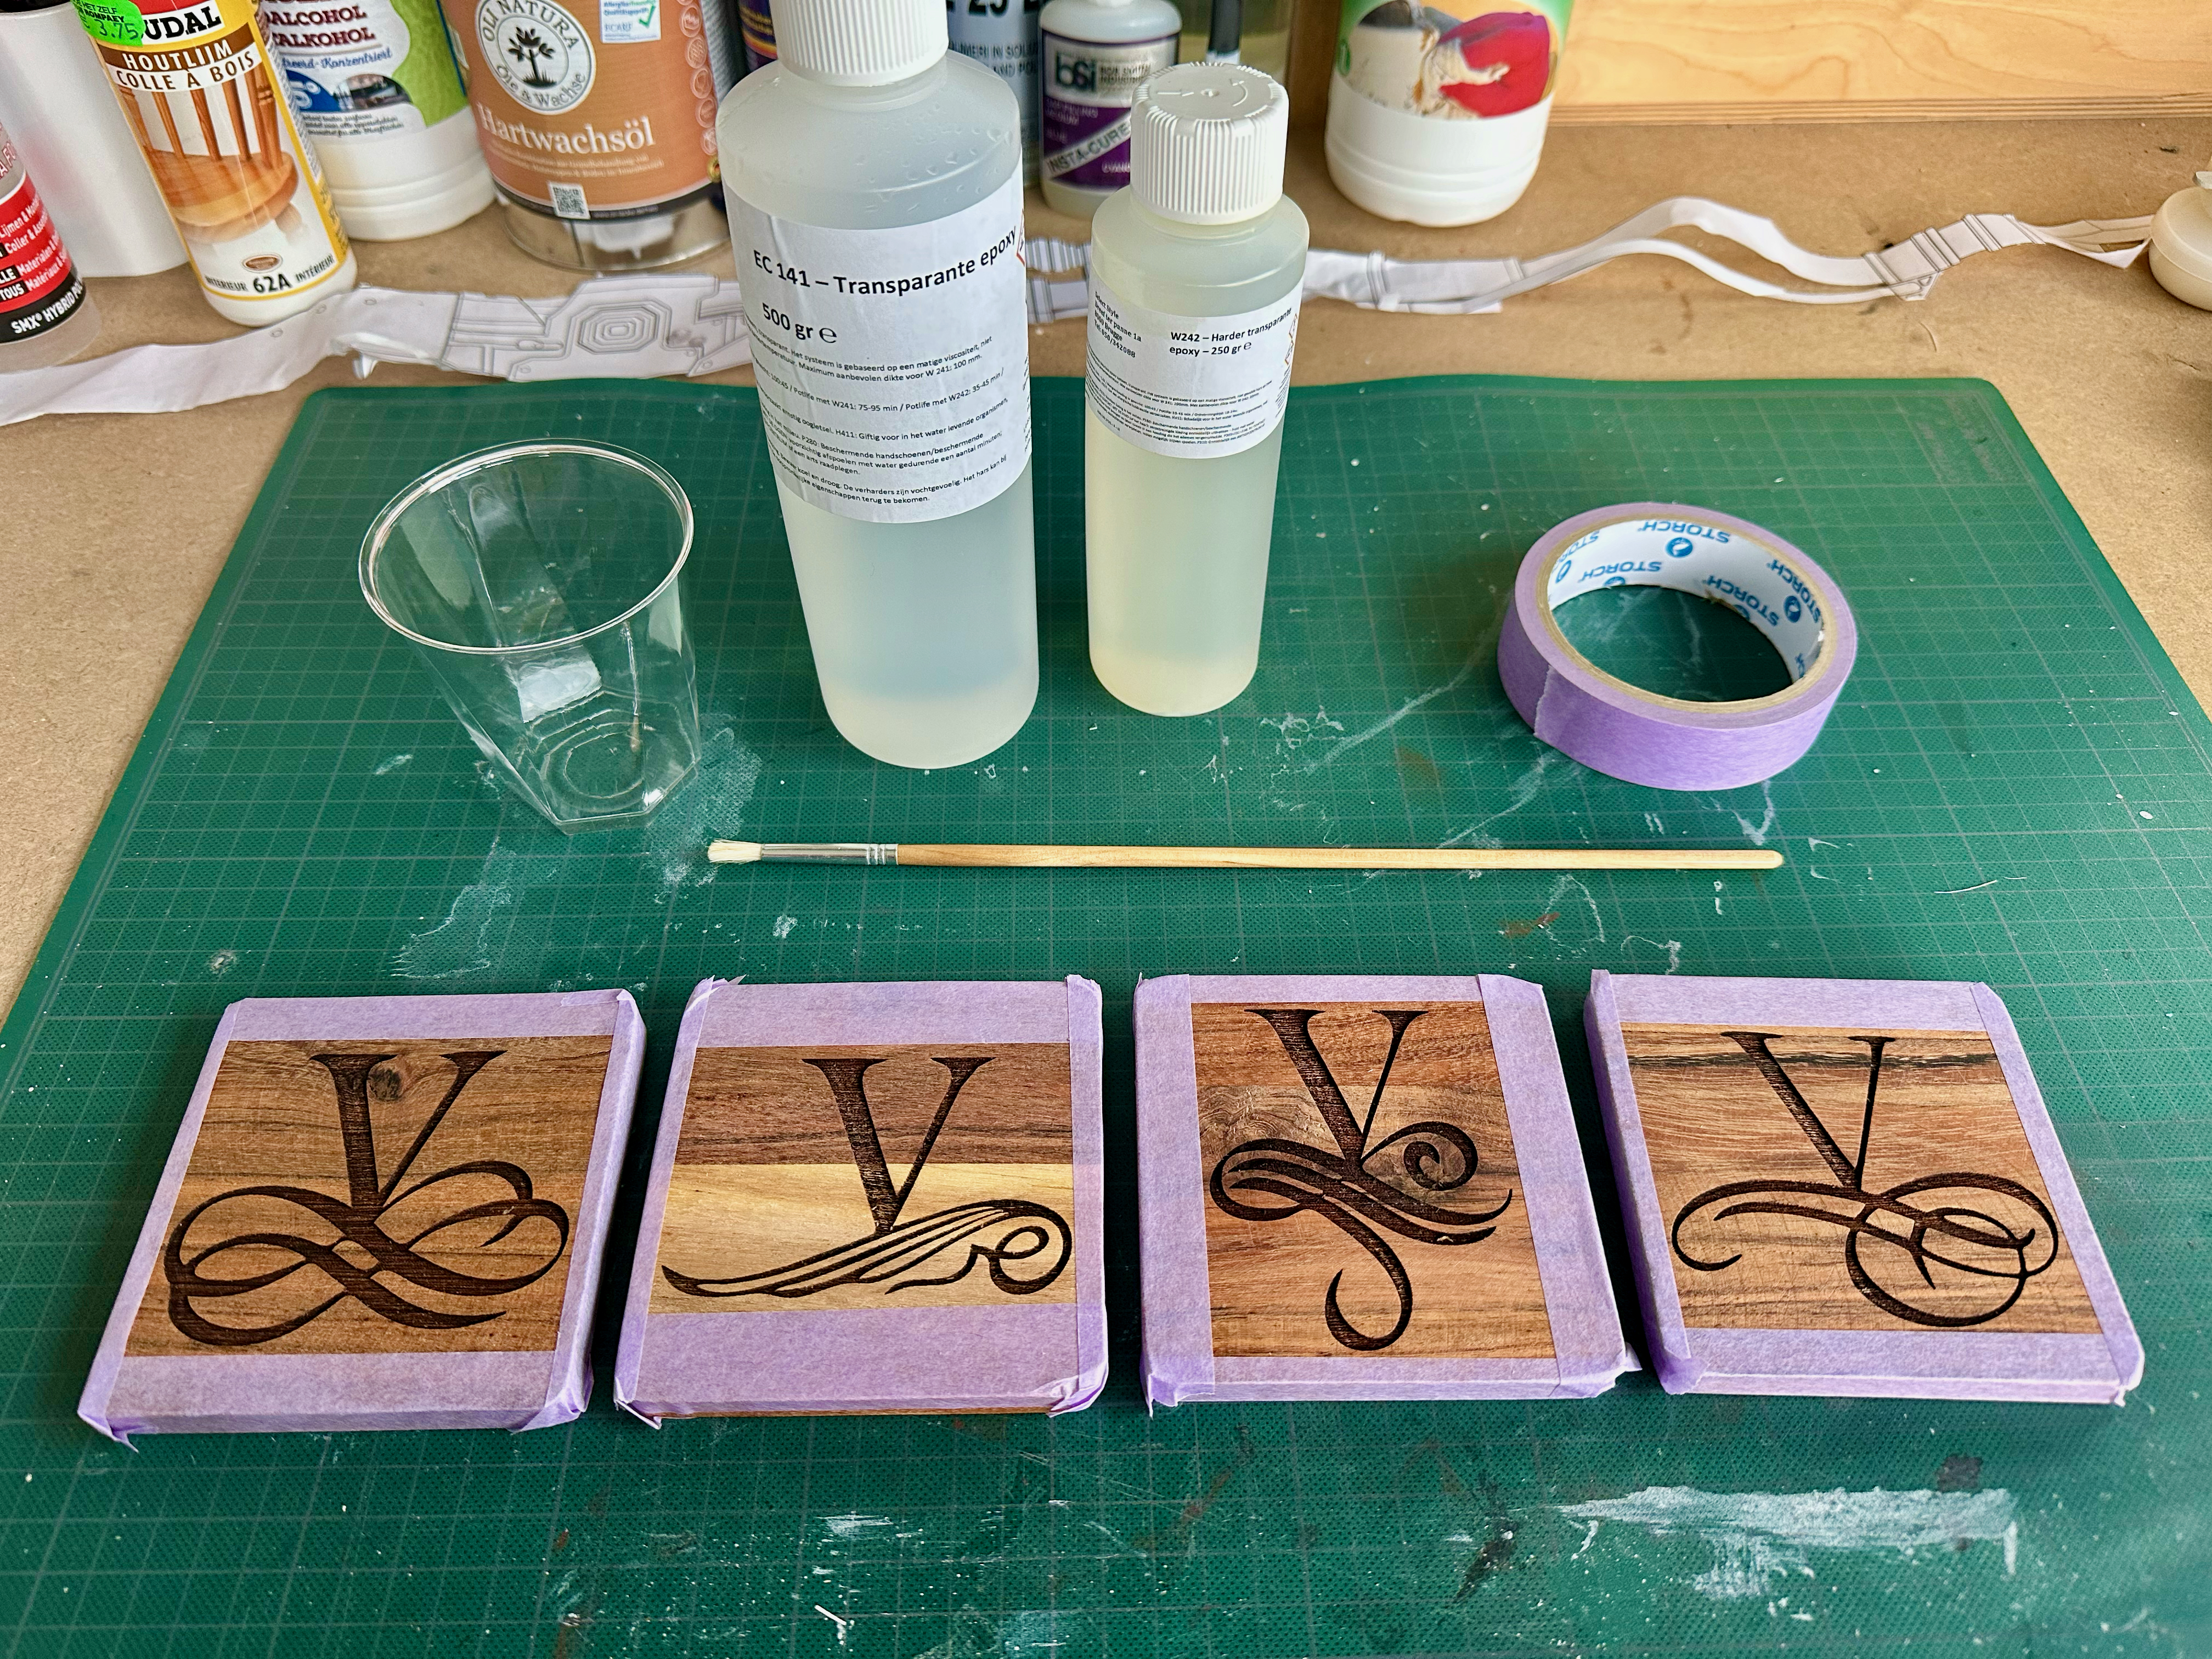
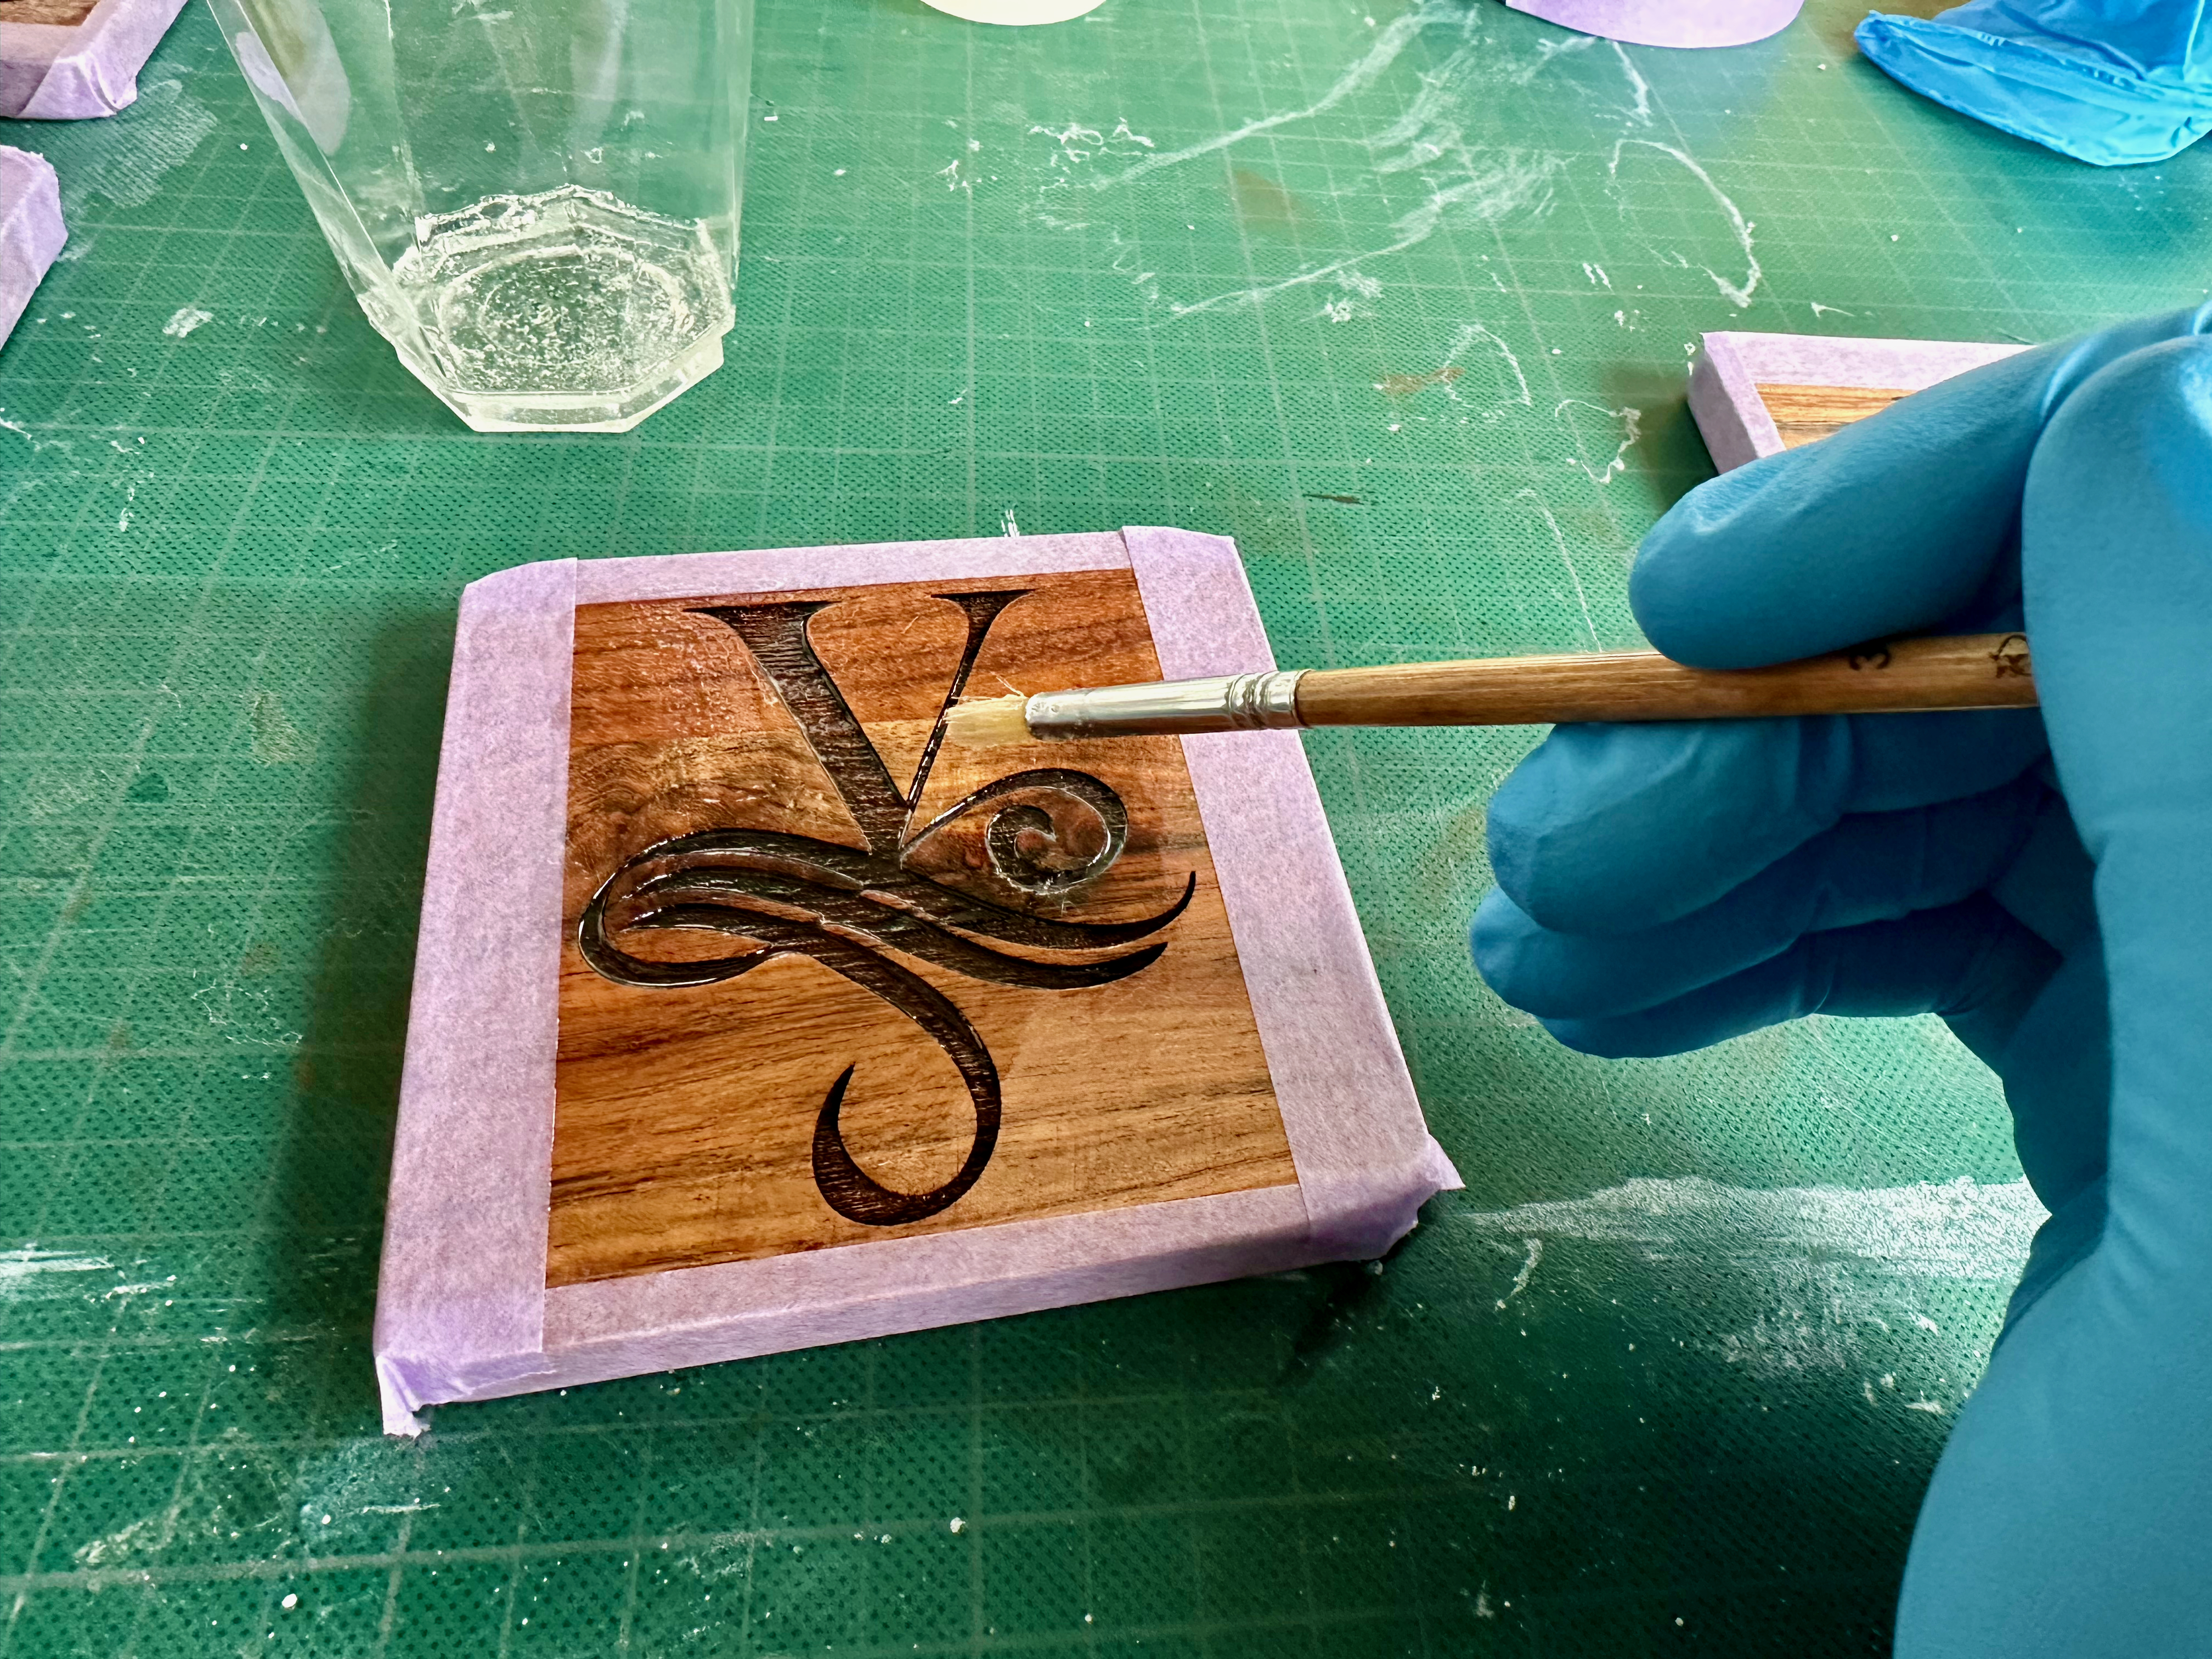
This step is one I learned from the Kendra video, and I admit I wouldn’t have tought of it myself and would have cursed the bleeding of color into the wood. So adding a thin coat of transparant resin first to seal the nerves is an important step to hopefully a nice result. Also, masking as much as possible from the sides of the coaster, will reduce the sanding later on!
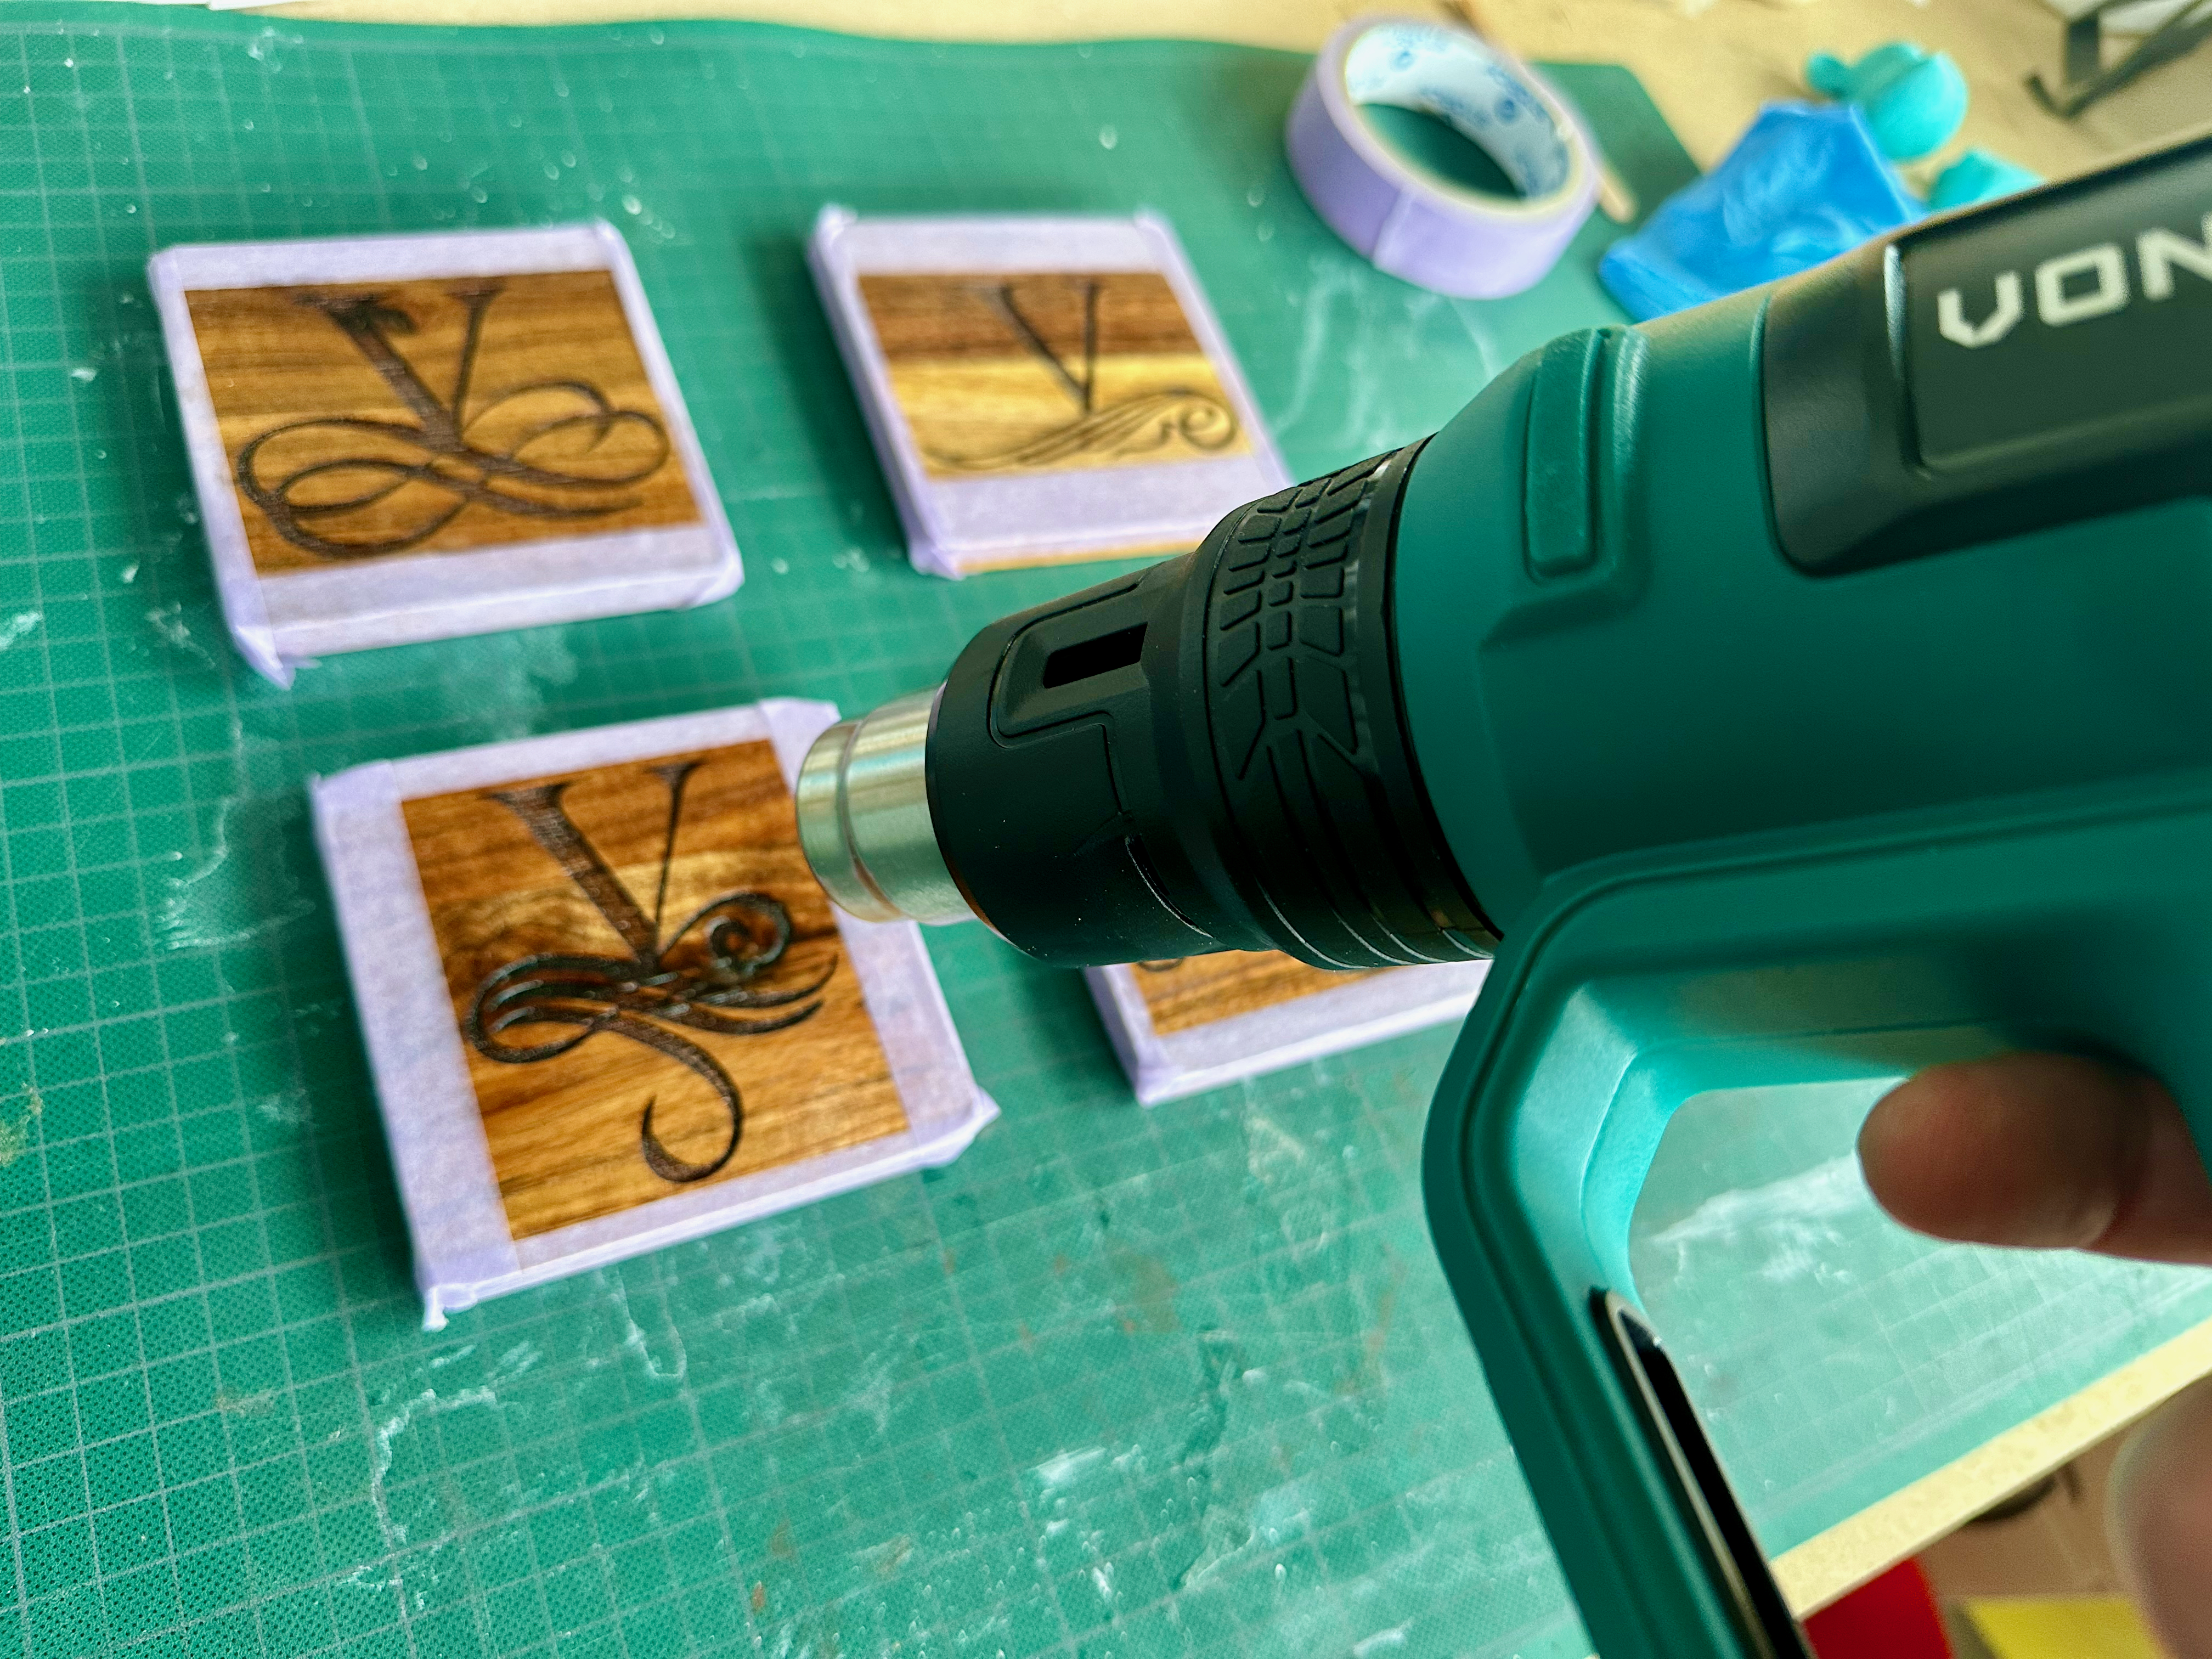
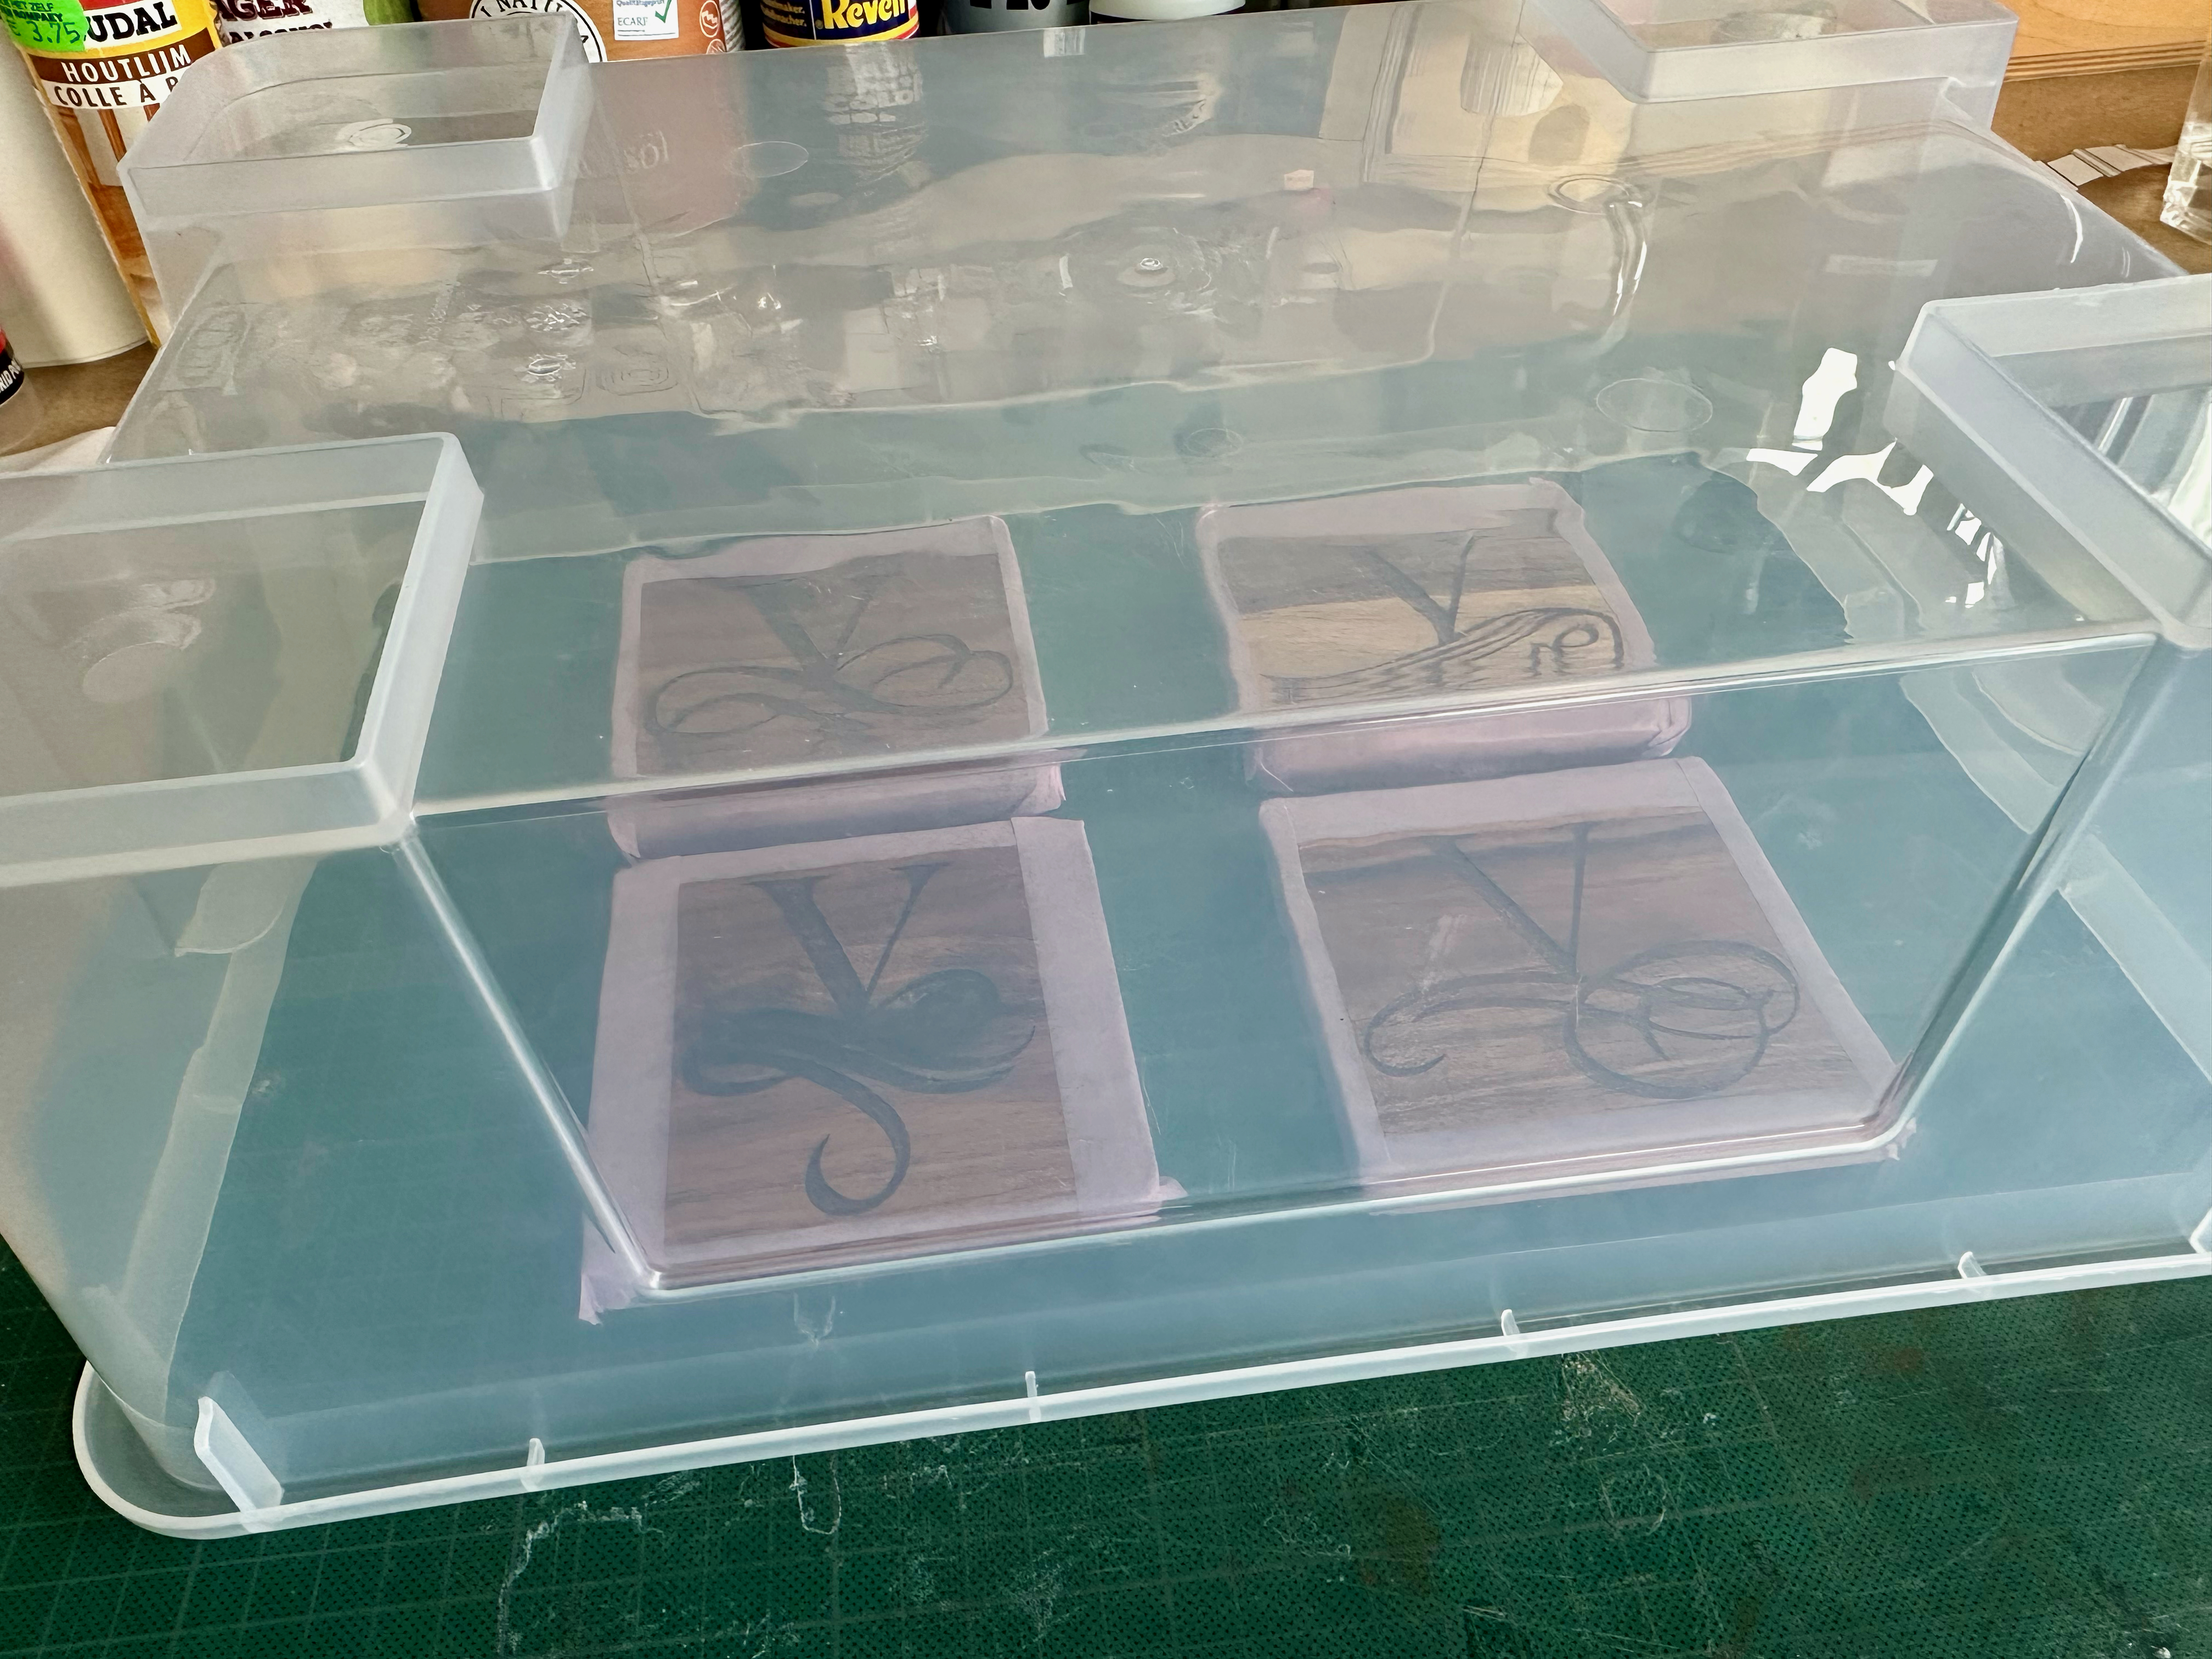
Applying it with a brush, and afterwards applying some heat to litterally see small bubbles pop and be gone is done in a matter of minutes. Final important step of this day: cover the curing resin, to avoid dust,… to fall into it.
I use (an older version of) the transparant resin from cosplayshop.be ↗, which cures overnight, so on to the next step/day…
Day 3: Filling the Gap
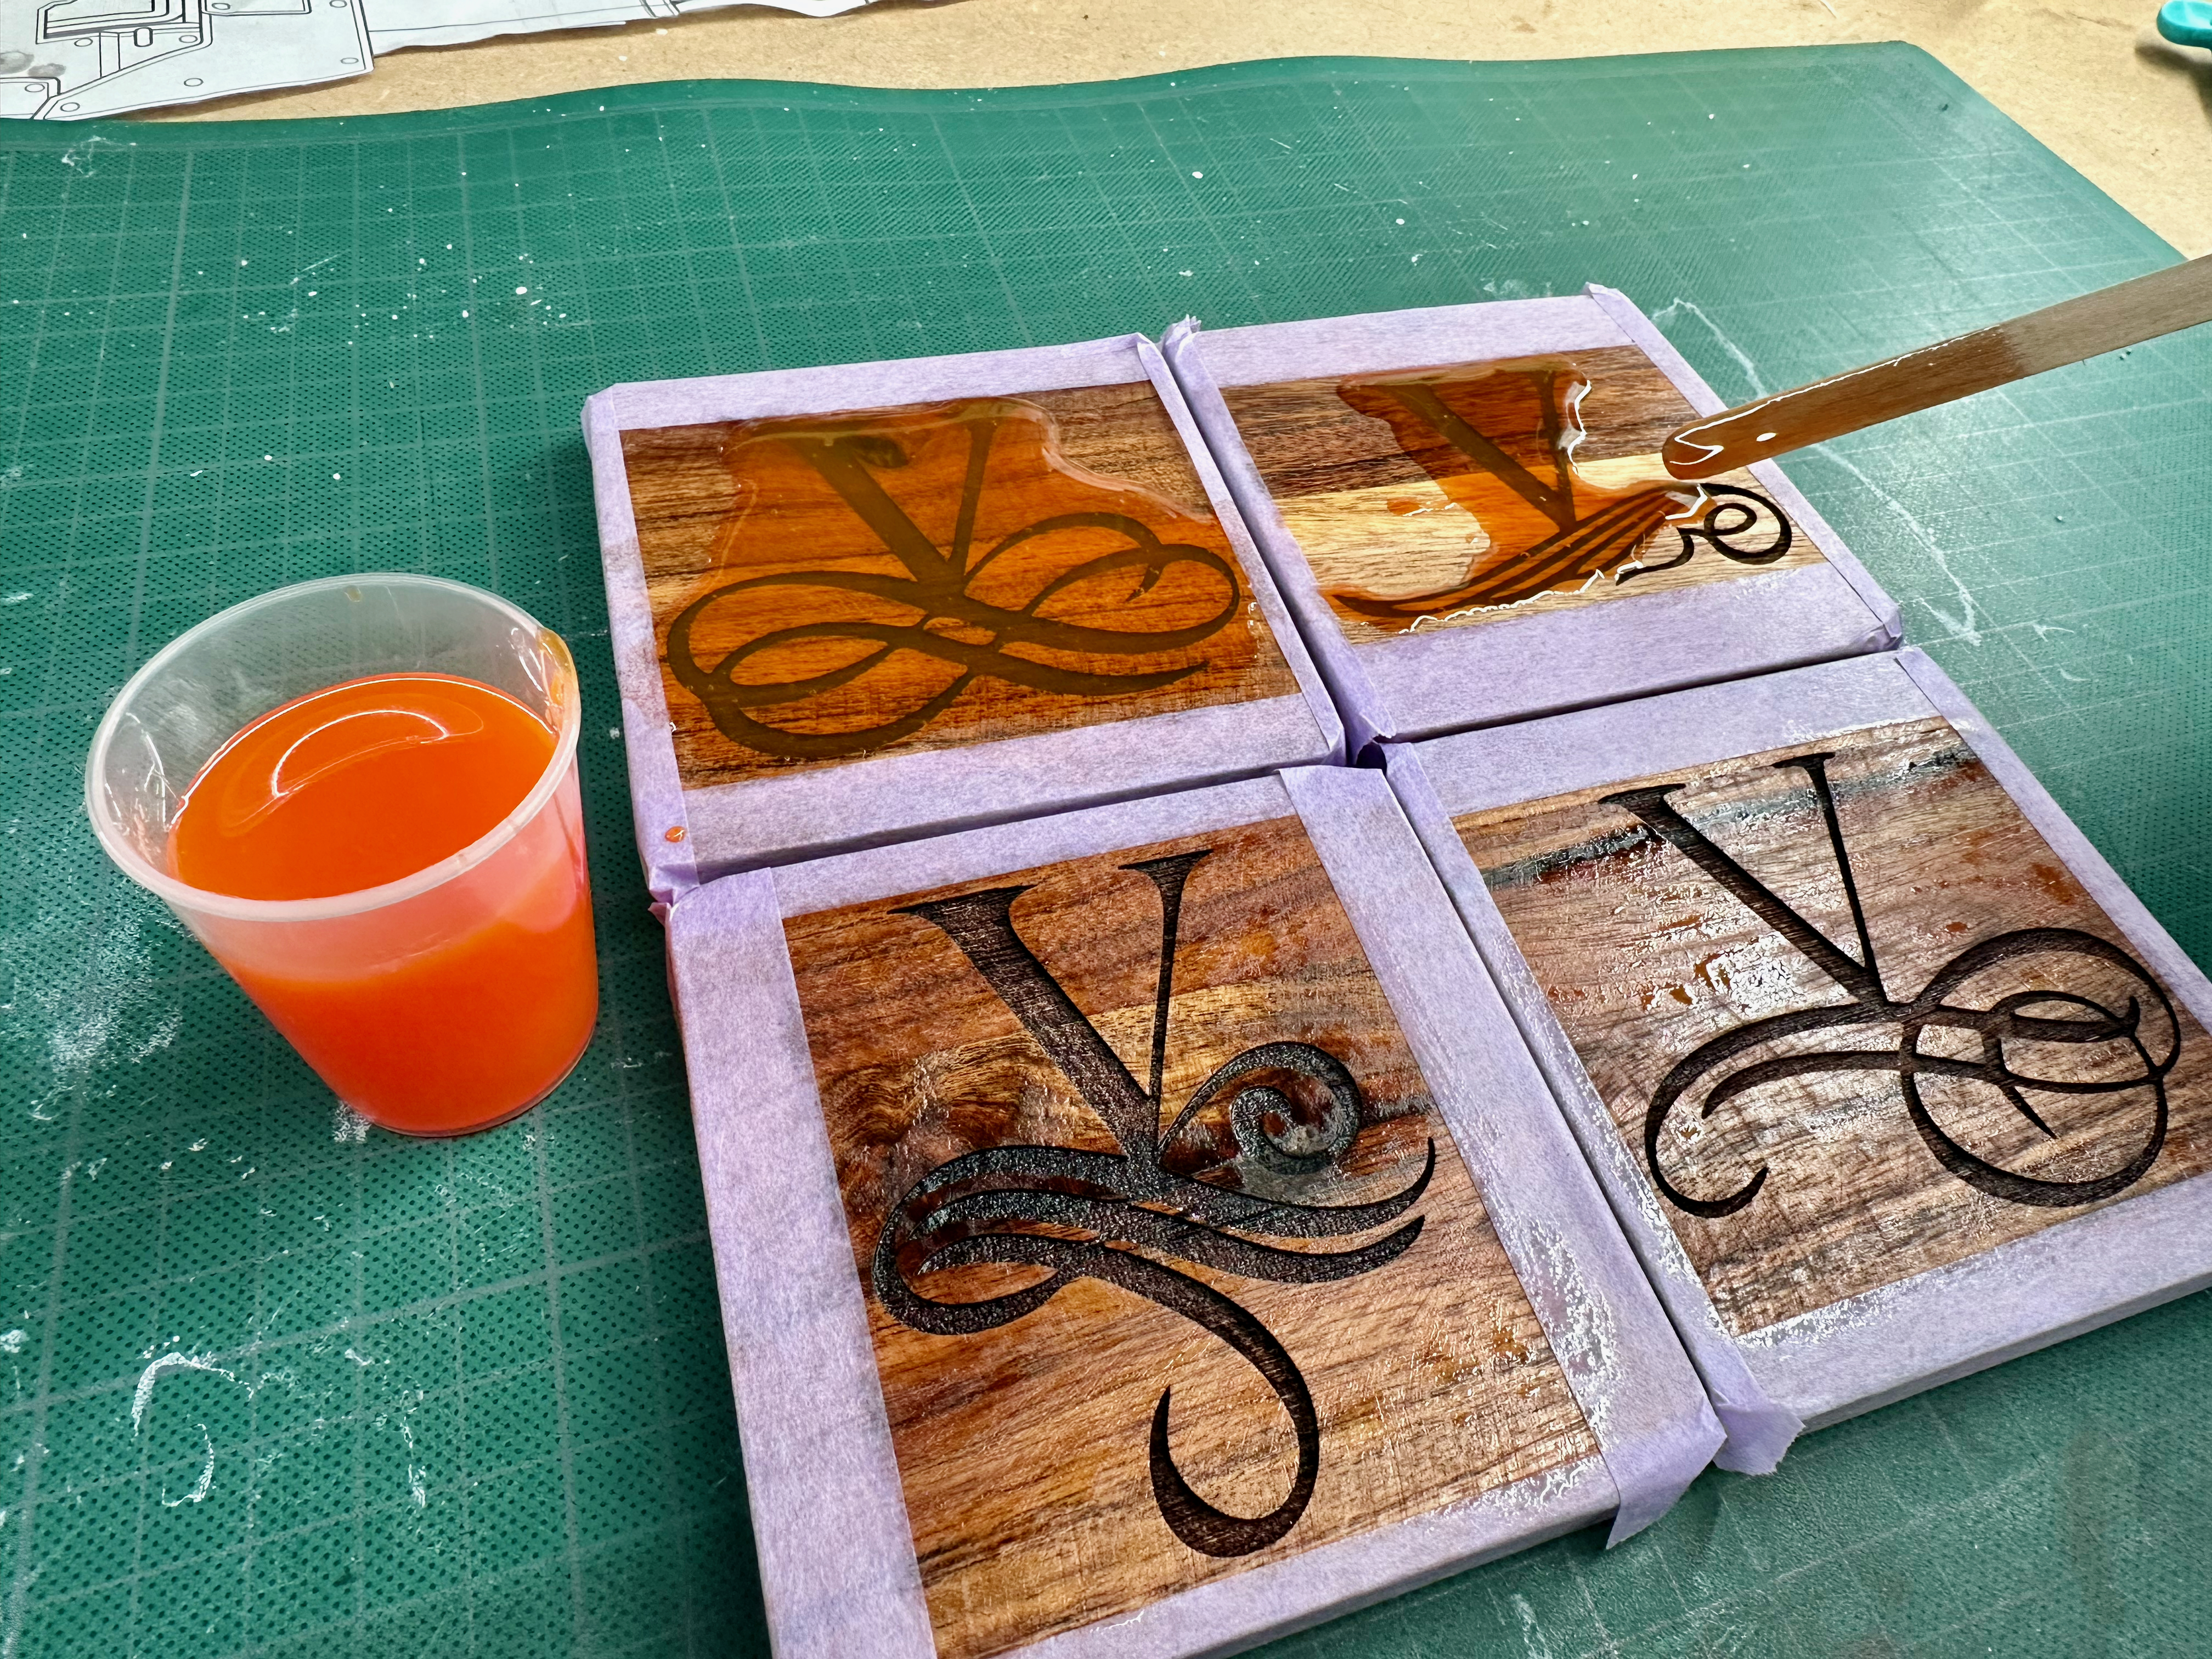
This is probably the shortest session, yet it is probably also the main one: adding some color to the resin now - according to taste, and we both love orange 😇 - and simply poring it in and applying some heat to see those bubbles pop… so satisfying.
Tomorrow… manual labour time! 👷
Day 4: Sanding to “Perfection”
Okay, final day and … most stressful day: two potentially destructive operations: sanding and applying oil.
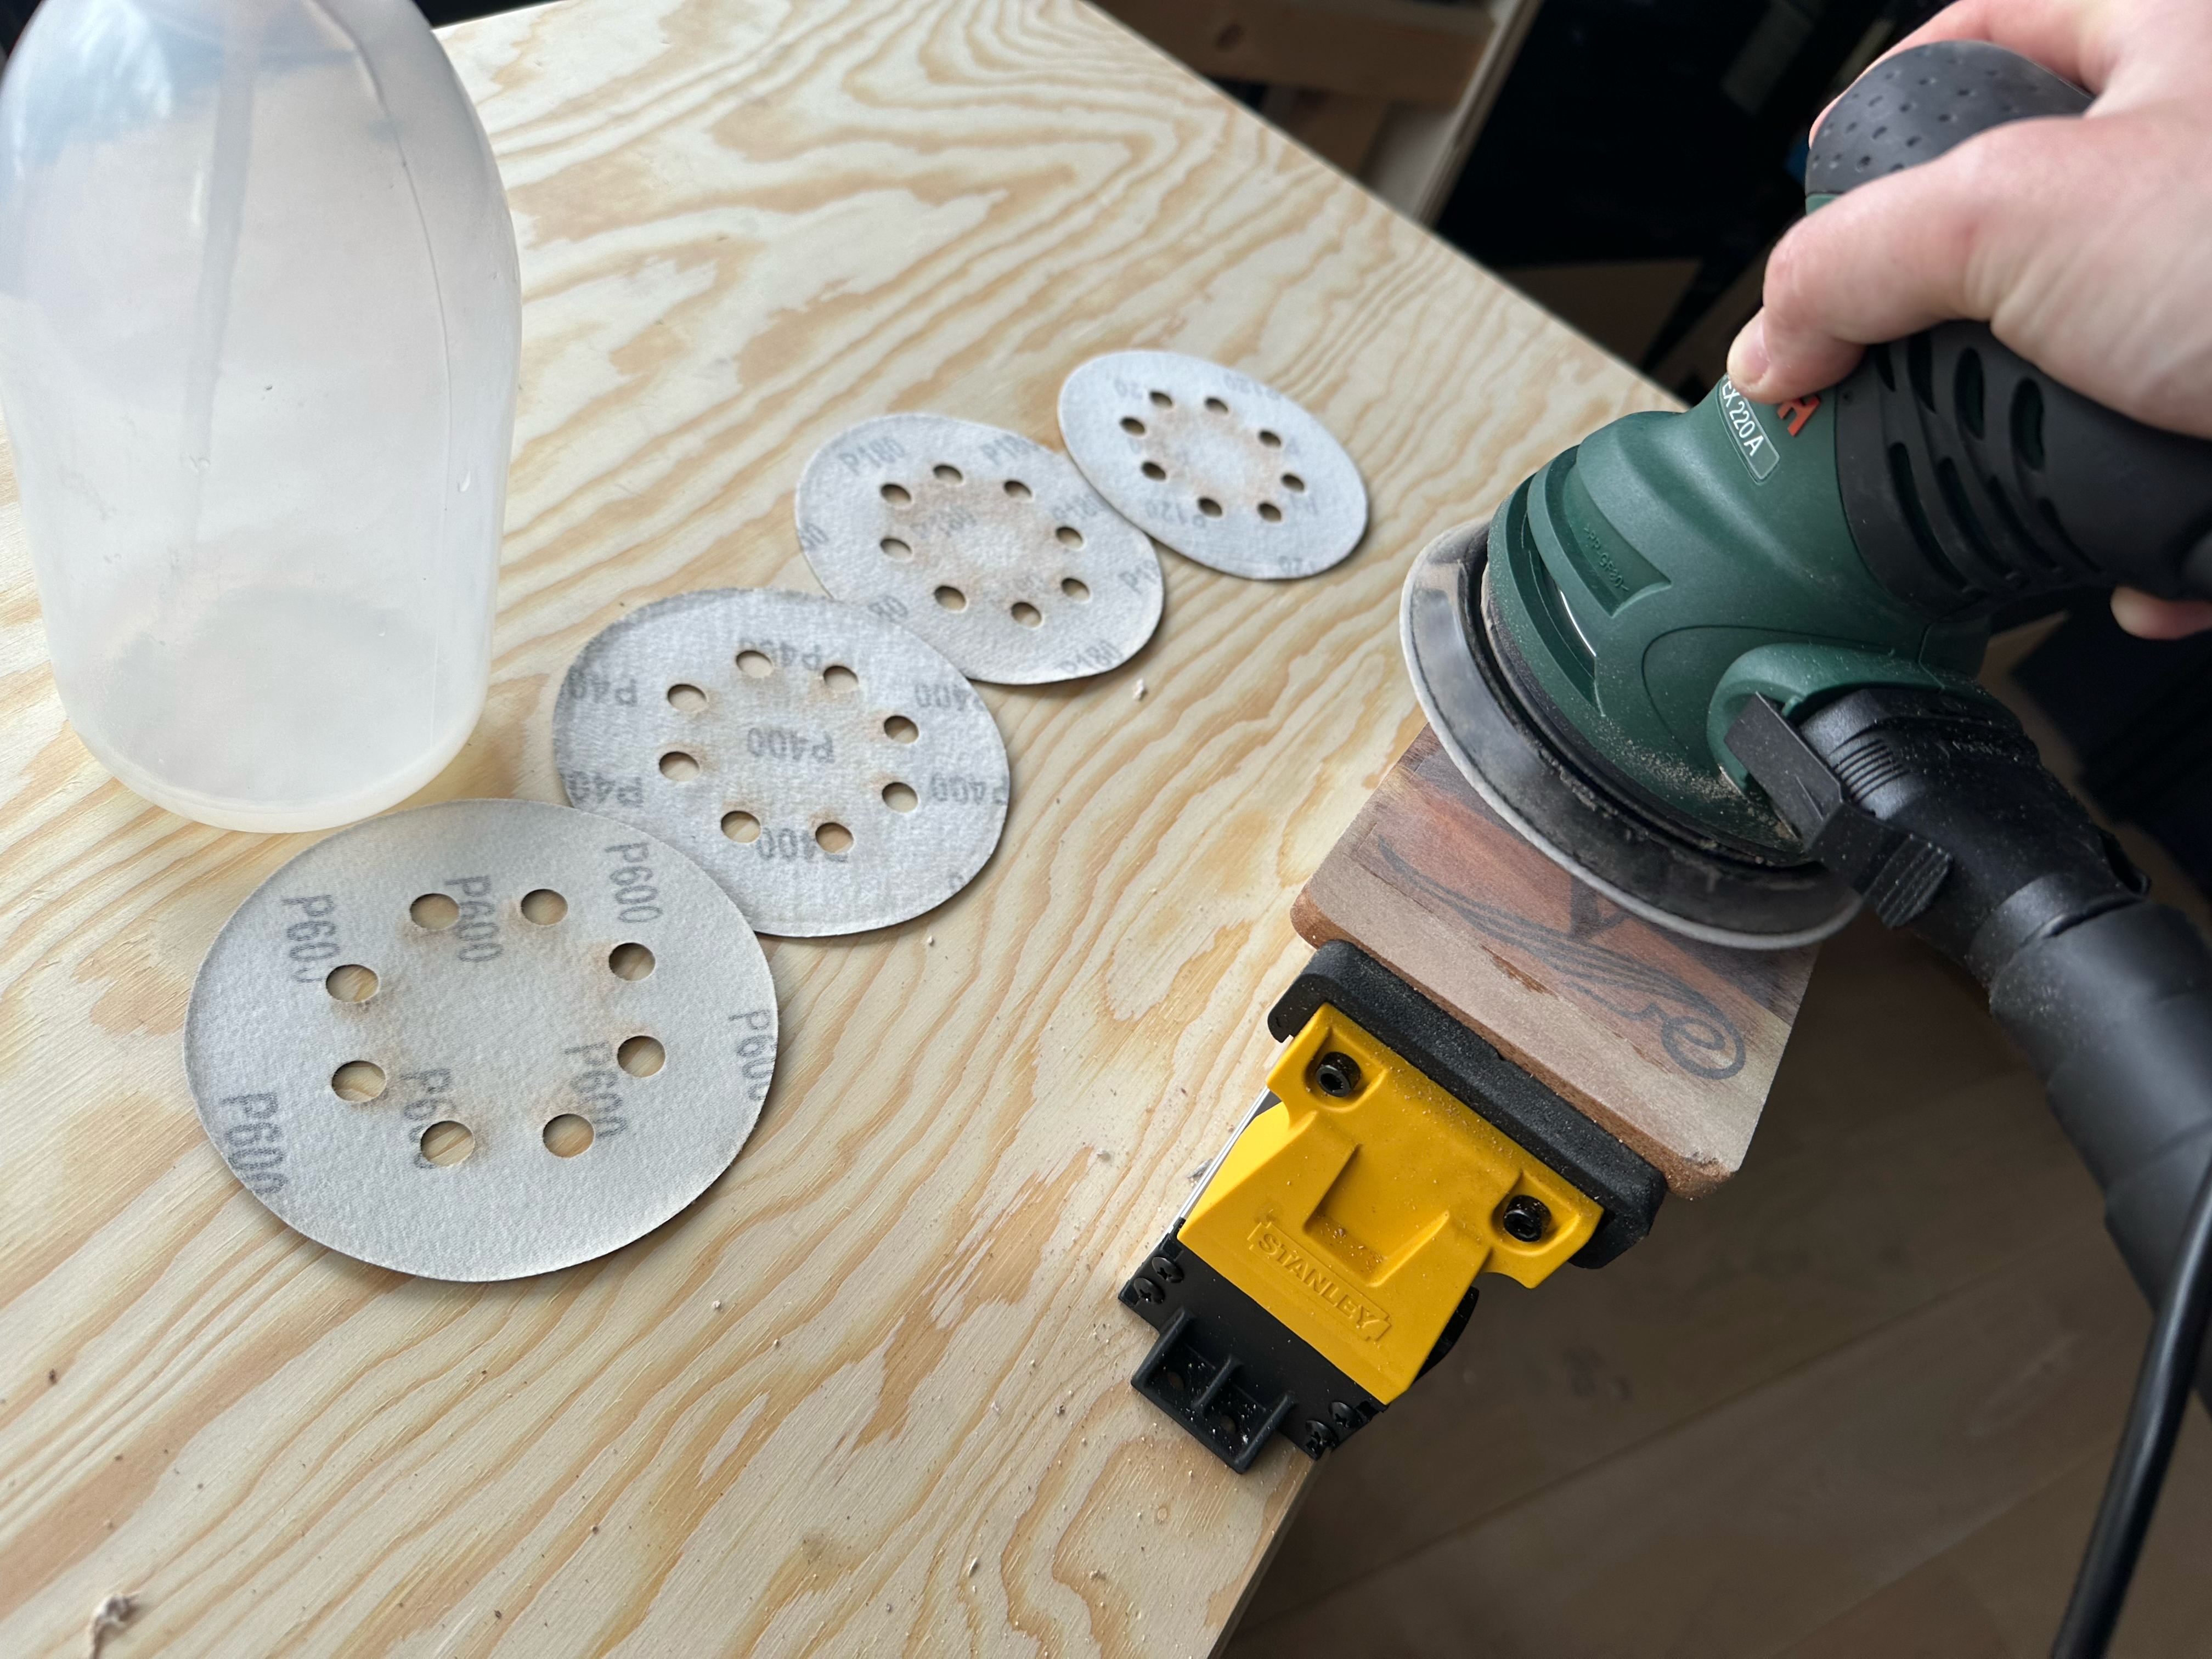
Sanding worked out okay-ish 🫣 The first coaster, I’ve - apparently - been sanding a bit too much on one side. Hey, you live you learn, and now at least it shows it’s handmade/homemade.
Applying 80, 120, 180, 400 and 600 grids resulted in a incredible soft finish. The resin was not quiet as shiny as I’d hoped for, but the result was better than I initially imagined. The darker finish gives it a more suitable vintage vibe.
And so, after the first step of this final day: the four coasters were ready:
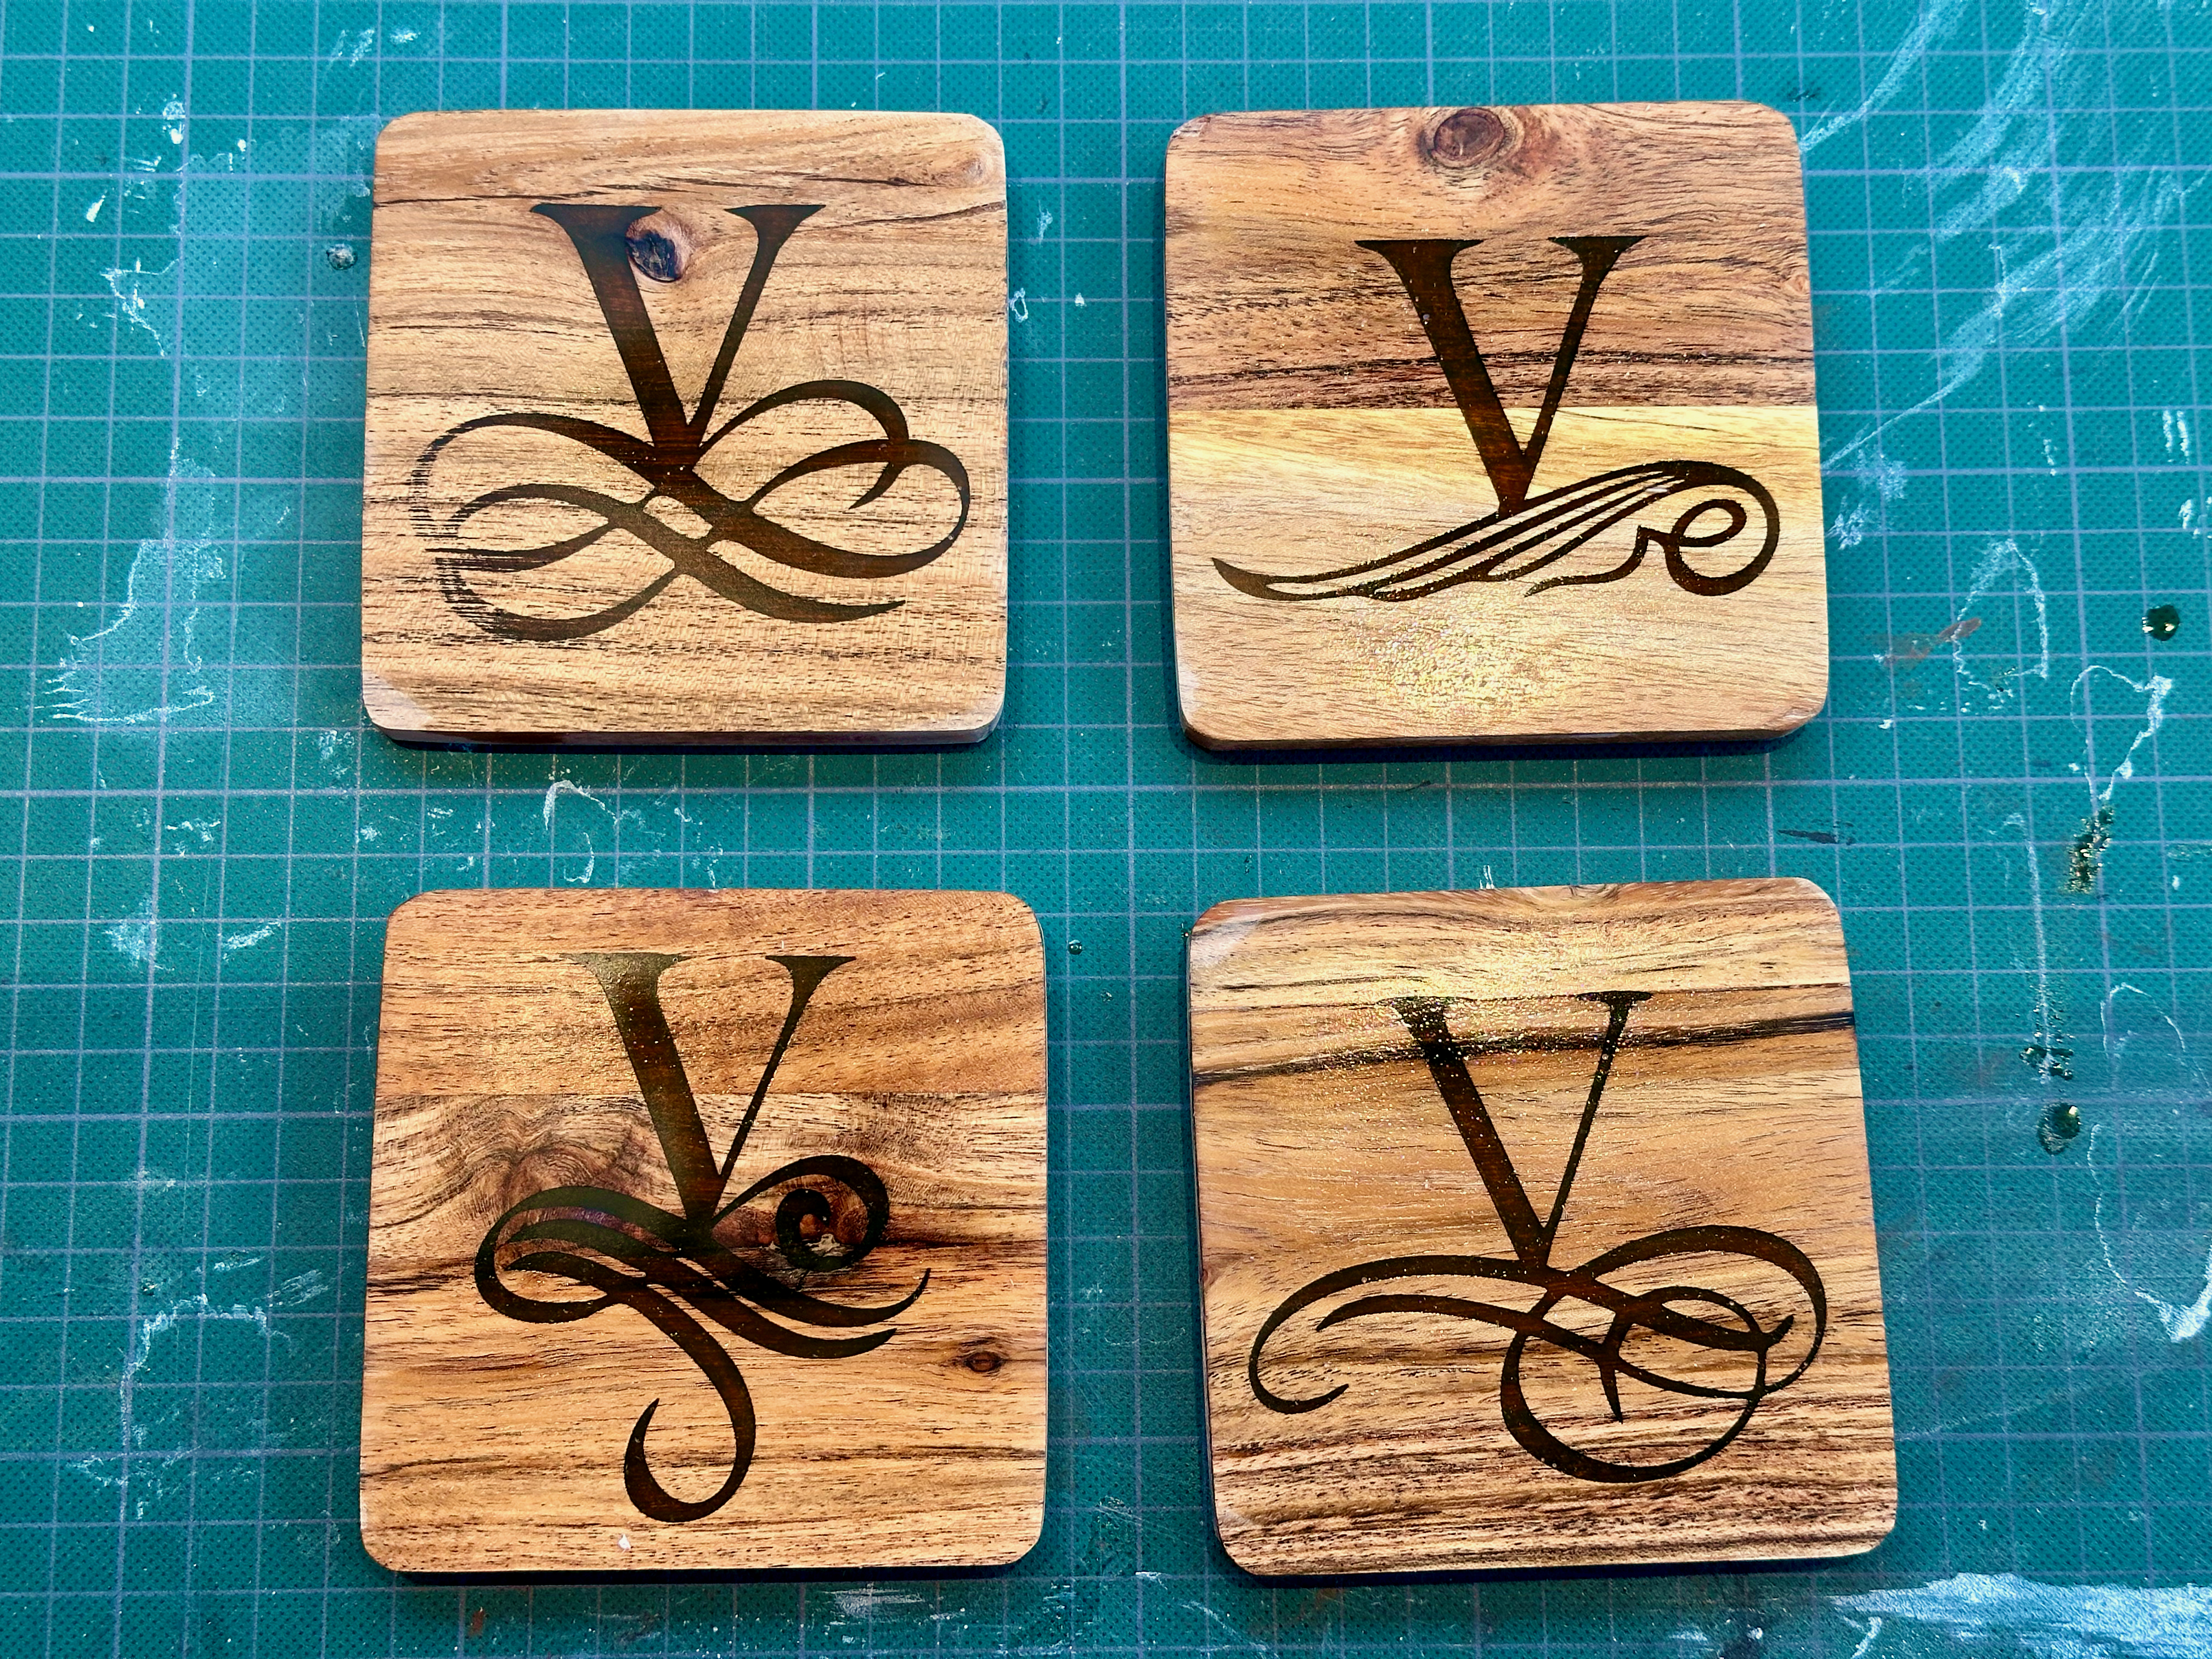
Oil it up!
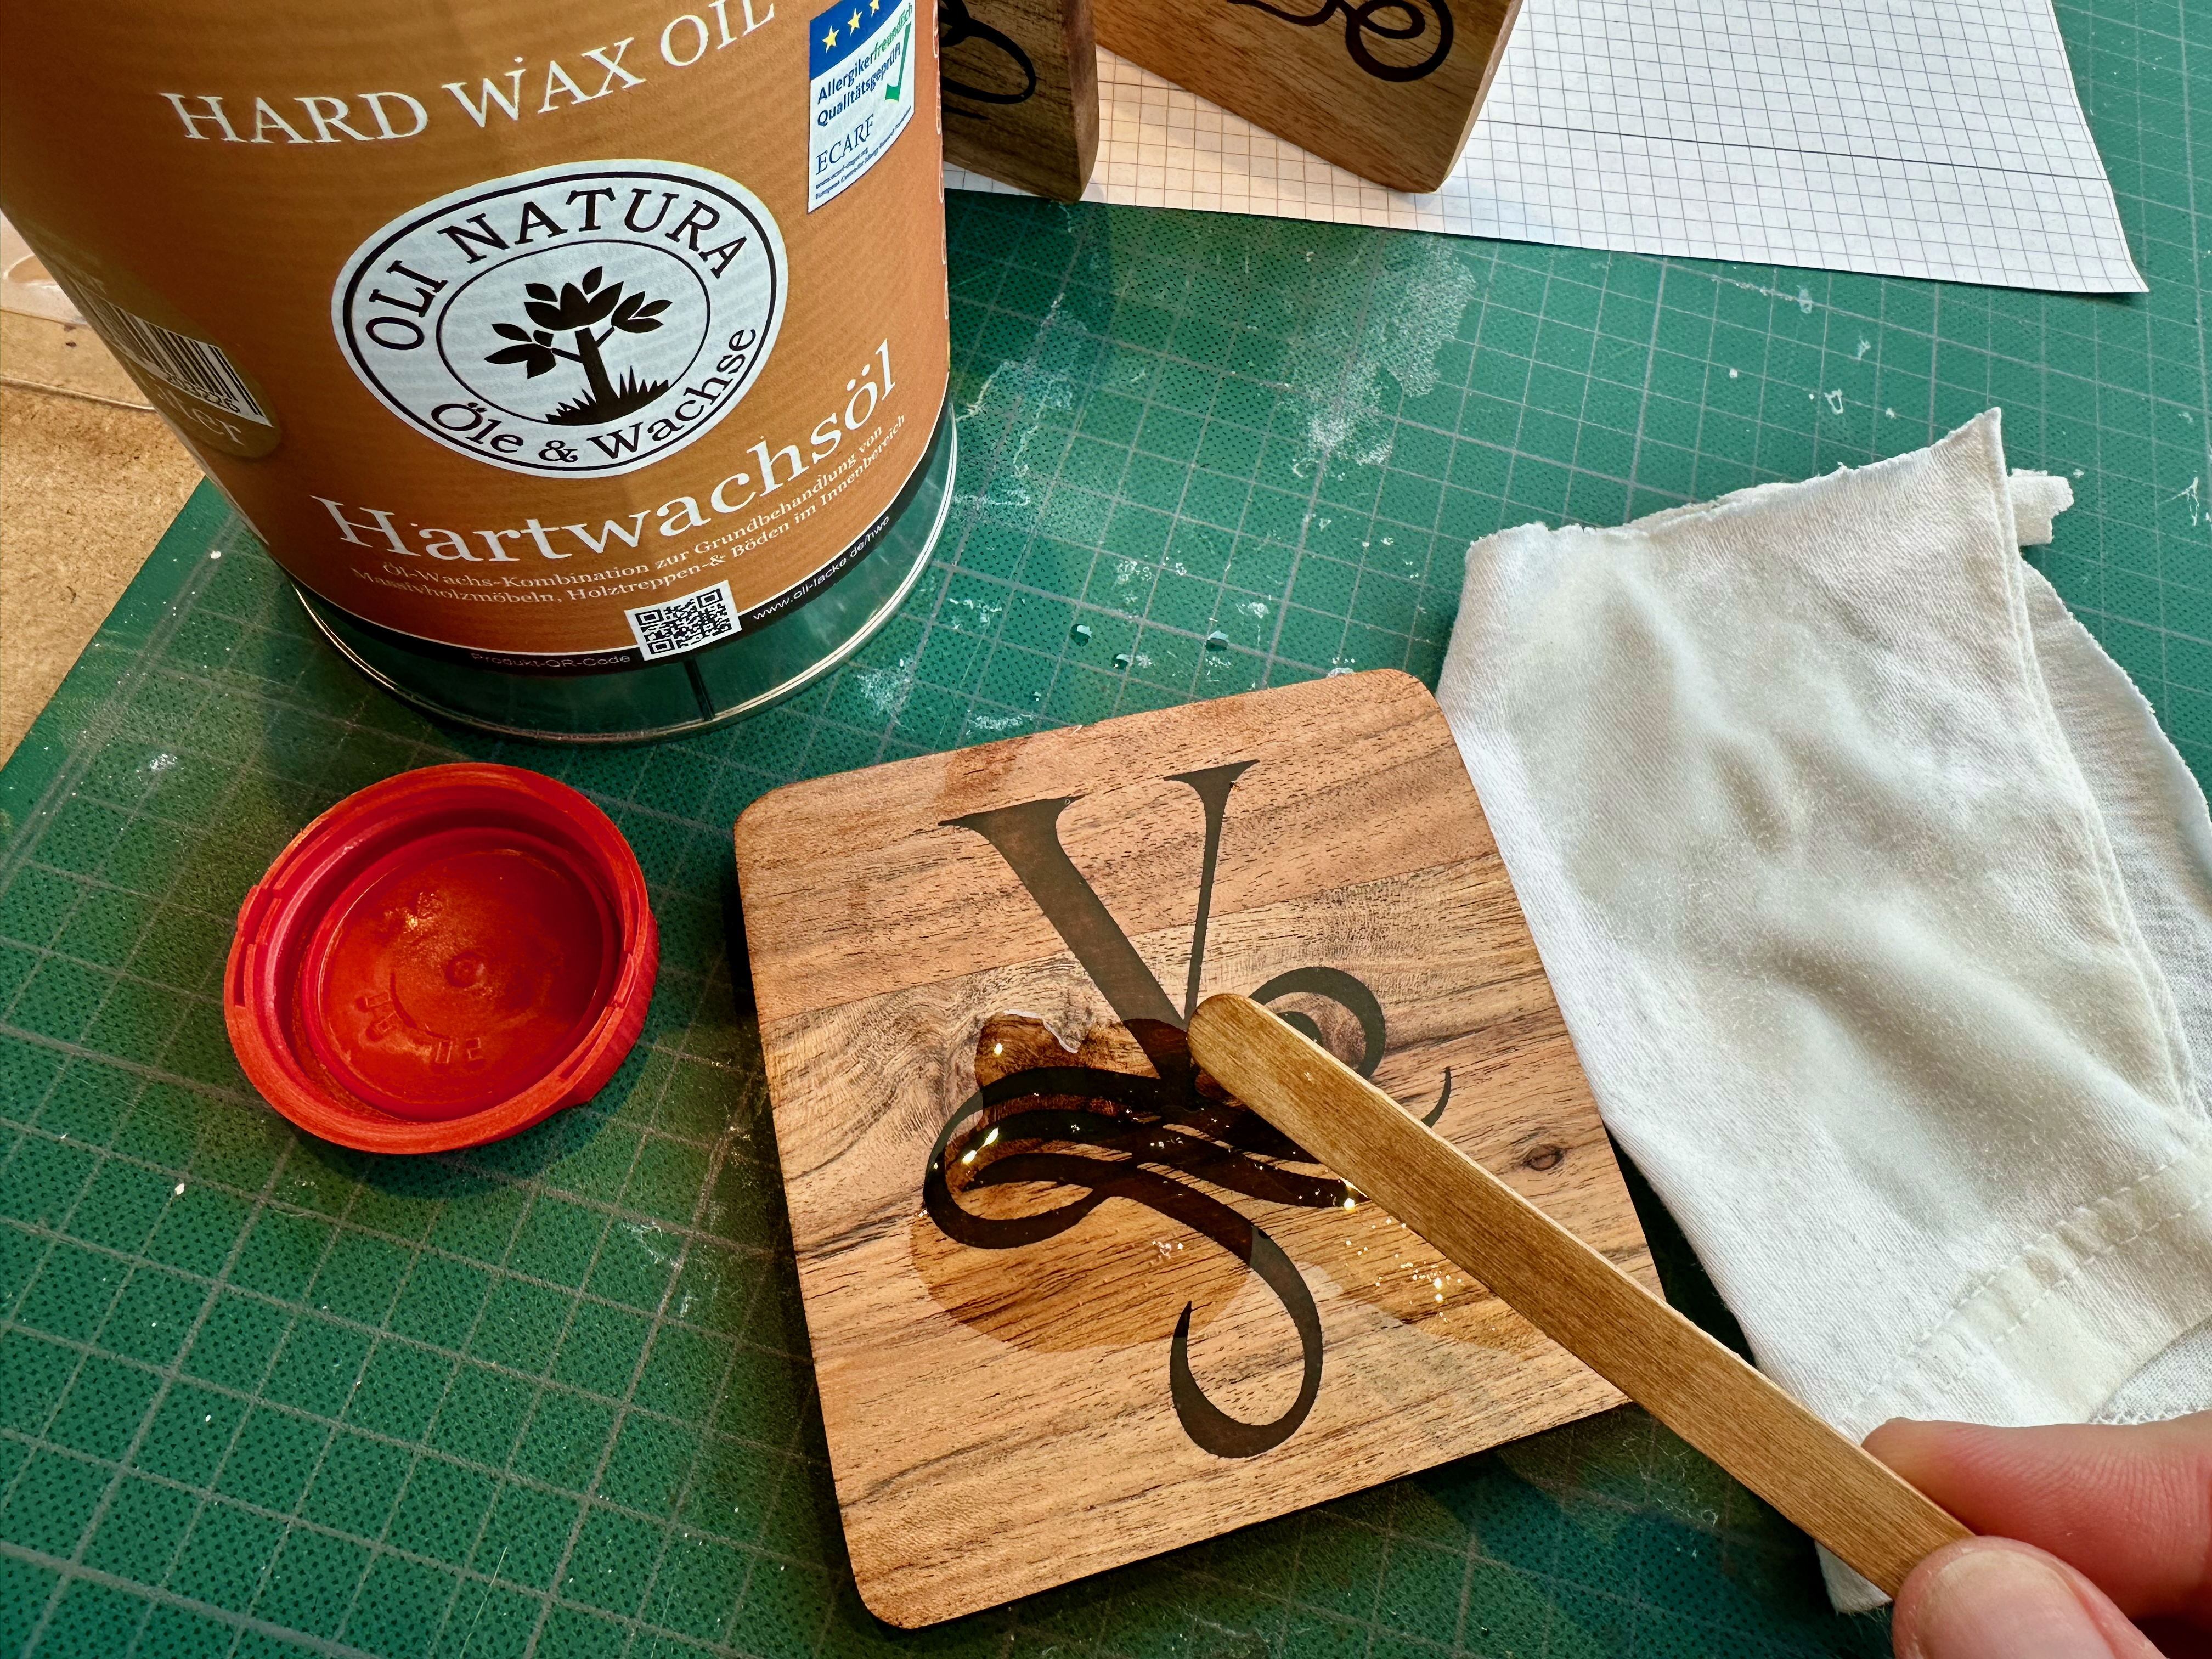
Final step: oil on, oil off and … 45min later we’re all done. This turned out much easier than expected. The wood absorbed the oil completly and afterwards the overall look ‘n feel was really even nicer.
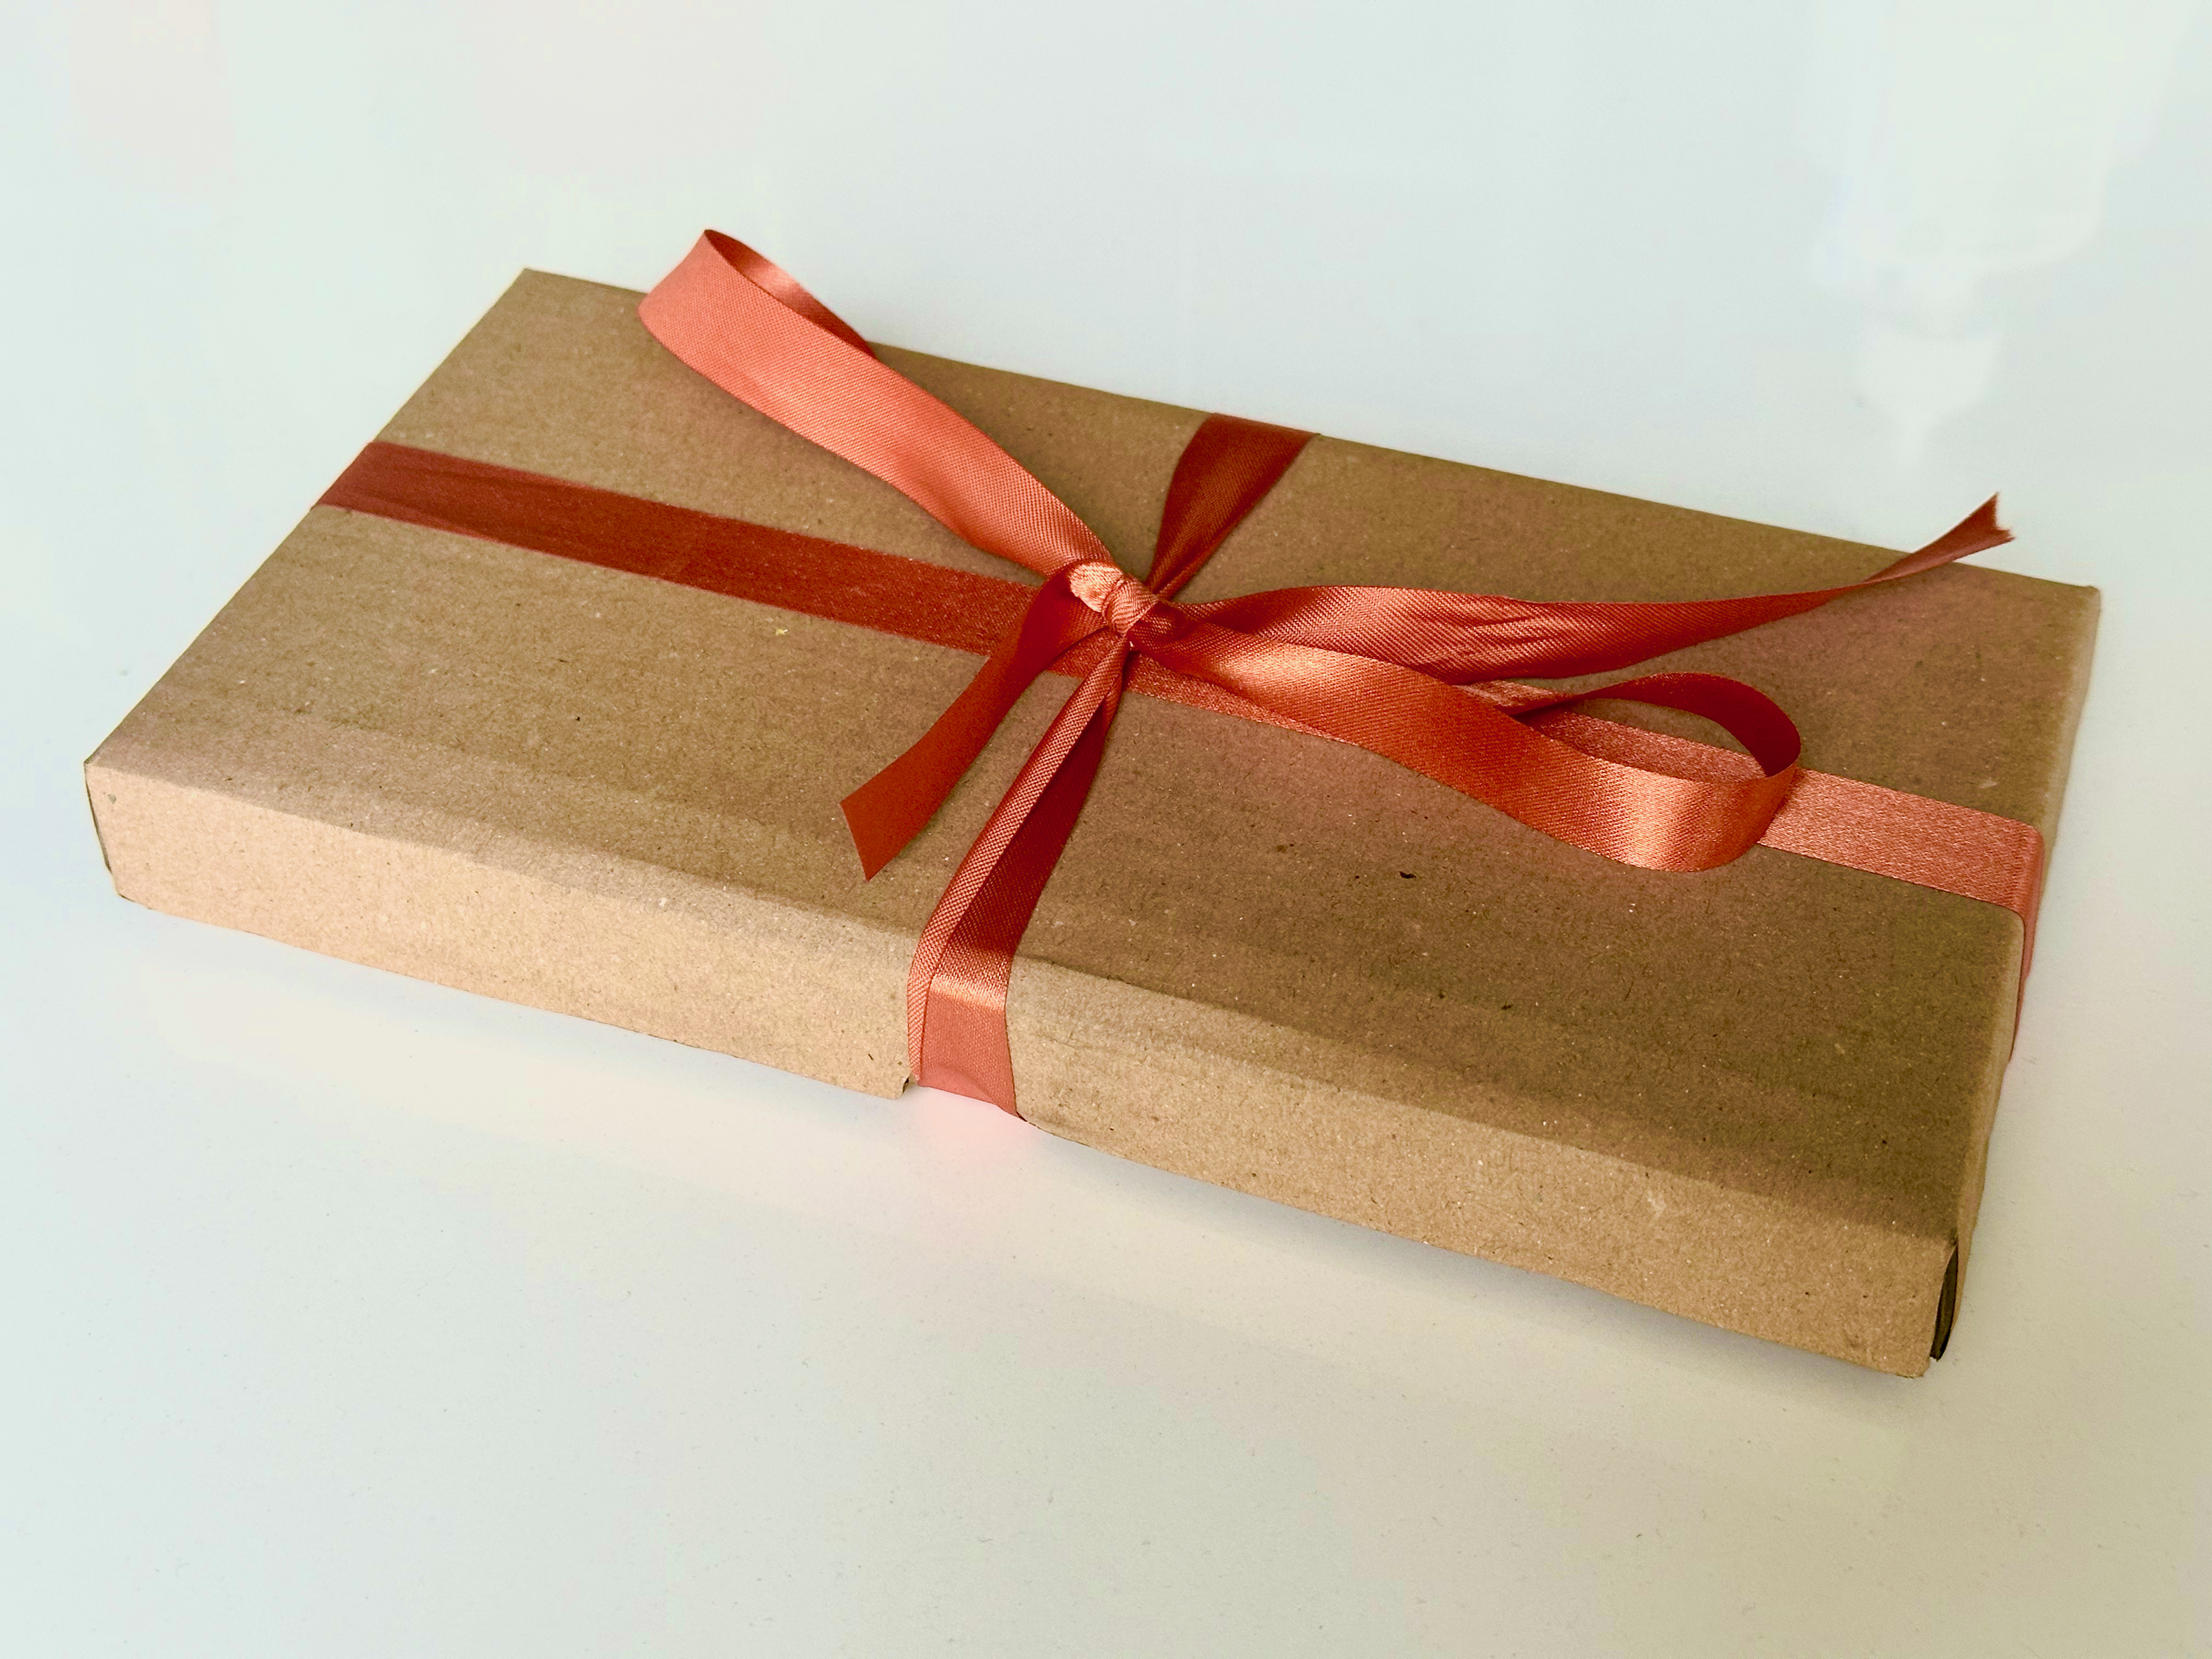
Mission accomplished! Present ready.
Day 4: Epilogue - Wrapping Up
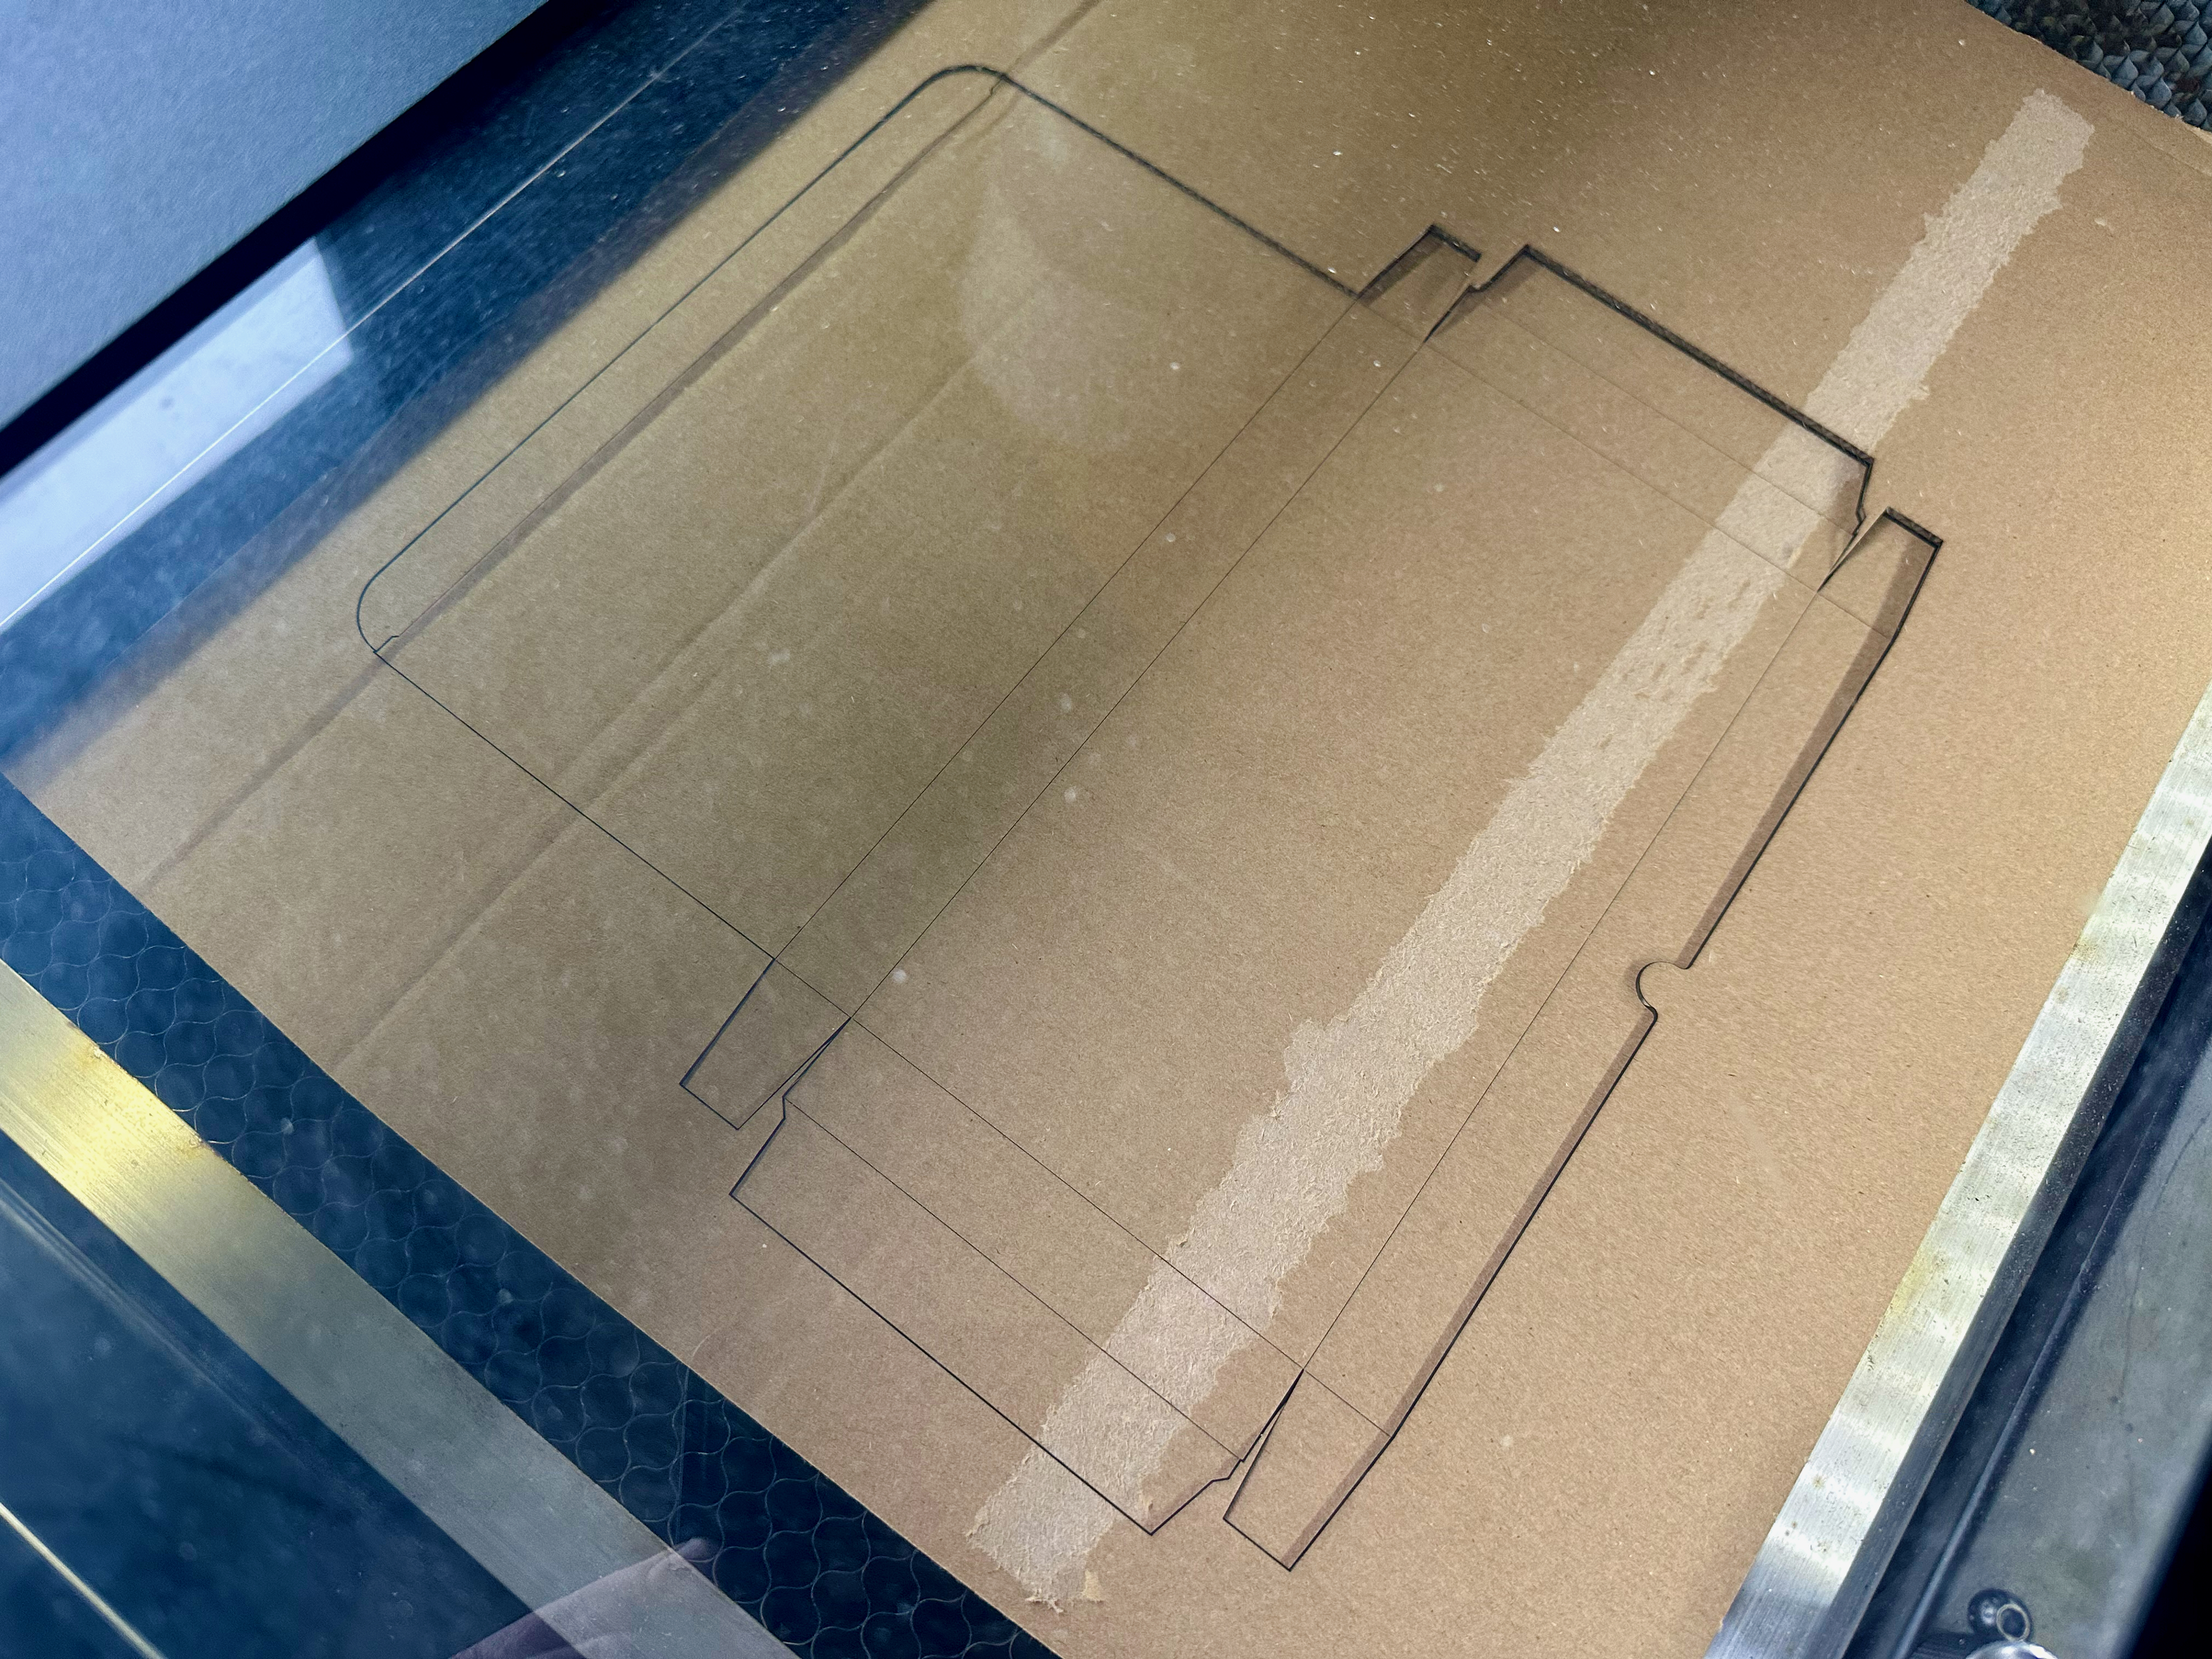
This is a recurring theme: me thinking about a foldable, laser-cut, custom cardboard box. While loading up Fusion to once again start to make a parameterized template, I Googled for some templates to get me started, when I came across Template Maker ↗ and I could close Fusion. So next up on the agenda: finding a good source for stocking cardboard panels.